

Washi Tape DIY and Stamping Inks Explained
Posted by Susan J. Deep Red Stamps on Jun 18th 2021
I'll show you how to make your own washi tape with rubber stamps. I'll also explain (with examples!) the different types of stamping inks, dye vs pigment and permanent inks, along with watermark pads for embossing. And, we'll up-cycle (recycle?) those prepaid envelopes you get in the mail.
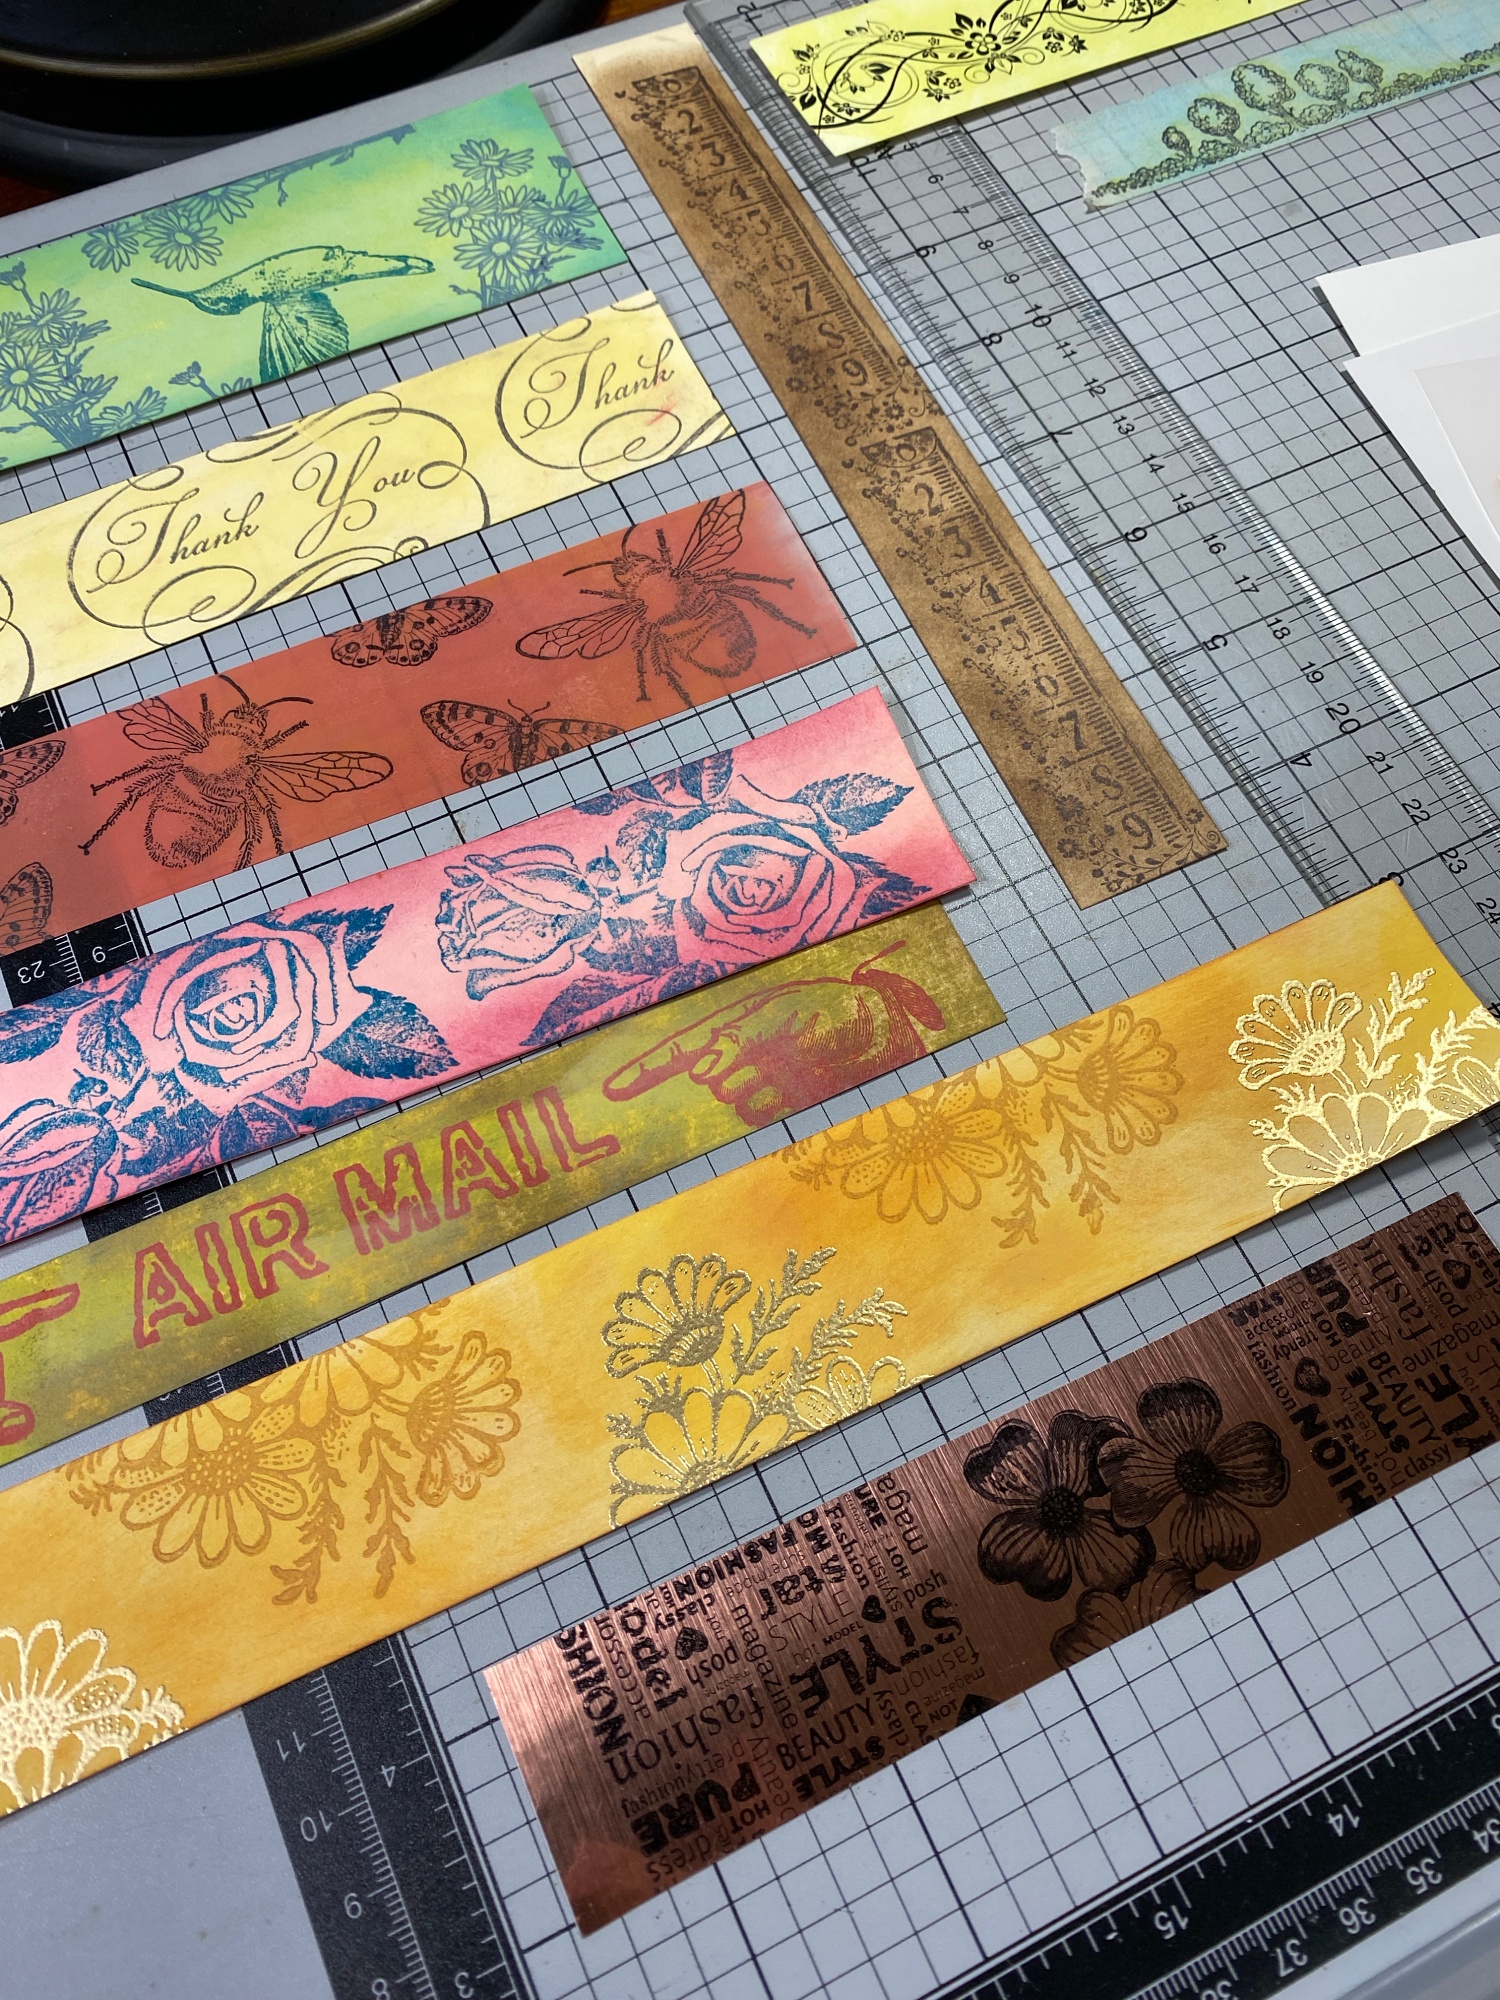
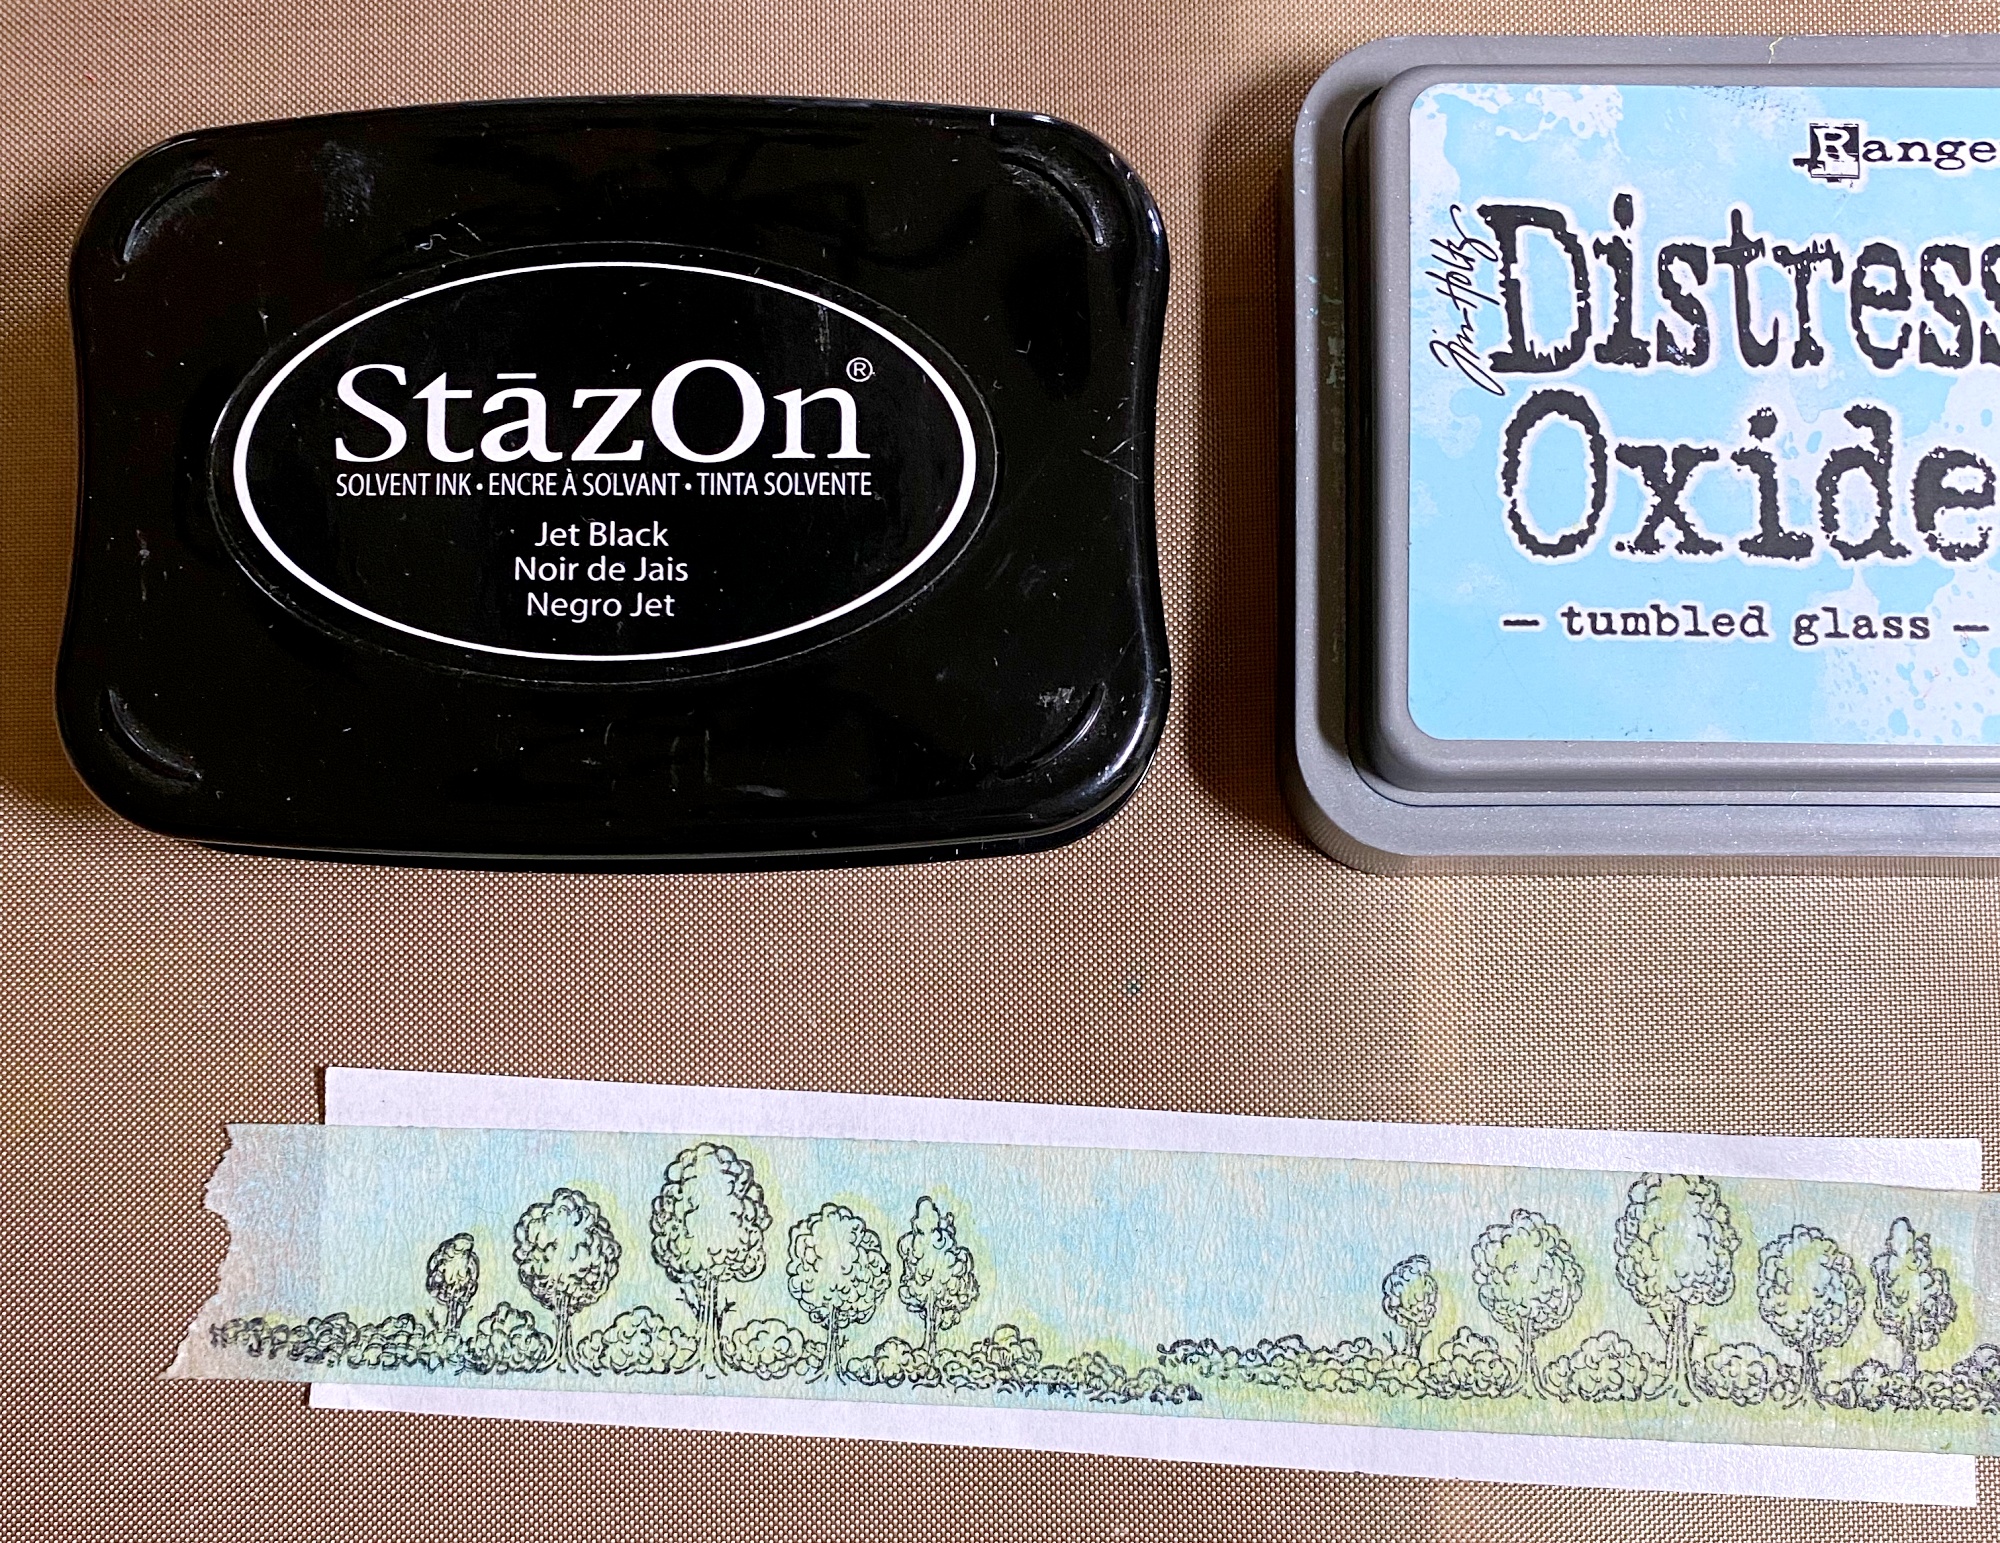
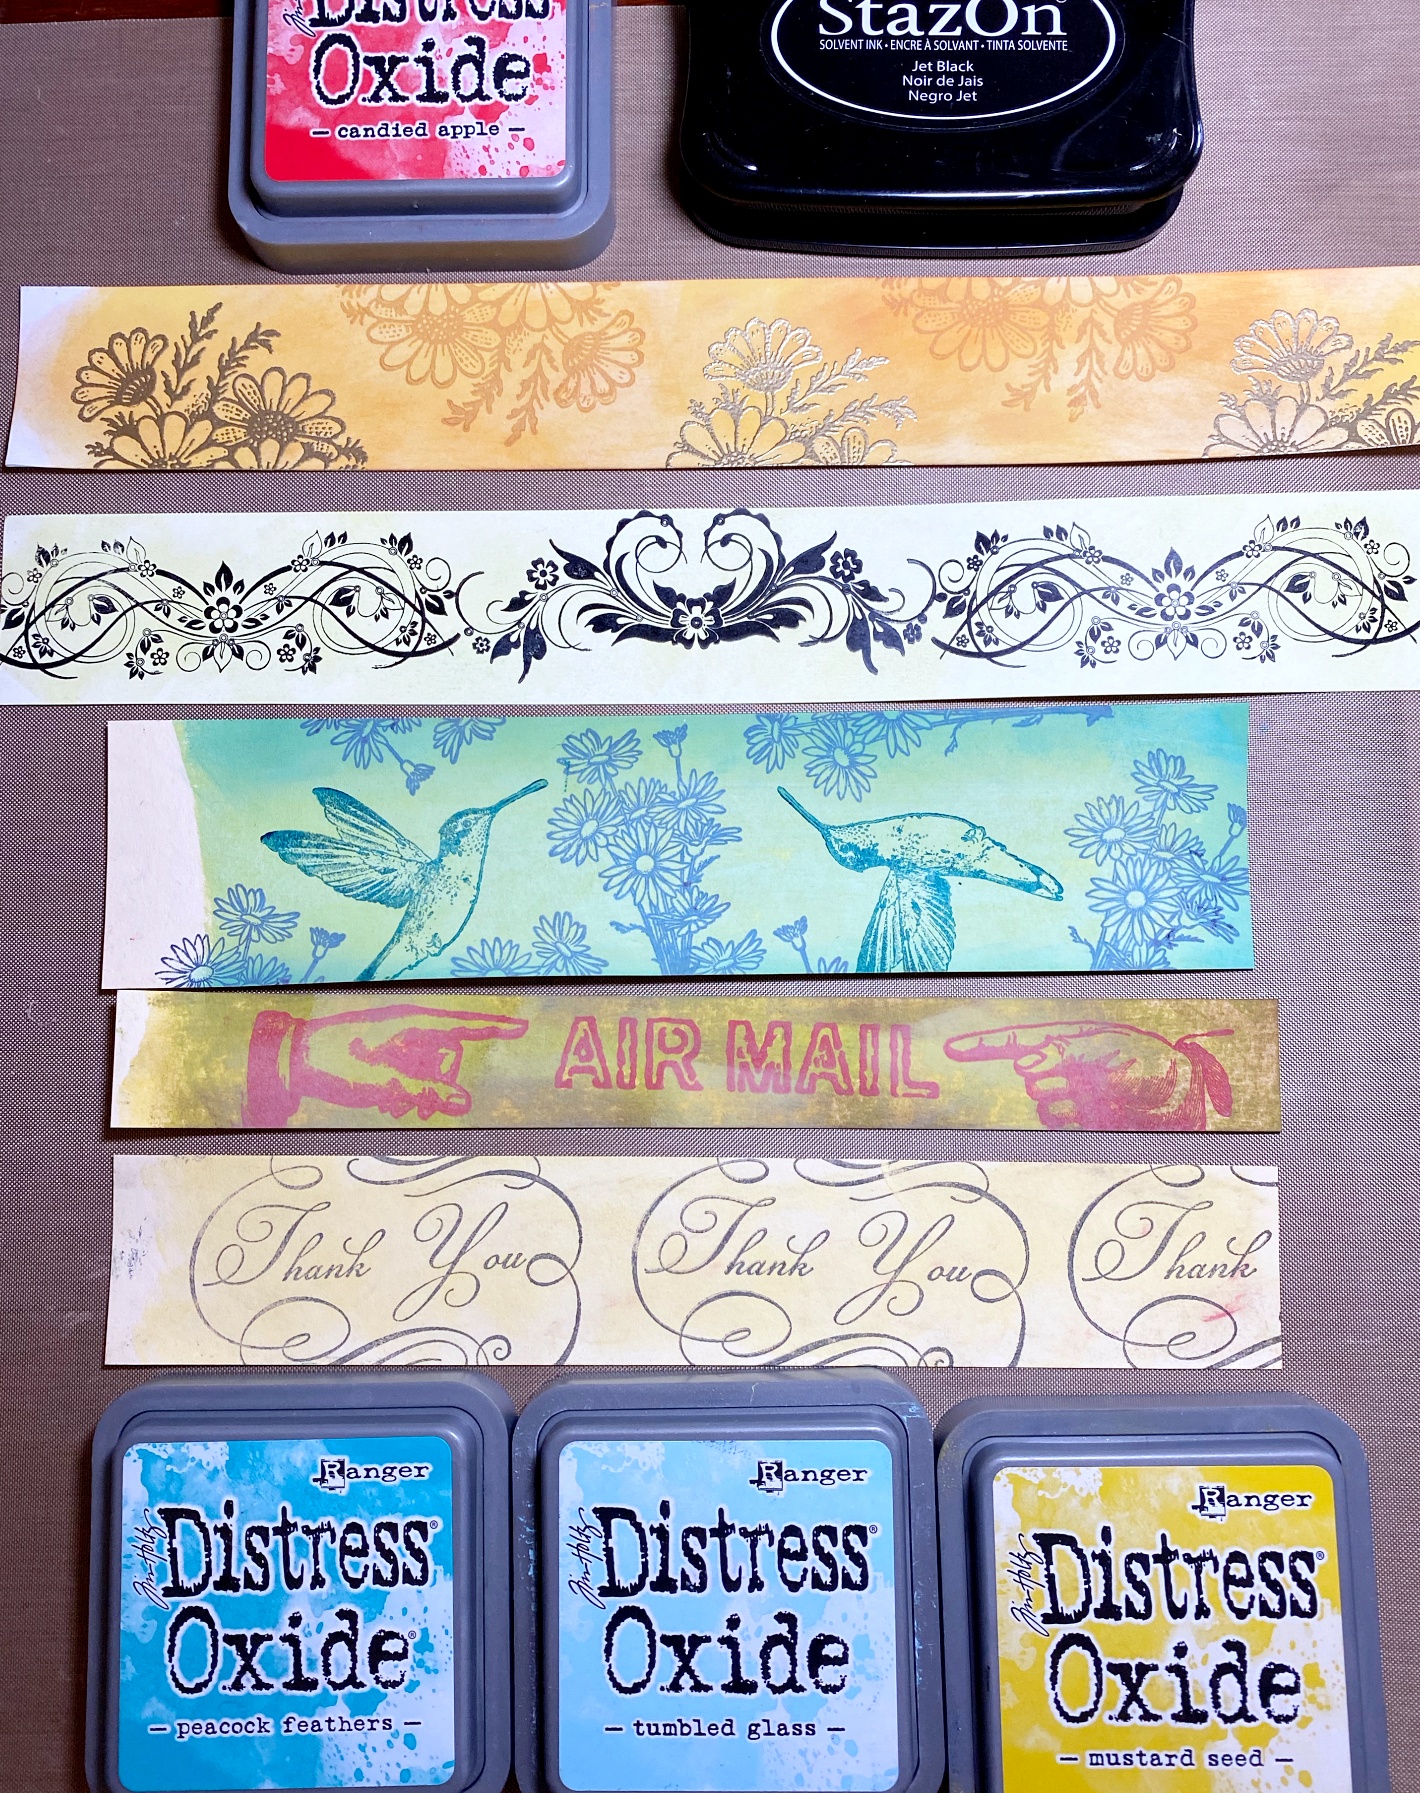
I made several different types of homemade washi tape on many types of papers/tapes. Distress Oxide ink pads (which are a blend of dye and pigment inks and are water based) proved to be the best for the backgrounds on masking tape, glossy labels and card stock, the Distress Oxide inks did wonderfully. The colors were light enough to stamp on.
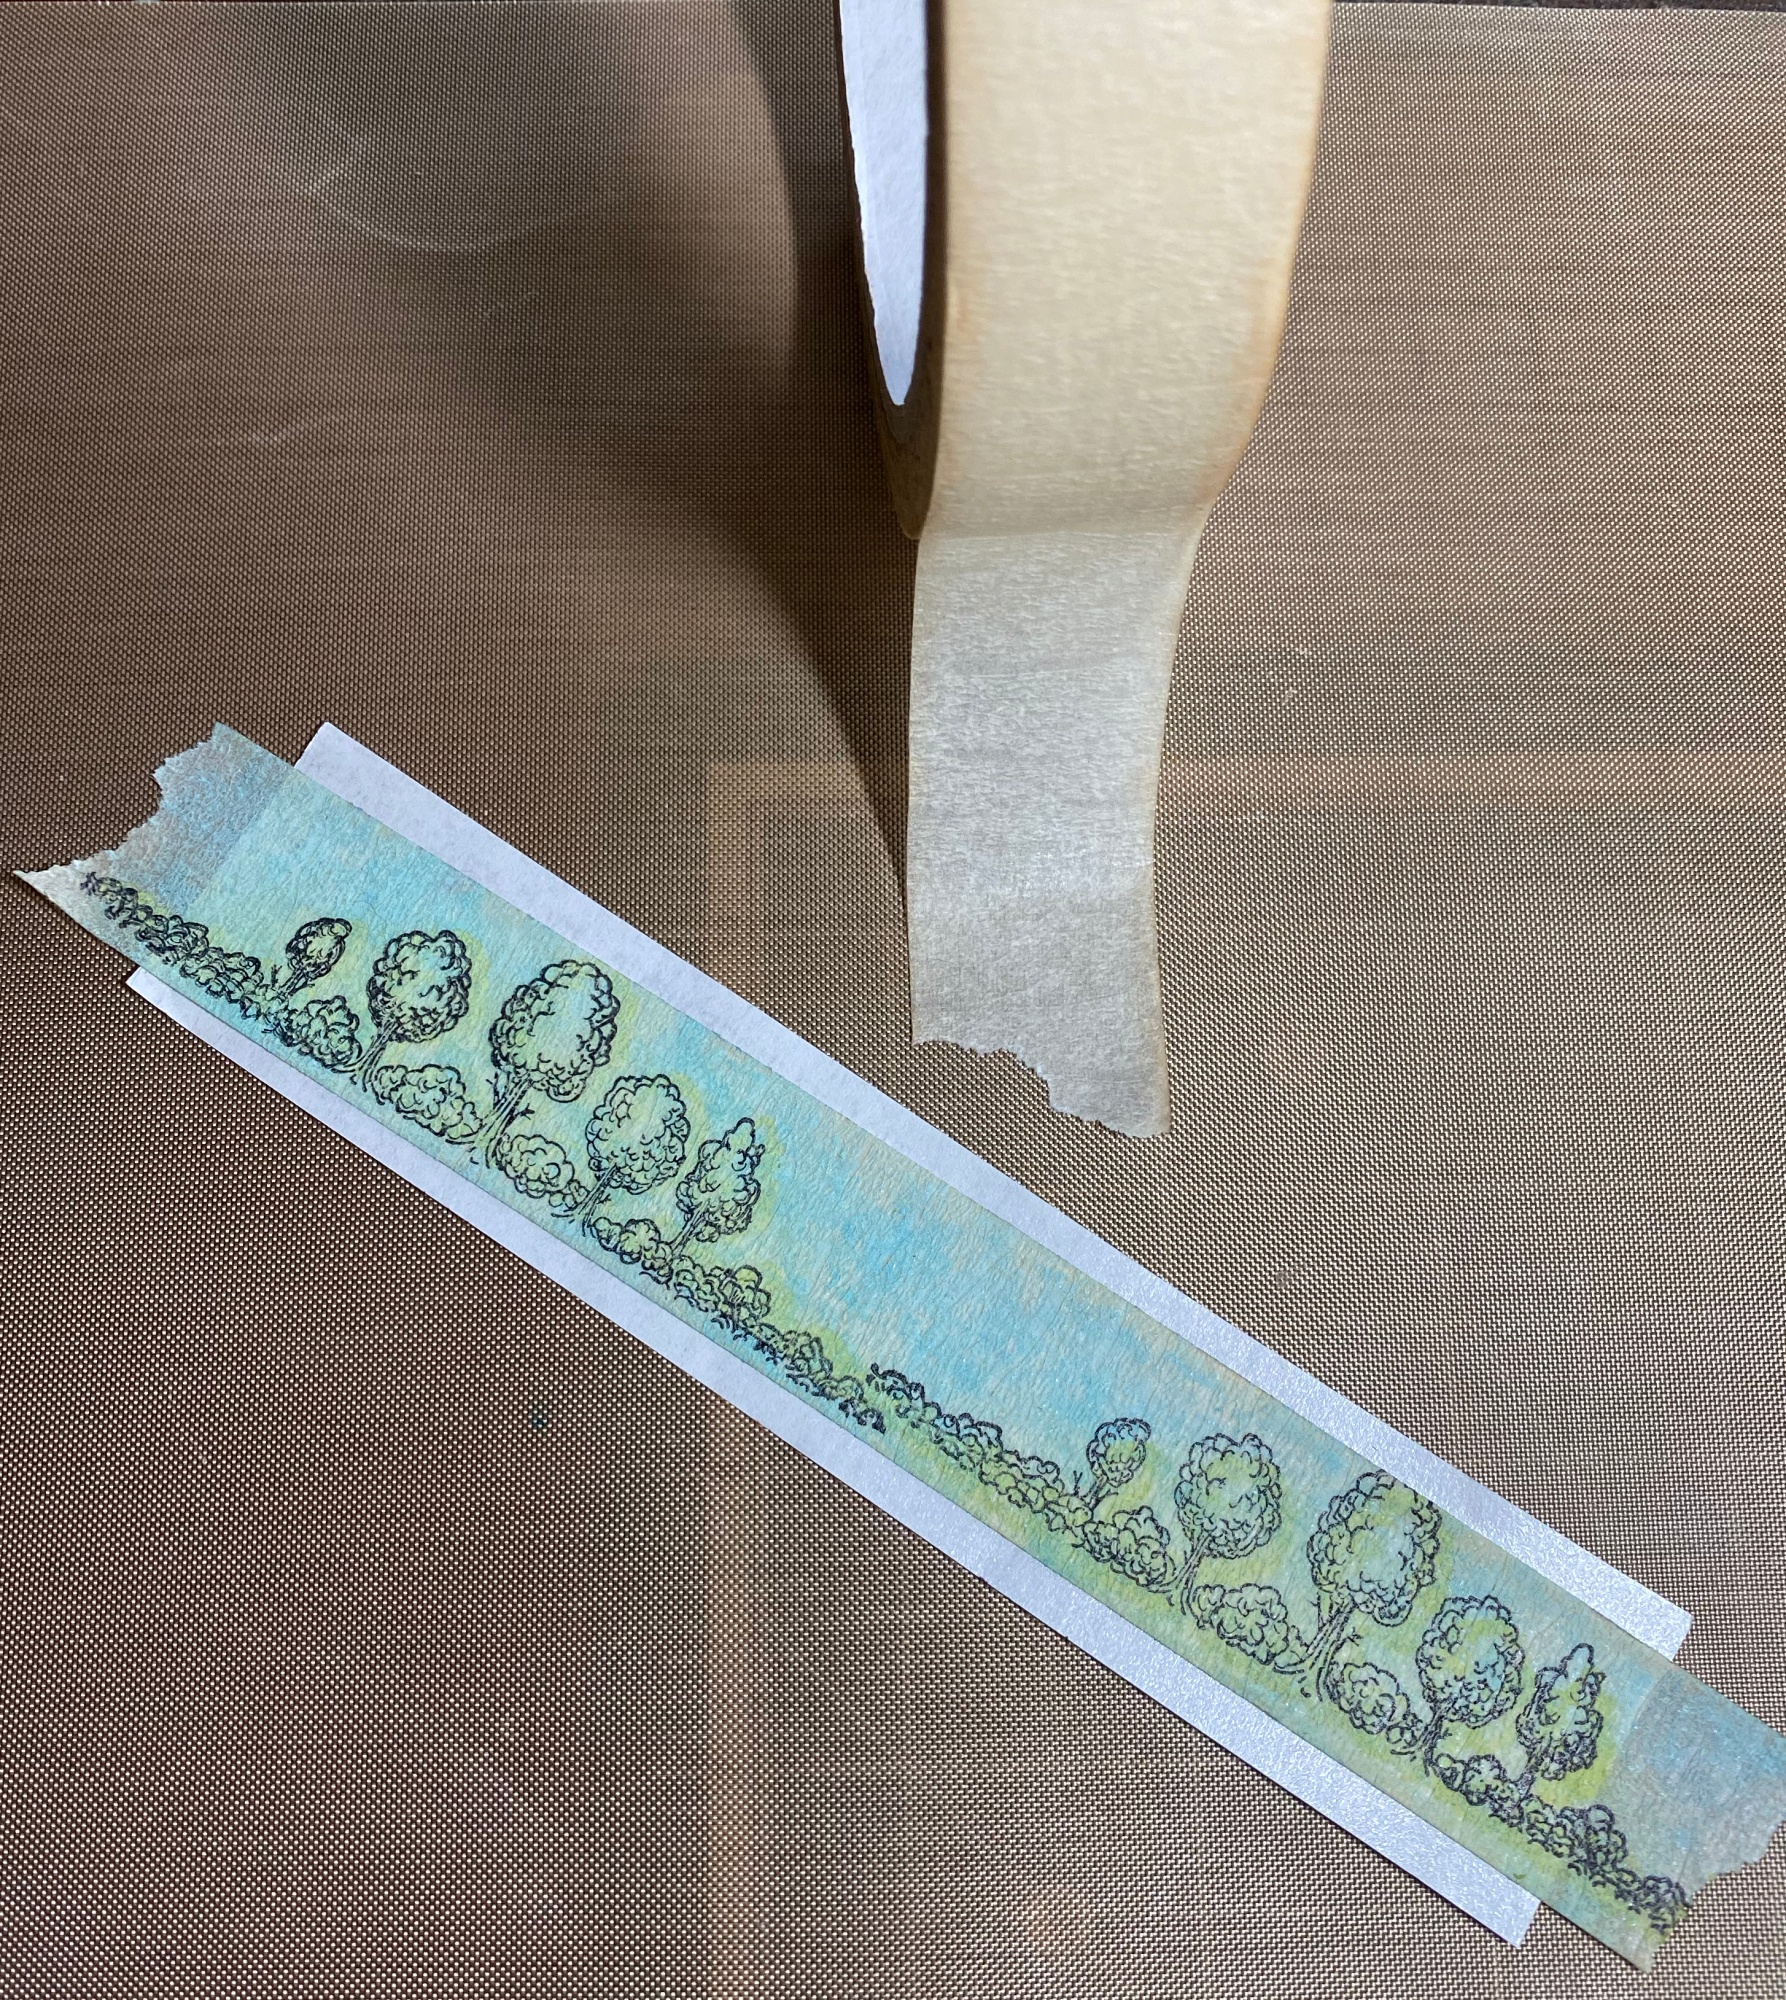
Our Nature's Border Rubber Stamp Set has a line of trees as one of the designs (above photo). Stazon in Jet Black stamped onto masking tape.
The fun thing about stamping onto masking tape is that it is easily re-positionable, just like washi tape. The StazOn solvent ink works beautifully on every surface that I have ever stamped on. It dries fast and always leaves a strong impression and shows every detail.
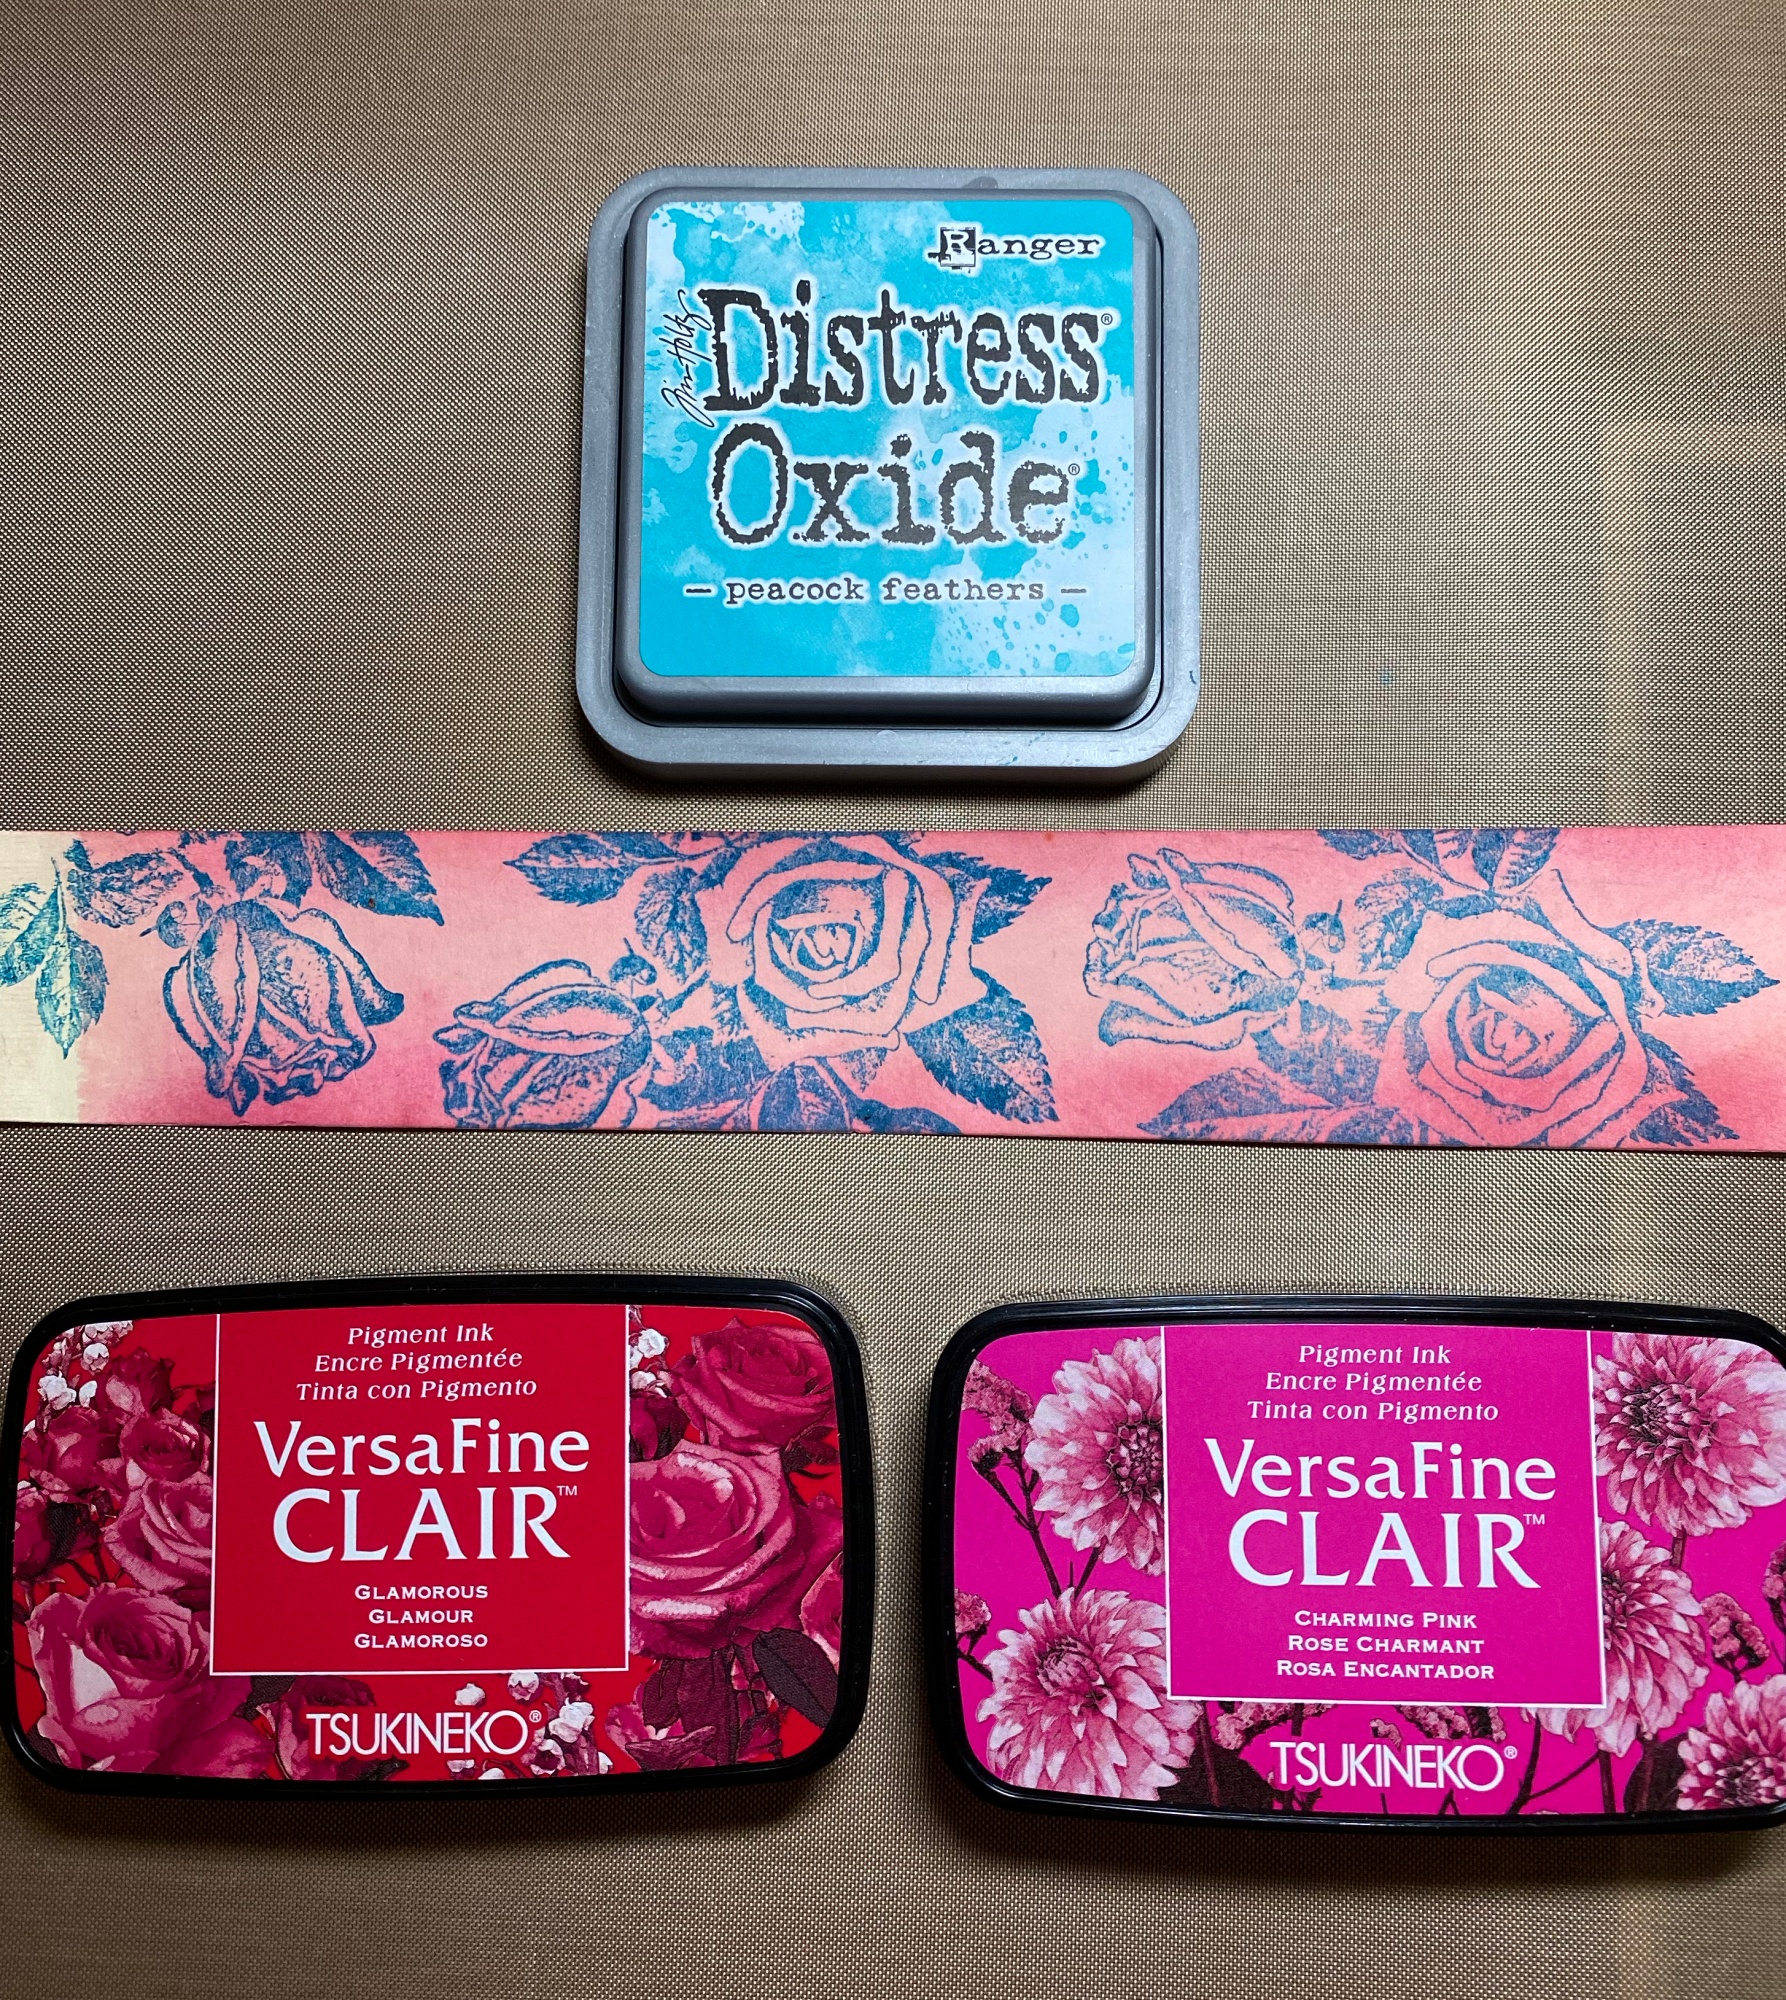
Above photo, the rose design is our Rose Blooms Rubber Stamp on an off-white card stock. If you don't have label papers or masking tape, you can just use card stock. You'll simply have to add glue to wherever you'll be placing the strip.
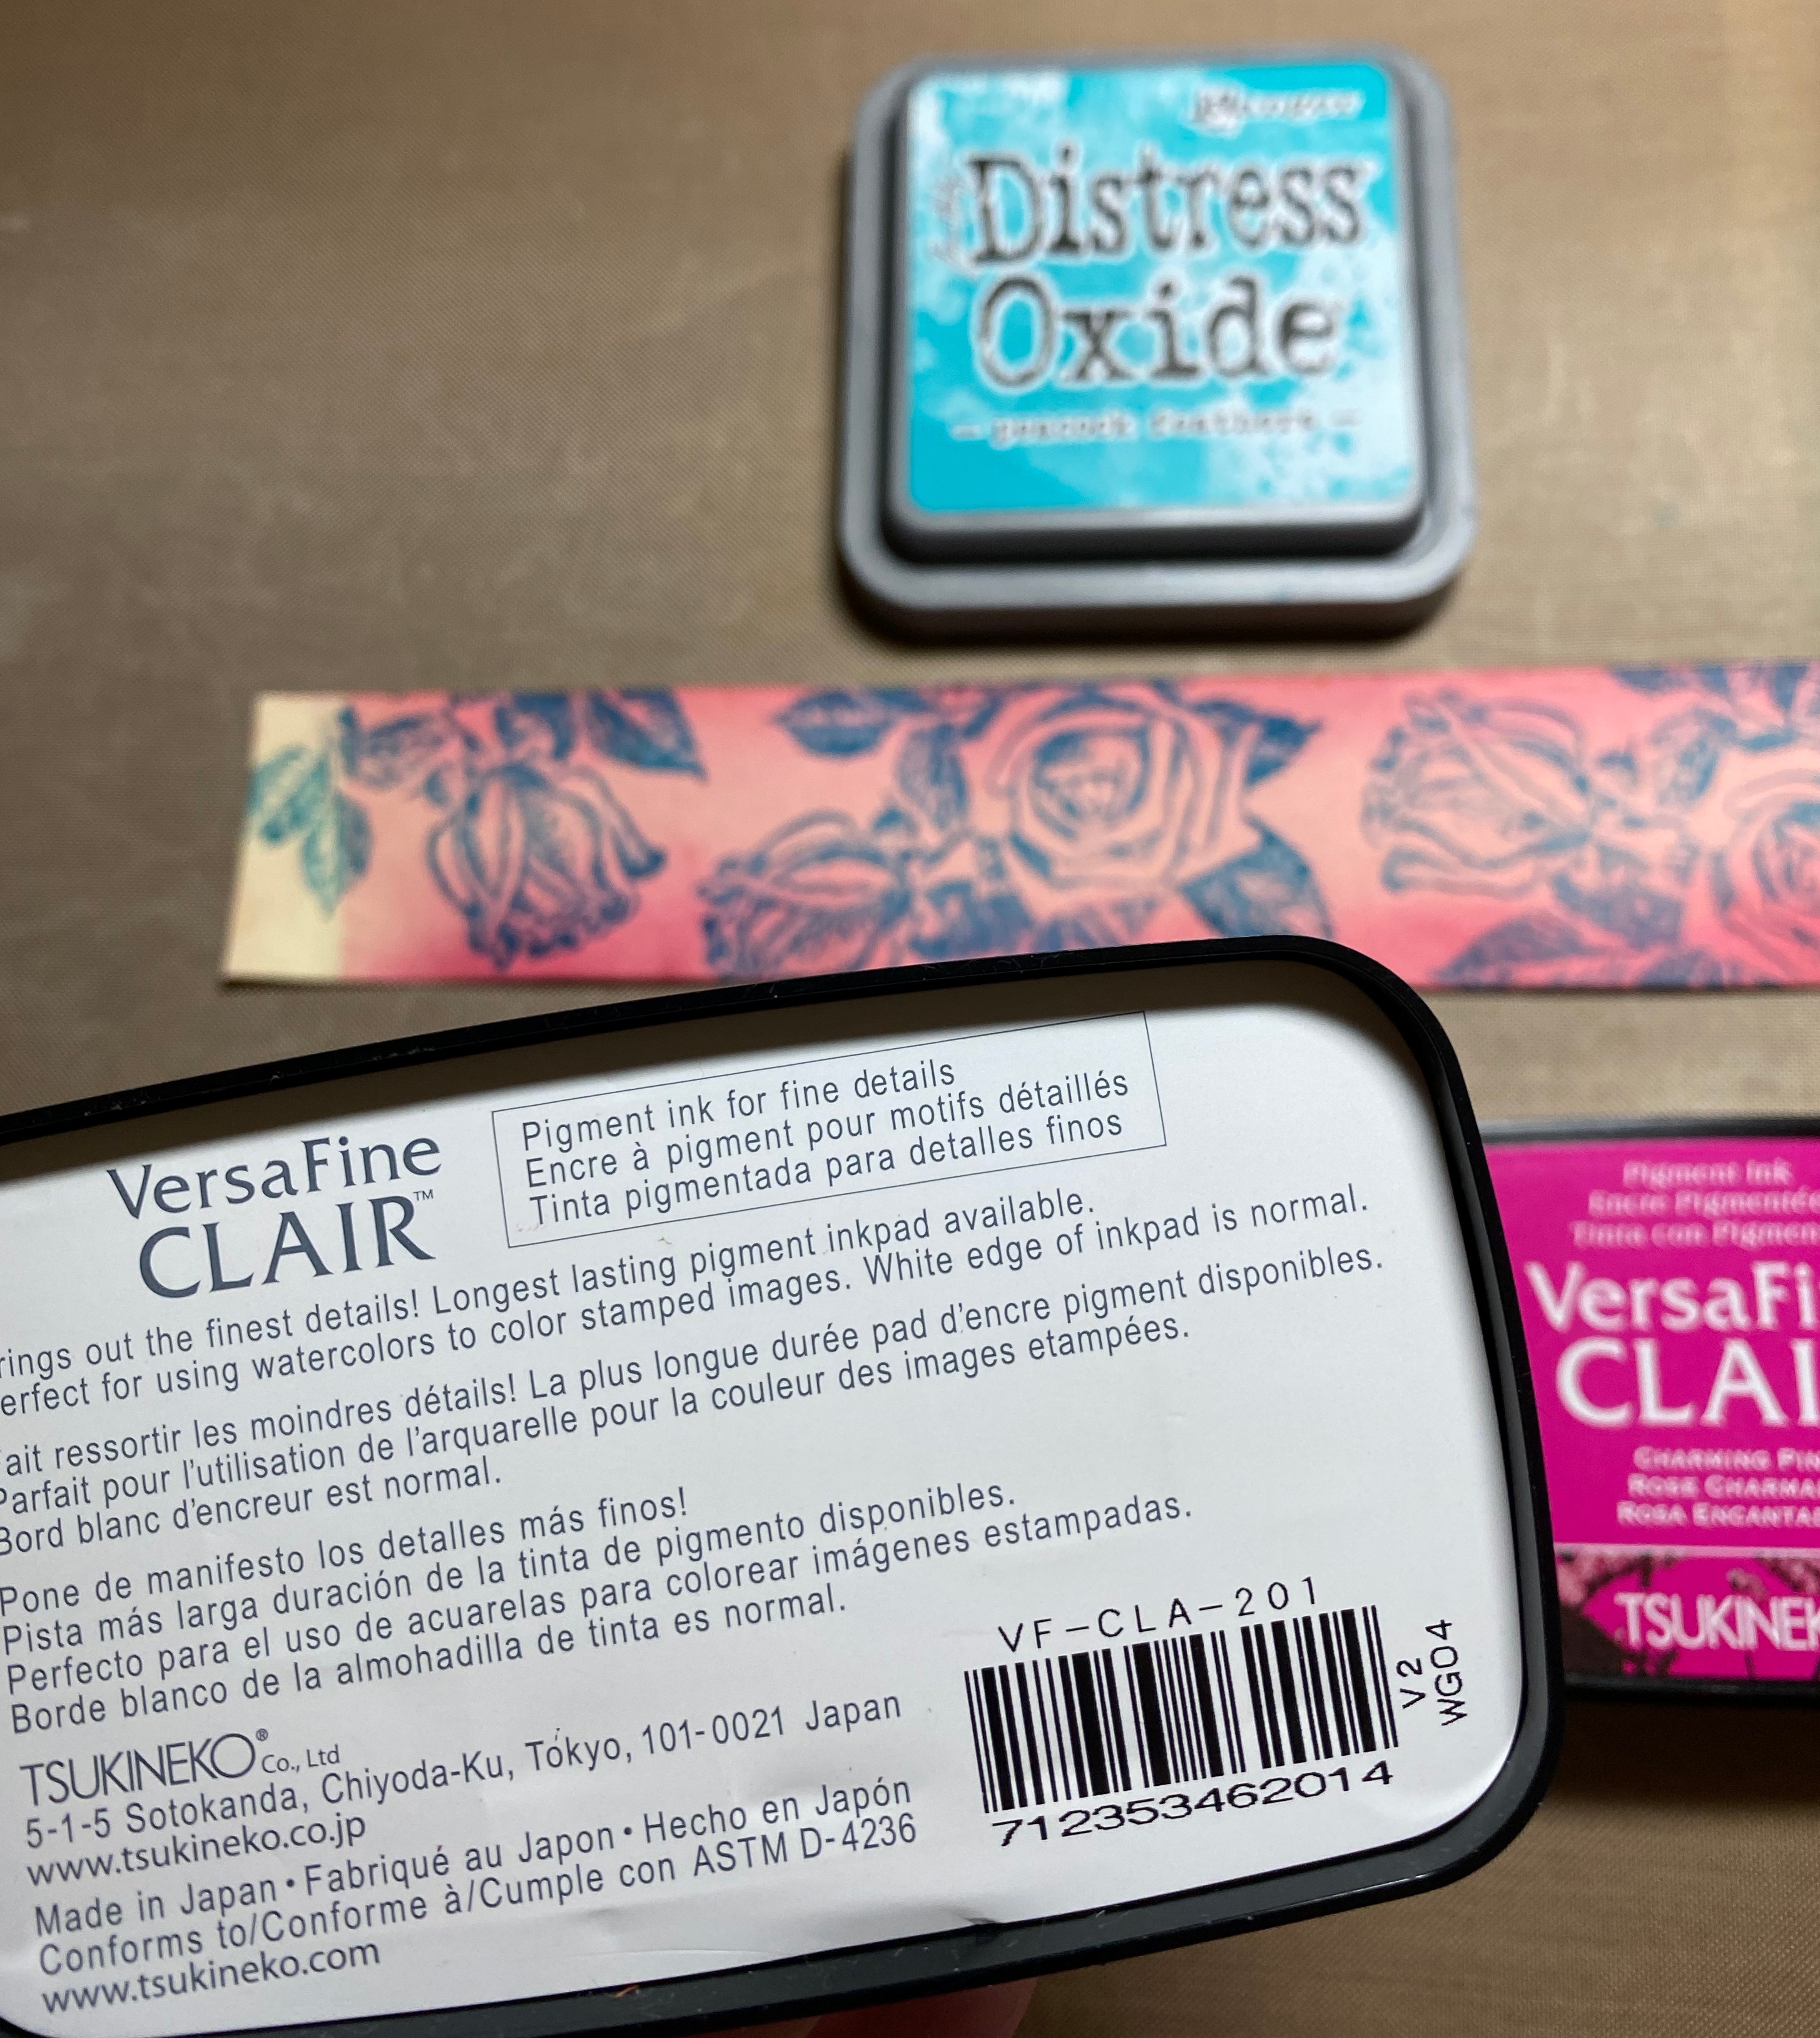
The VersaFine Claire is a pigment ink that acts permanent when dry. I used these for the background of the paper. There was some drying time needed, but once dry, the paper laid flat.
The other strips I made were made using full sheet label paper, one glossy the other a matte finish. You simply cut a strip whatever width you want, 1 inch or 2 inch. You can always trim one is half after you stamp on it.
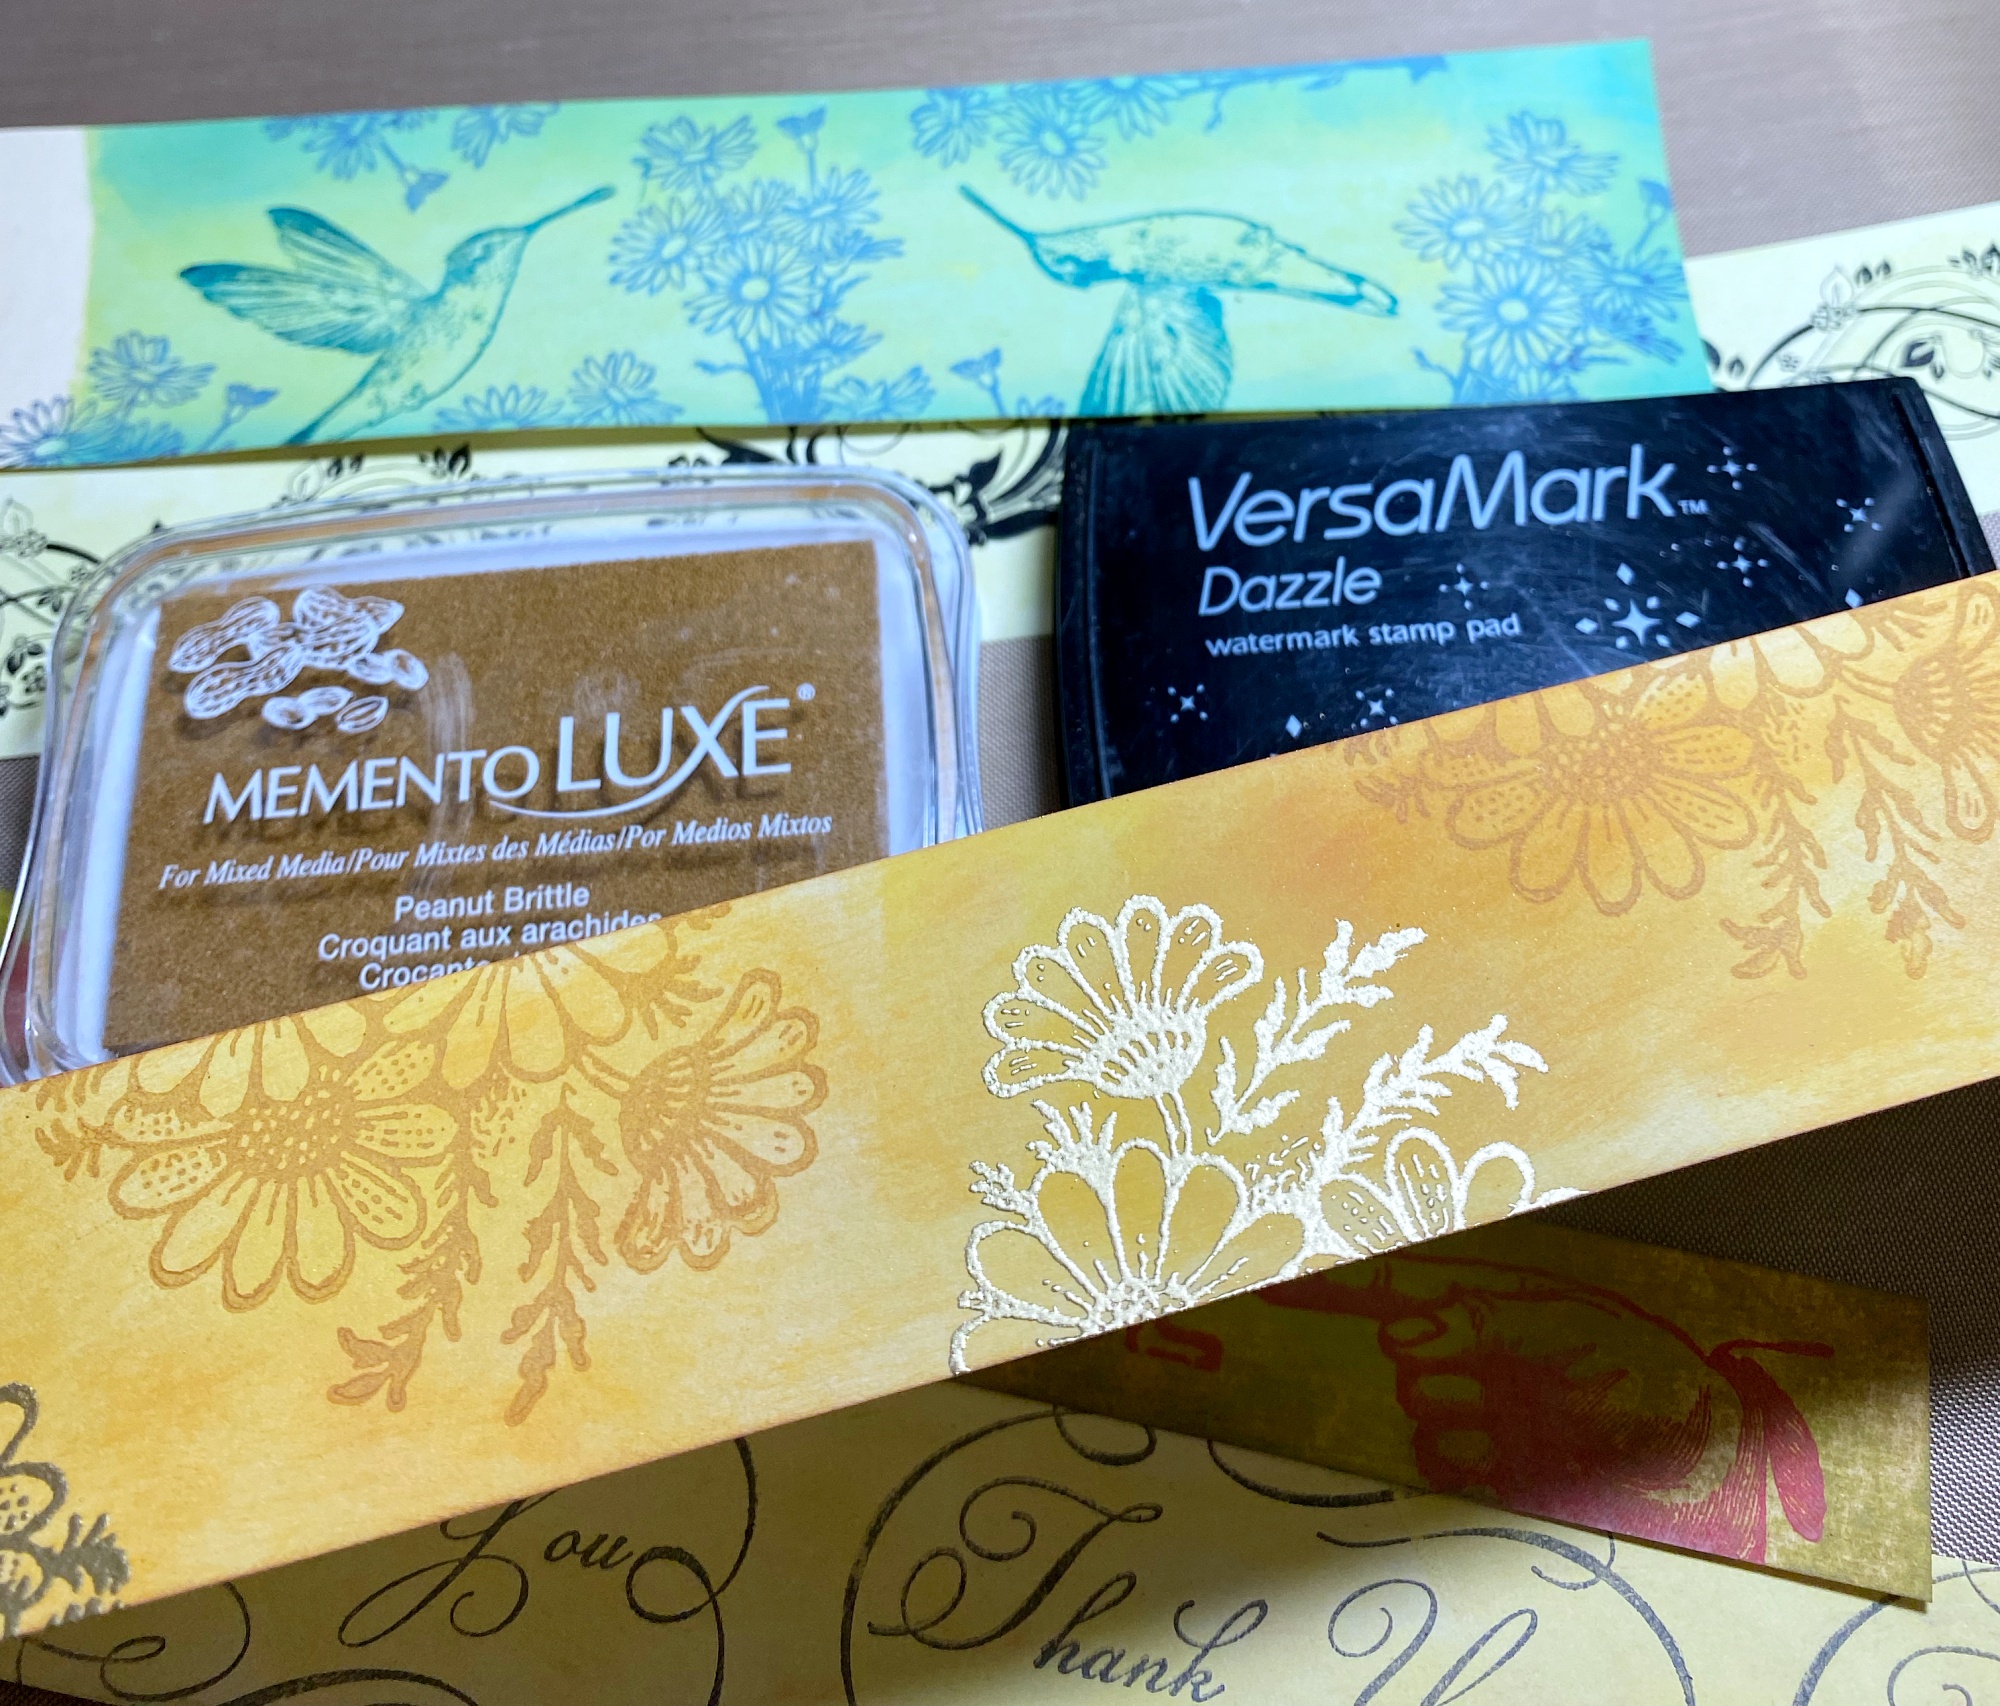
Above is our Wild Sunflowers Rubber Stamp embossed in gold. I embossed using VersaMark watermark pad onto a matte label paper that had a background of mustard seed Distress Oxide.
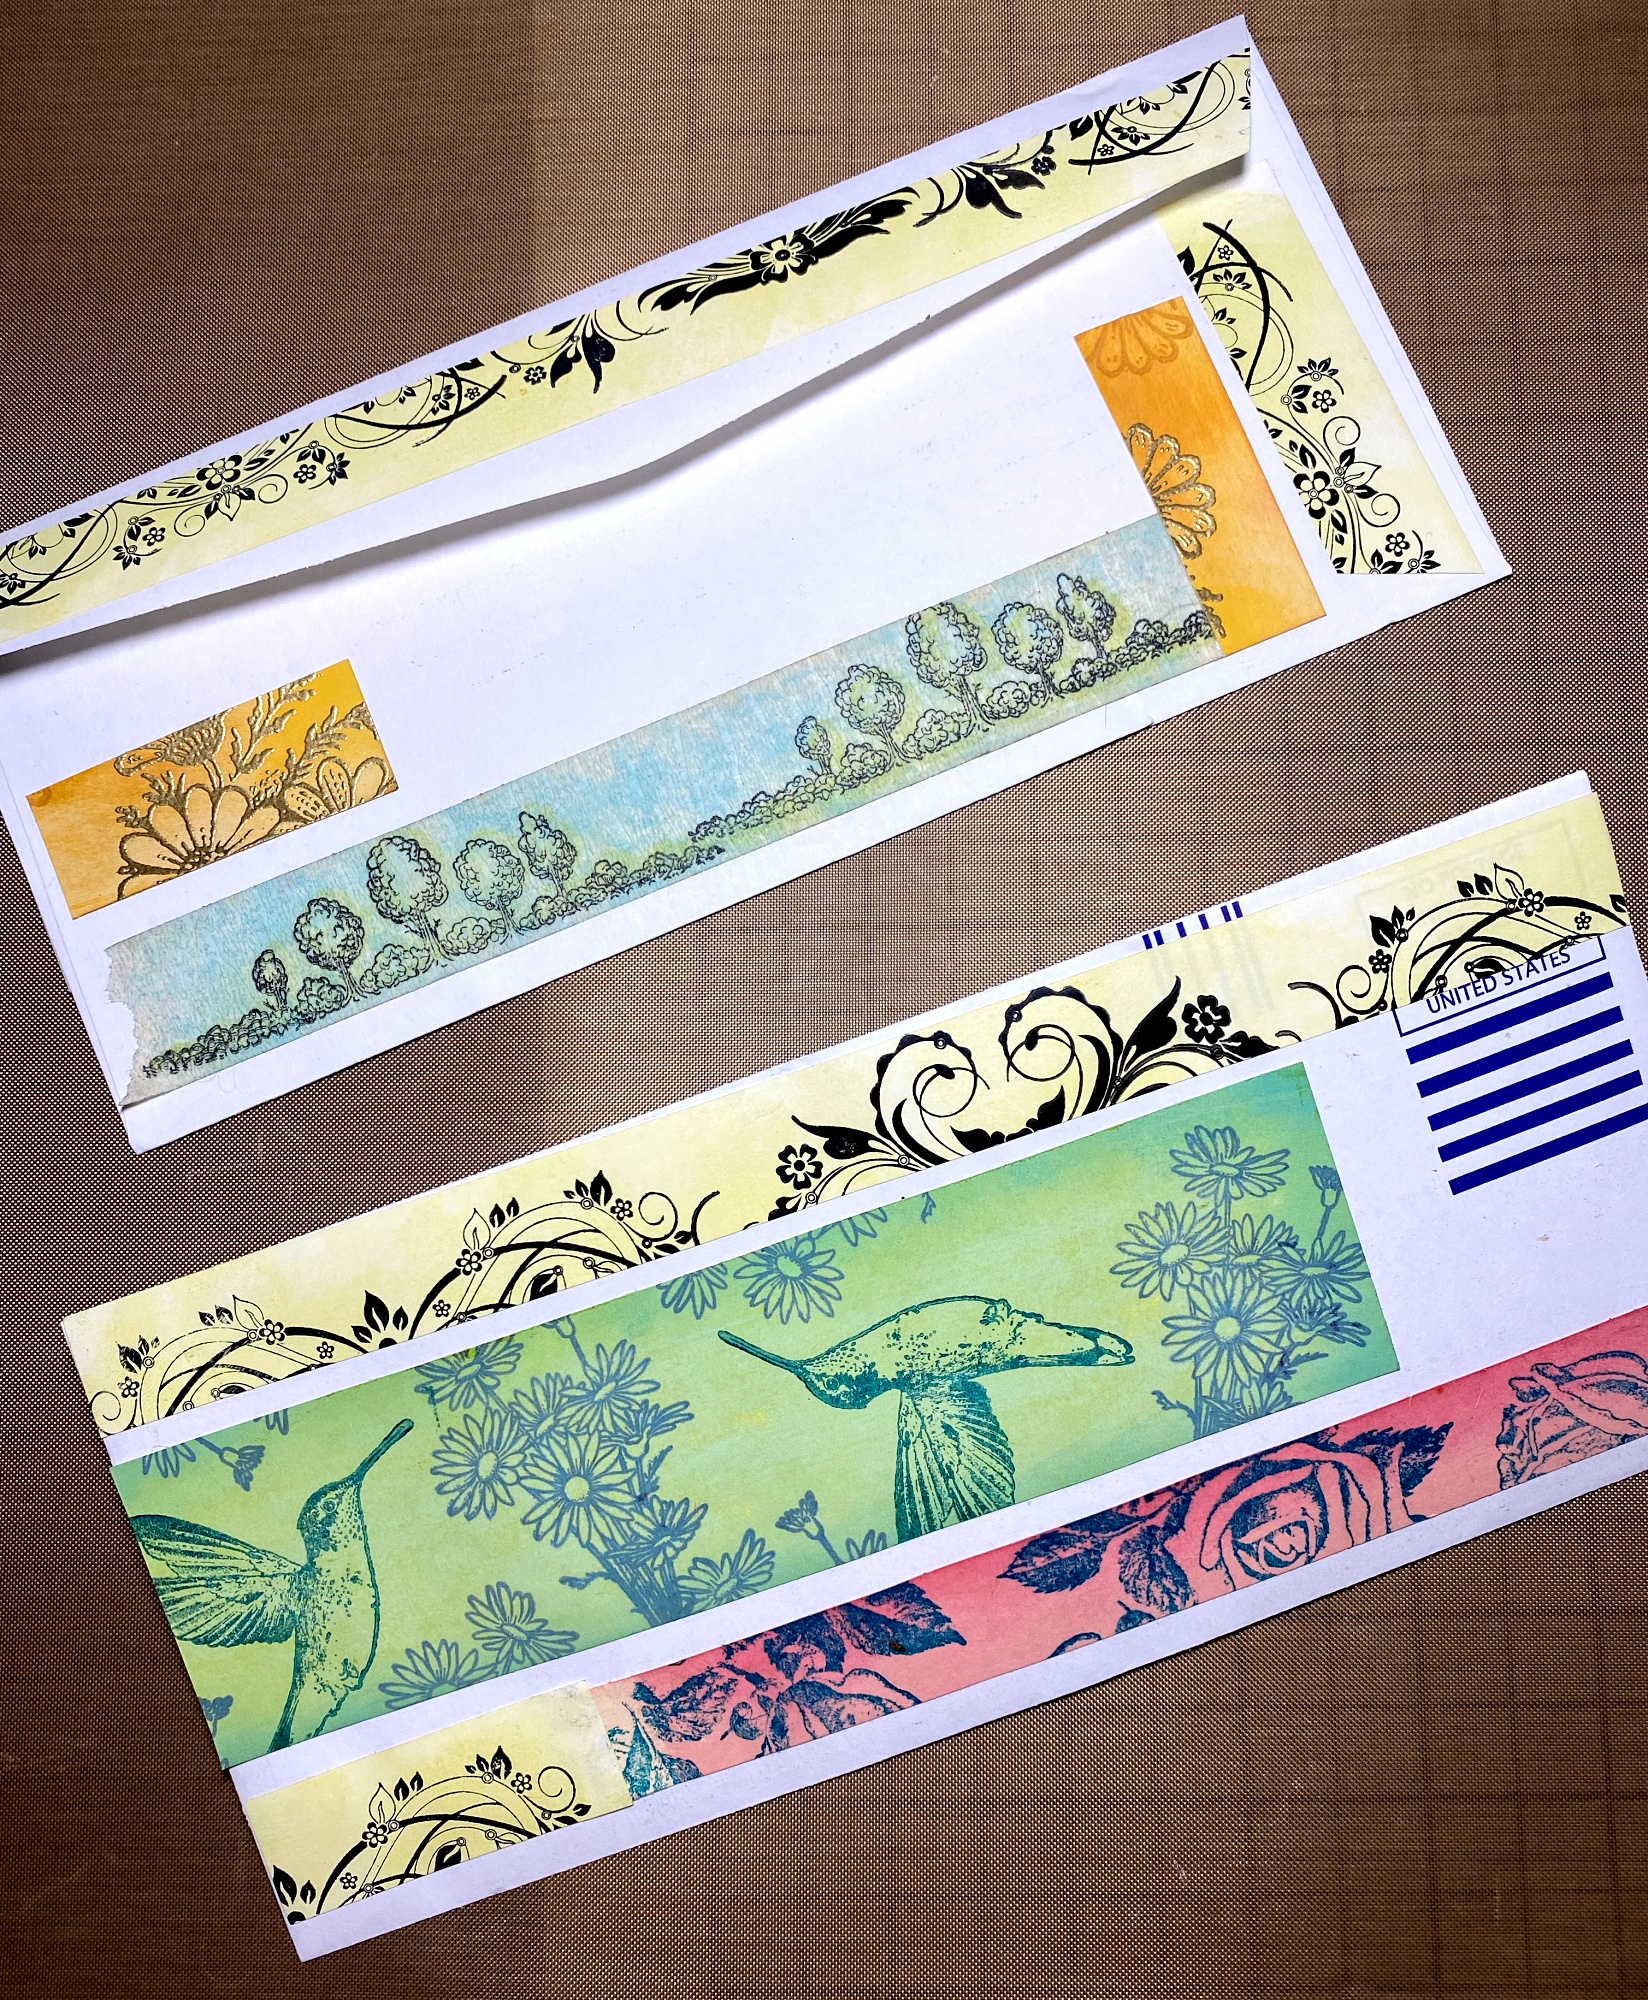
Next, we're recycling those prepaid envelopes you get in the mail and we're making them into a storage page in a binder. But first, we'll decorate them with our new washi tapes!
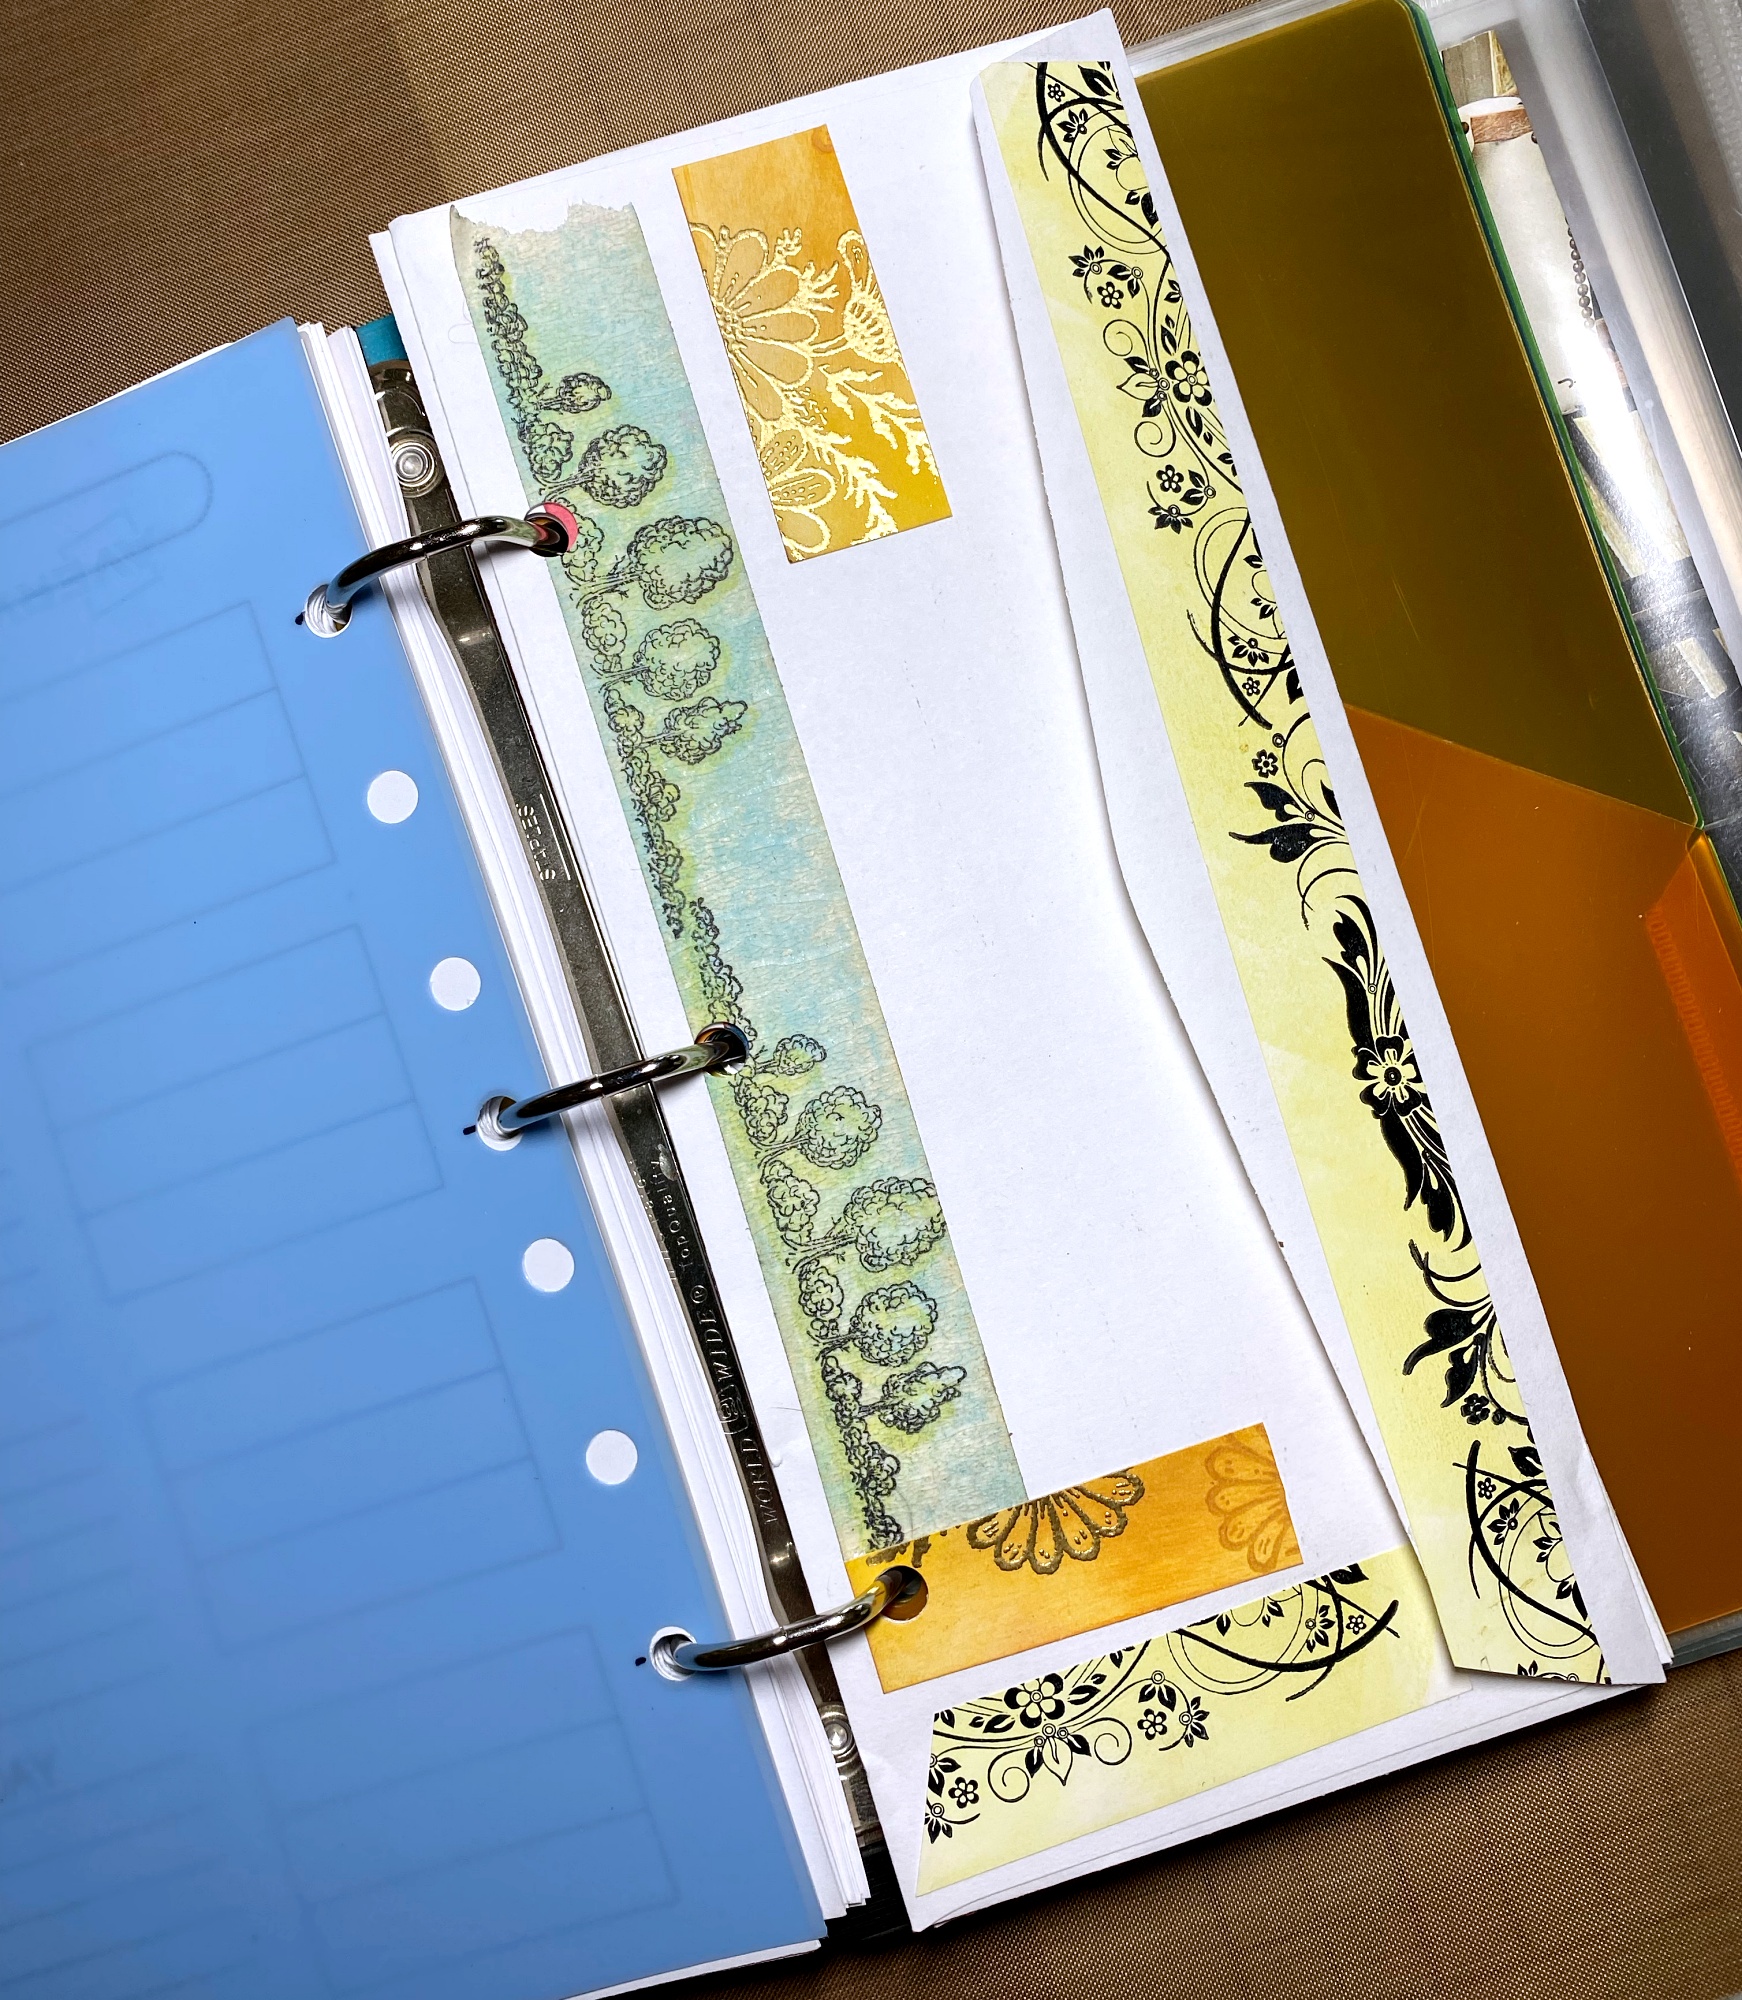
After placing your tapes on them, 3 hole punch one end and leave the flap side to put stuff in. I am using a statement sized 3-ring binder here. Although, if you use a full sized binder, you would just have 2 holes punched to use the envelope.
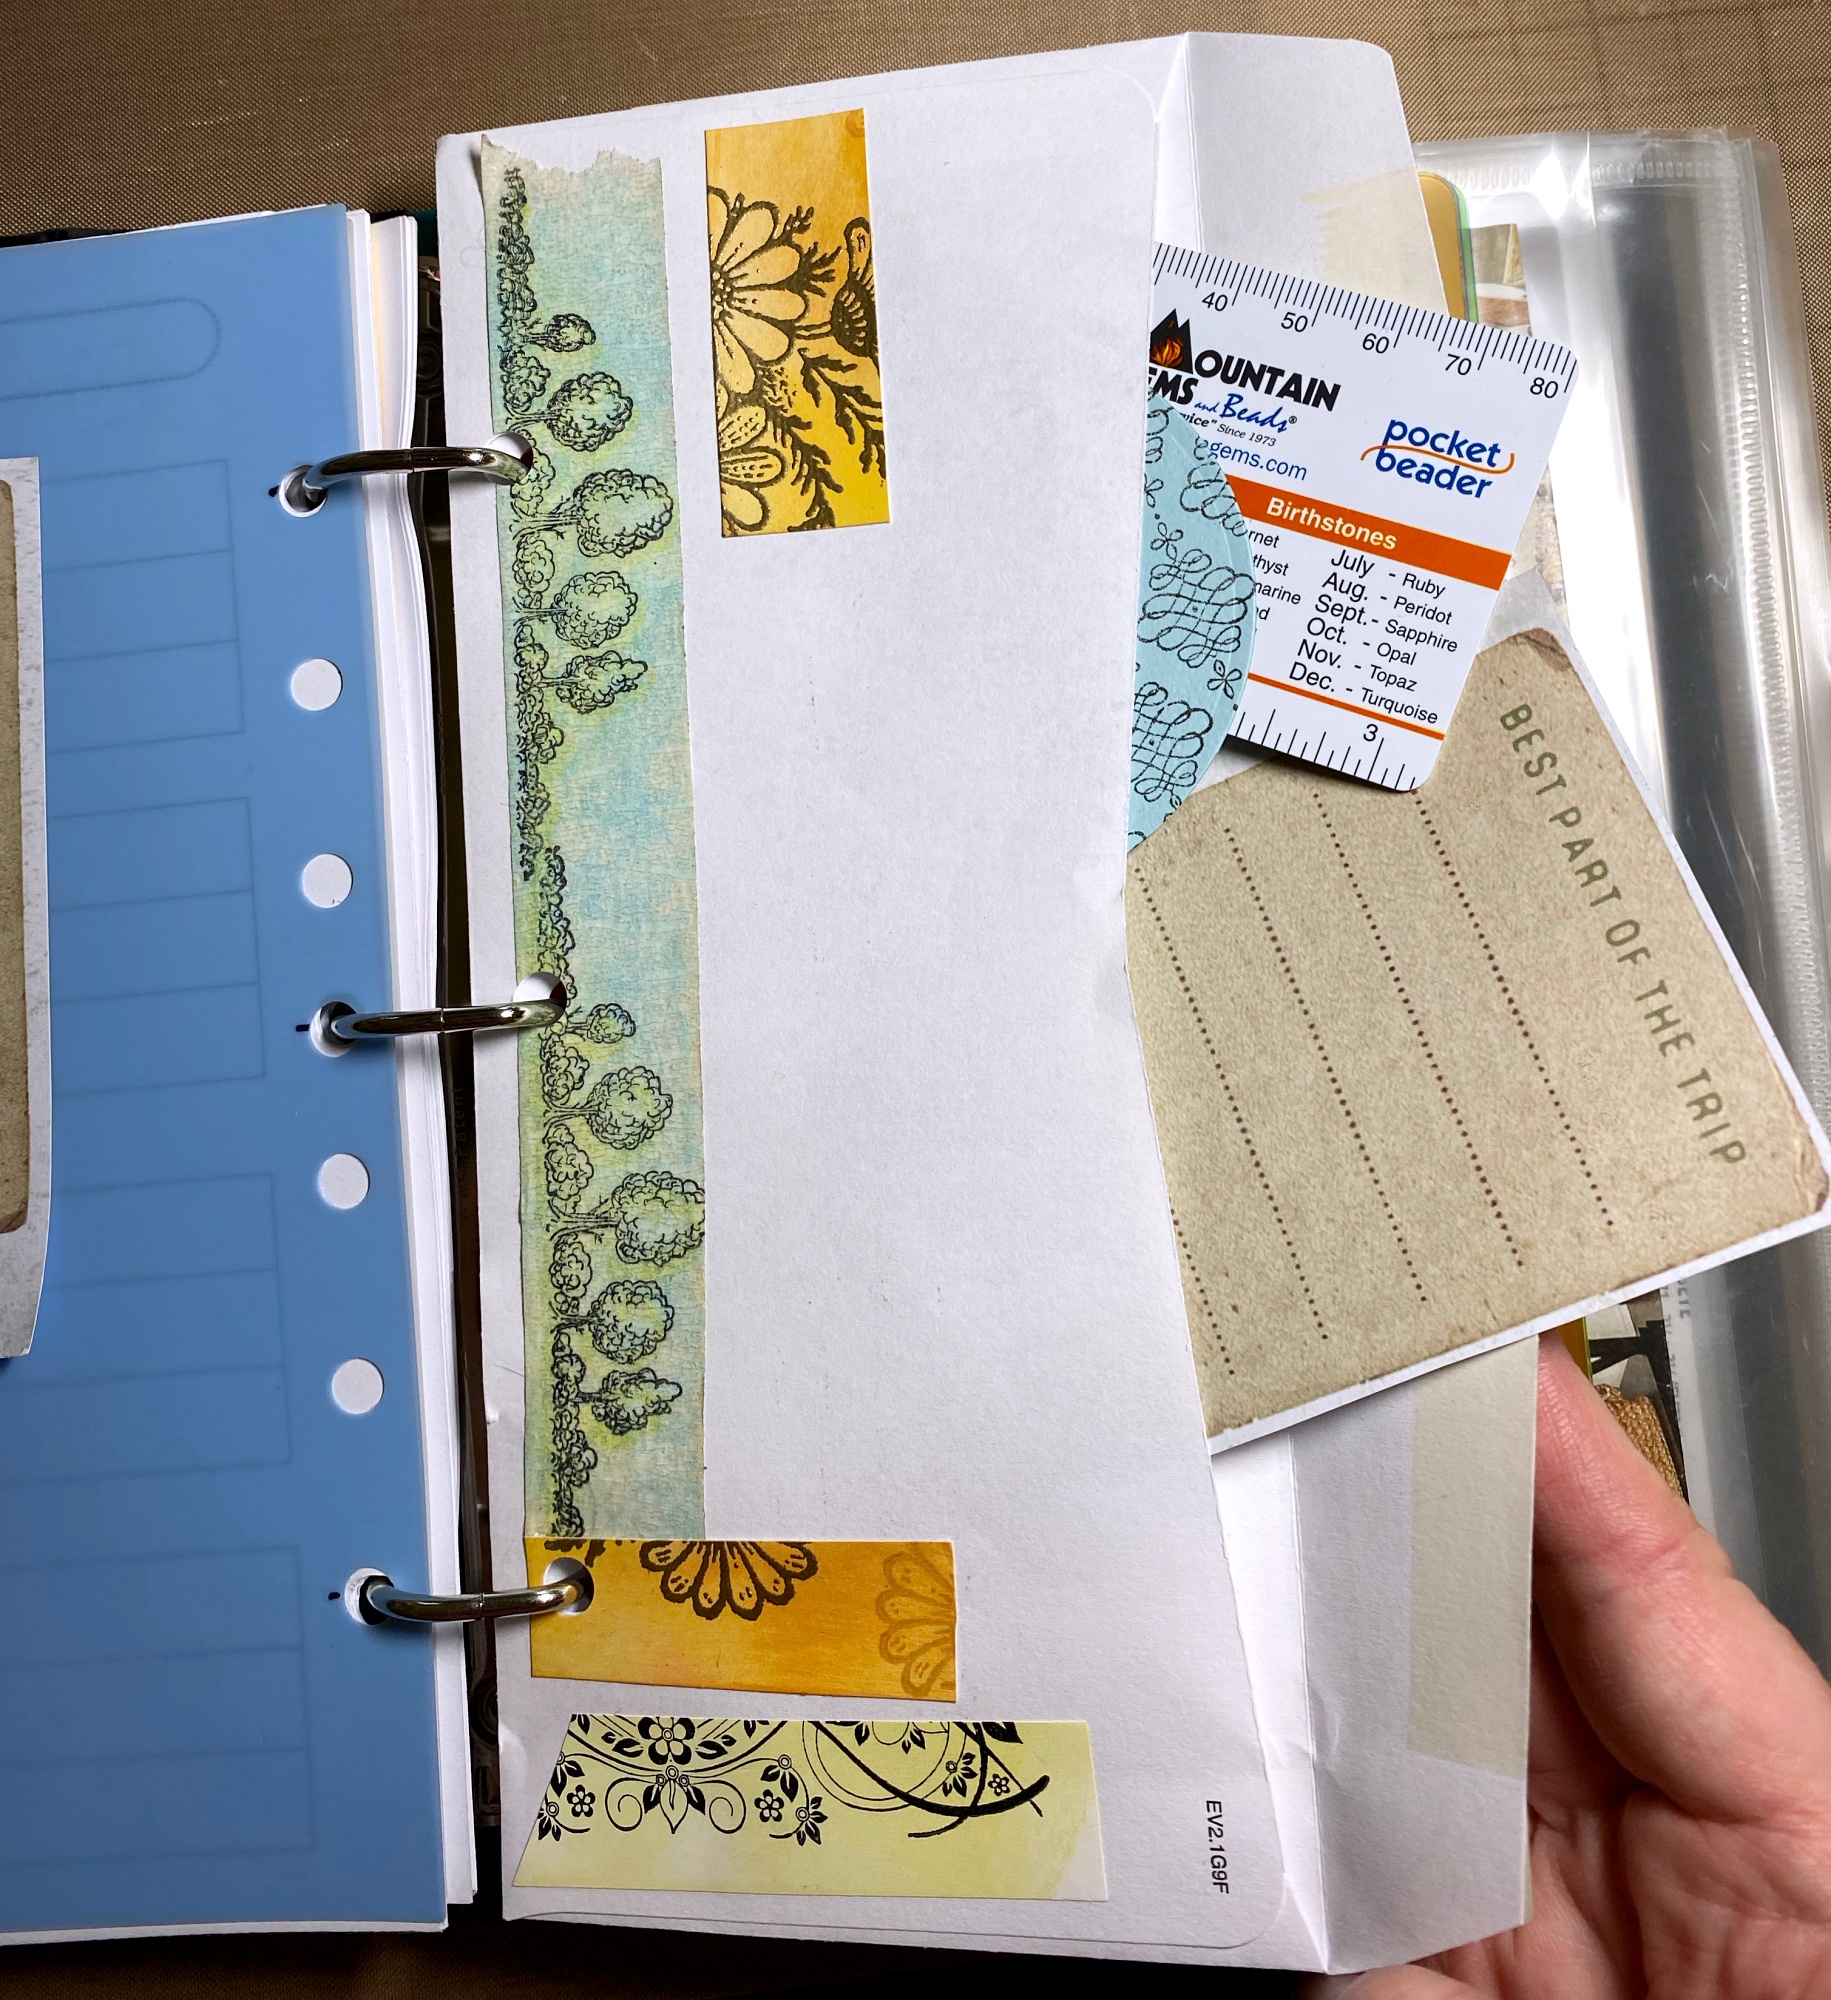
The envelopes are great for storing small items, like receipts, notes, etc.
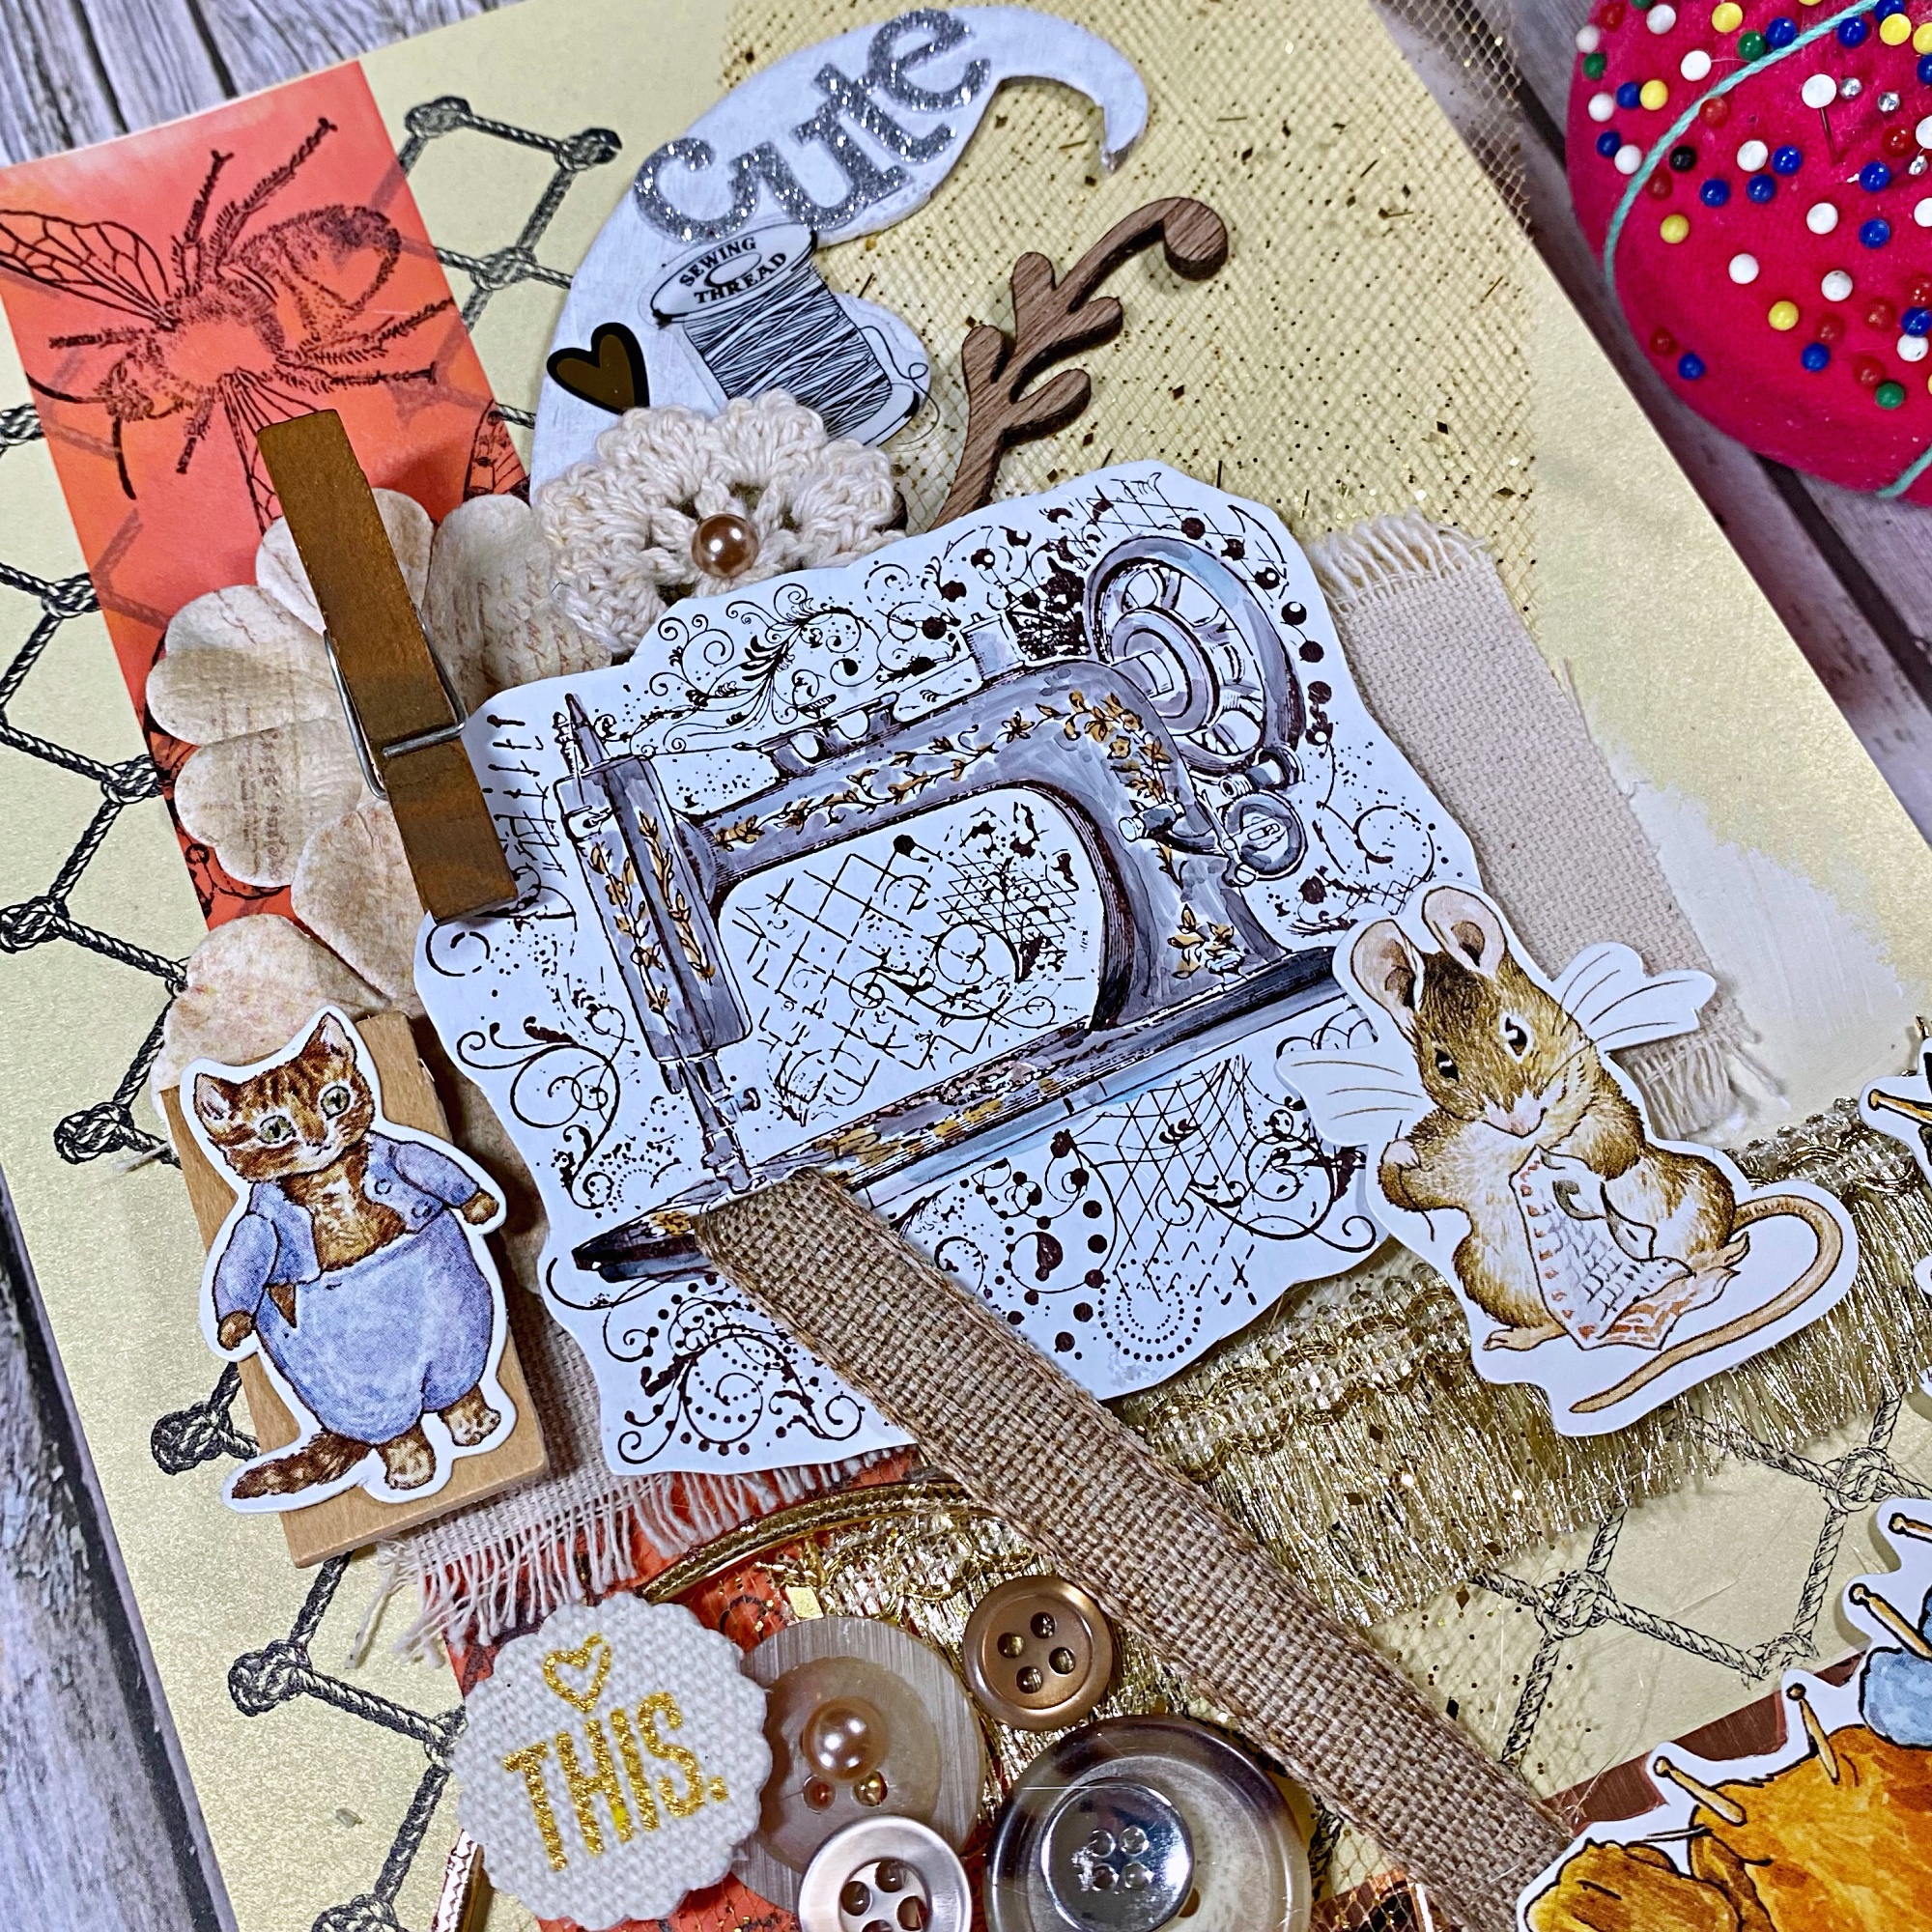
Another place to use your washi tapes is on a journal page. I created a sewing journal page with 'found' objects around the craft room. Actually, I have been wanting to hot glue buttons onto something for a while!
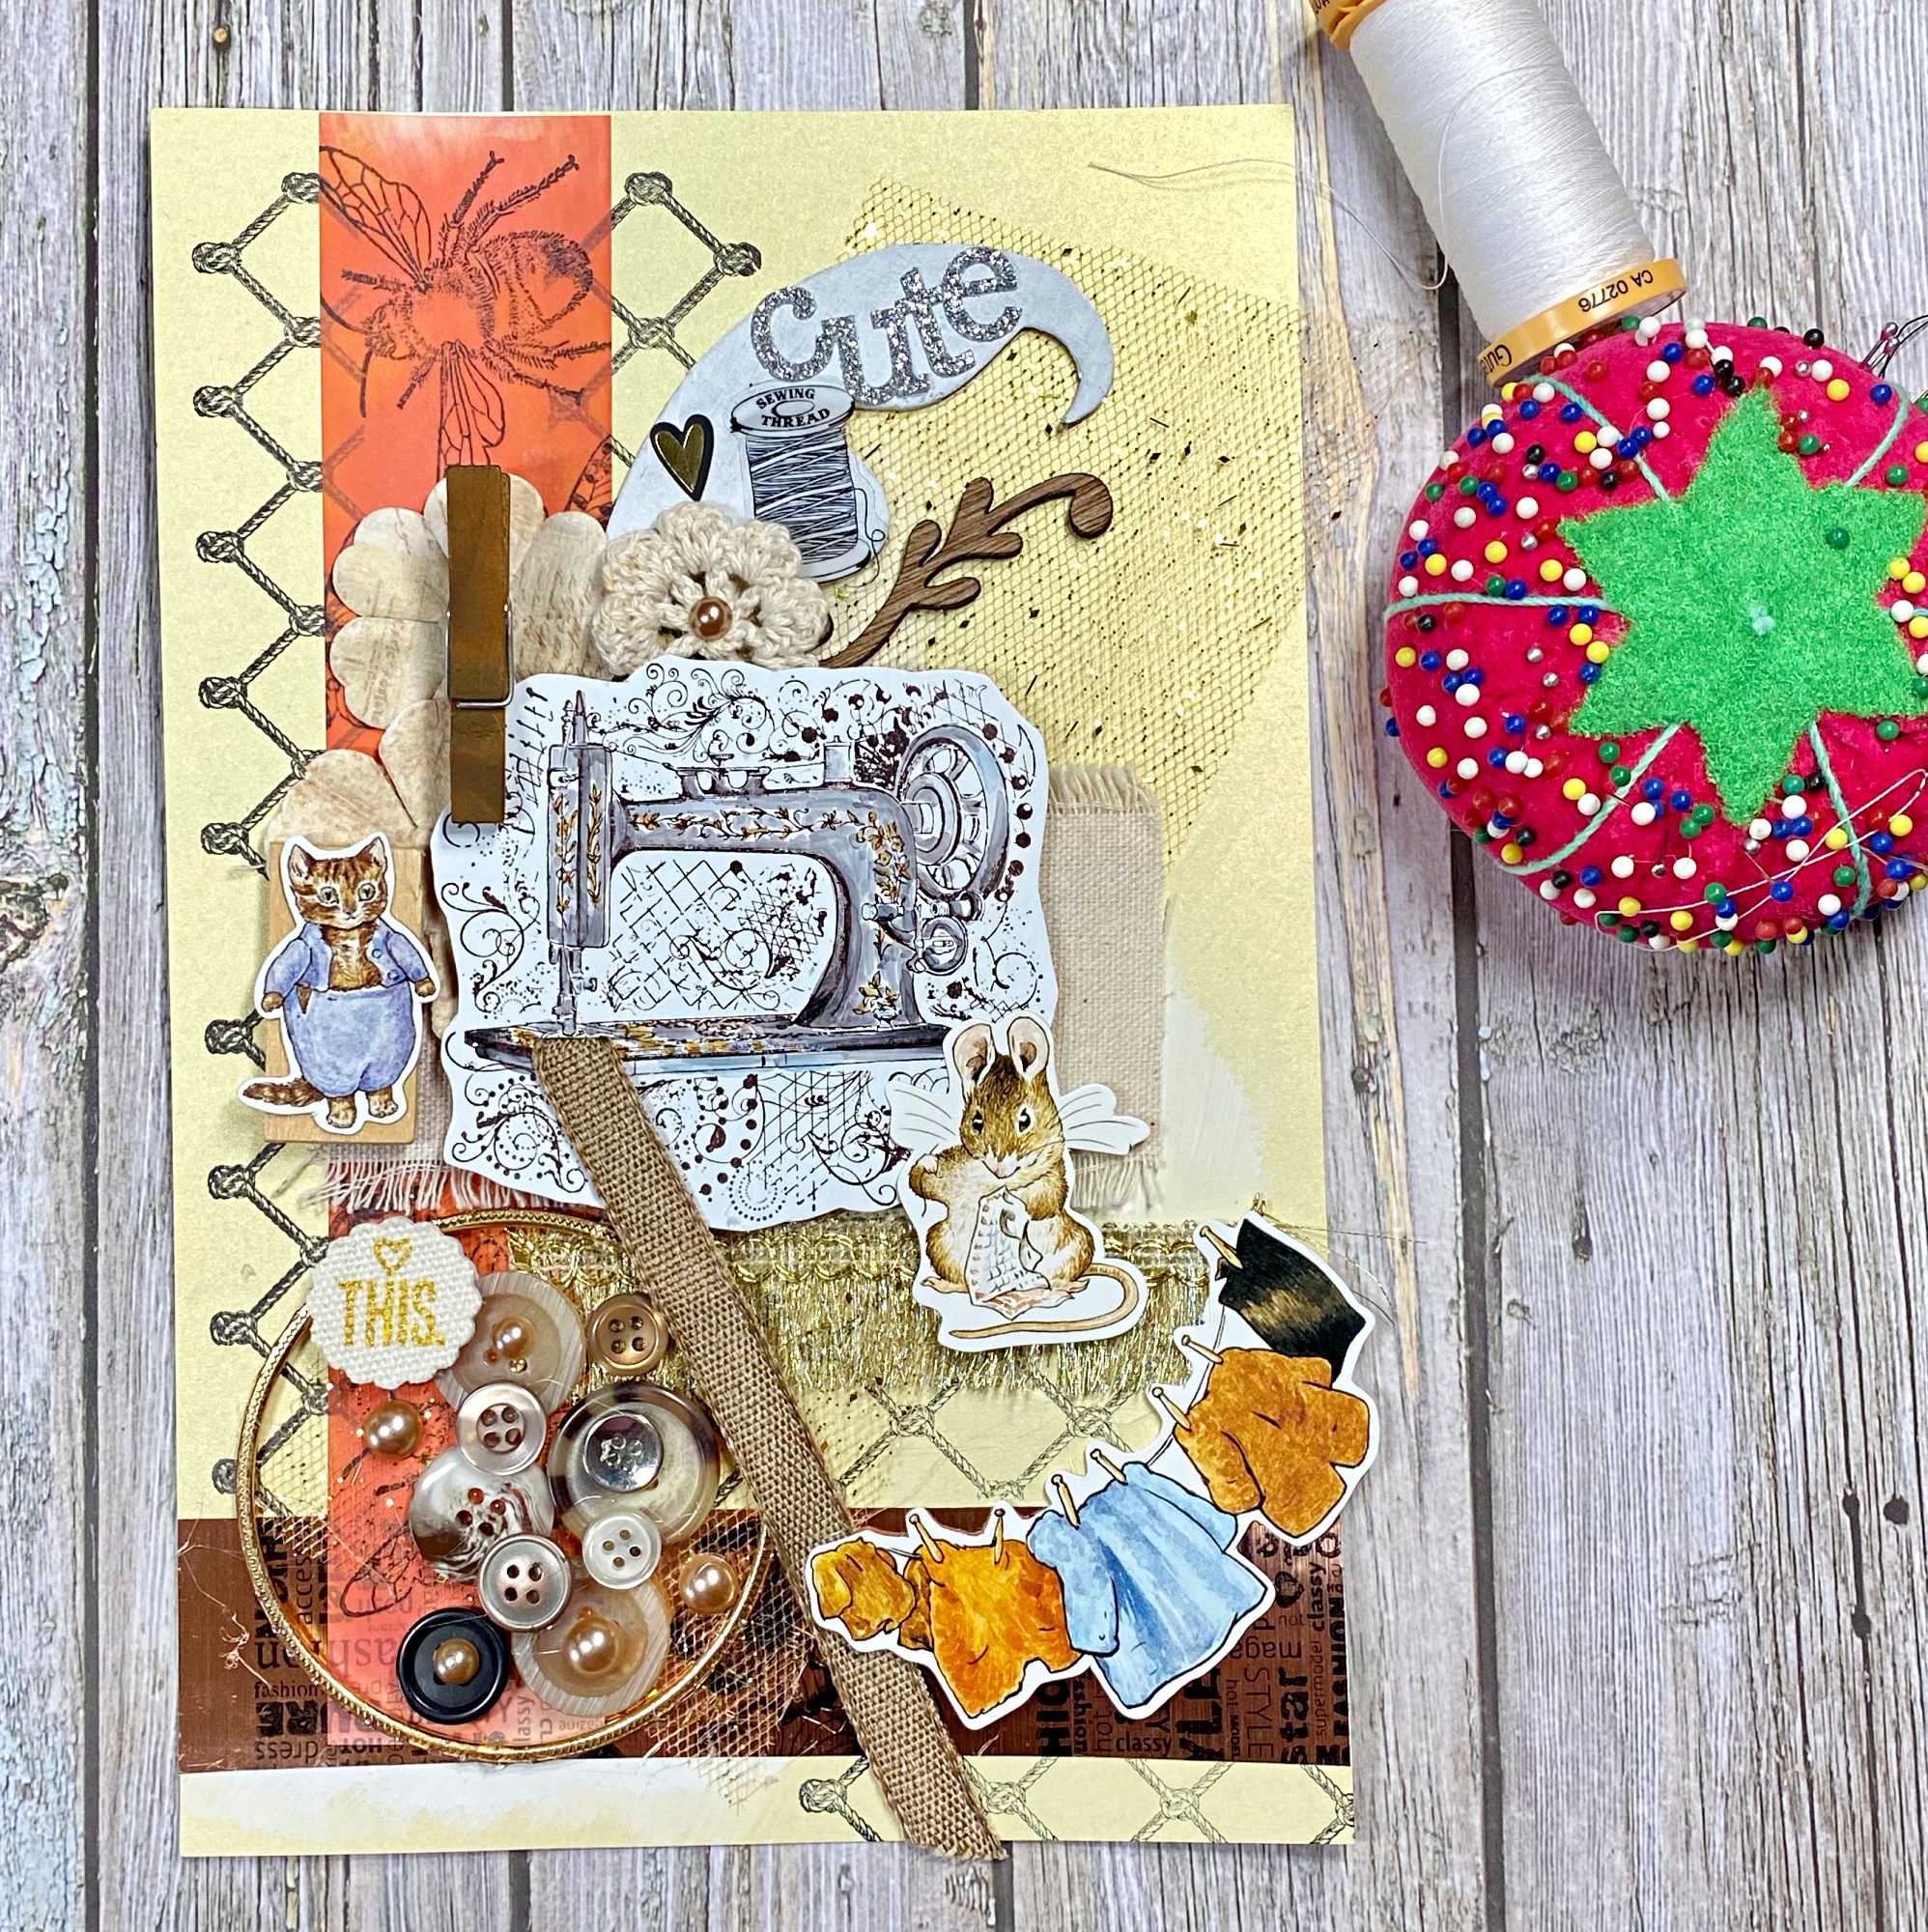
Our Sewing Machine Flourish is the center of the page along with the washi tape with bumblebees and butterflies. Those were stamped onto vellum paper and glue was added to the back to secure it on the page.
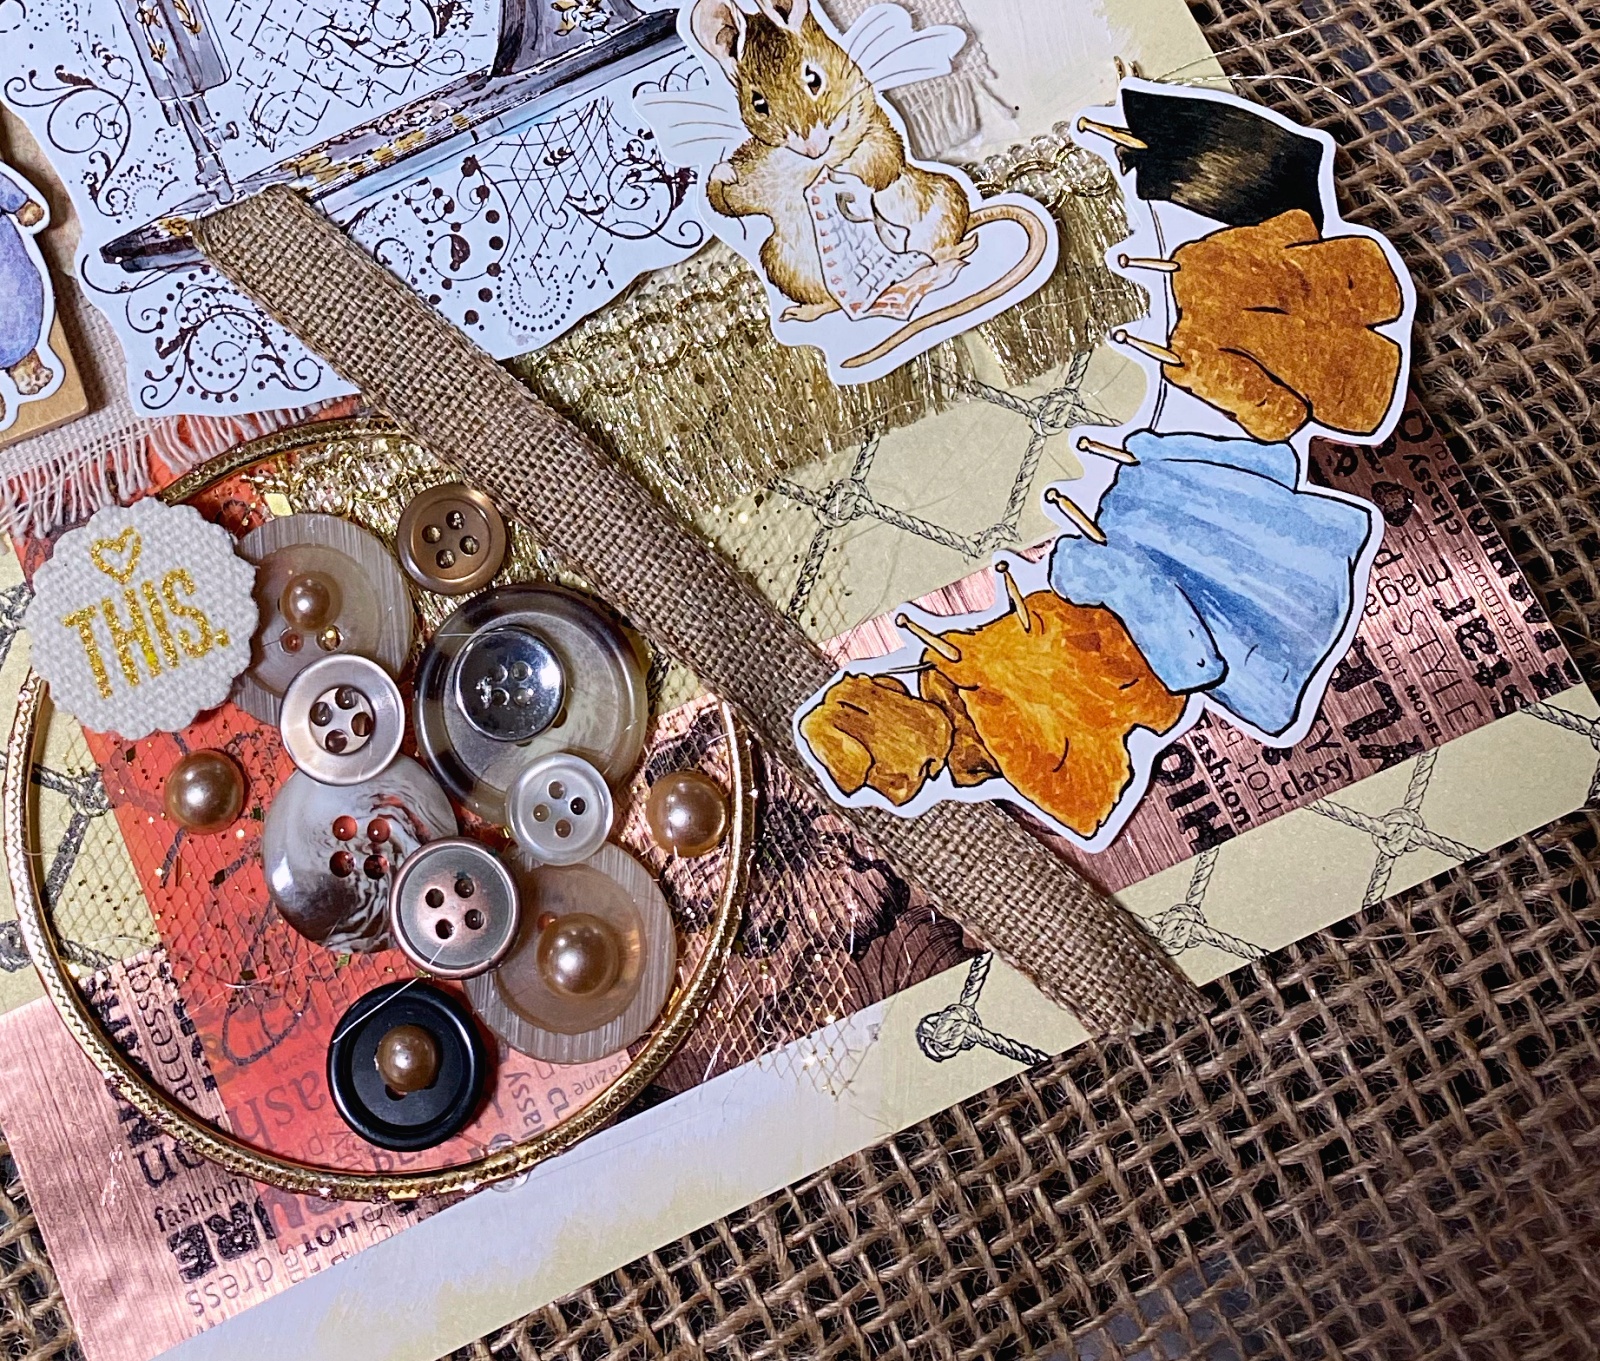
The copper colored strip is a shelf liner that features adhesve. I used our Fashion Square Rubber Stamp and Dogwood Flowers Rubber Stamp with Stazon ink.
With all of the examples, I hope you've gained some knowledge regarding stamping inks and are inspired to create your own stamped tapes. You probably already have a journal page that can take a special tape strip.
Other rubber stamps used in the projects above are:
Vintage Air Mail Rubber Stamp (just the words)
Butterflies Pair Rubber Stamp (the smaller butterfly in the set)
Vector Flourishes Rubber Stamp Set (2 of the designs)