

Custom Coloring Book
Posted by Susan J. Deep Red Stamps on May 1st 2020
Crafting, coloring, and basically creating art are essential, especially during these times. Art therapy has been proven to benefit your well being. Whether its relaxing after a hard day or passing the time, coloring is fun and doesn't require many tools.
For crafters who love to rubber stamp, making a customized coloring book of your favorite designs is easy. If not for yourself, then make a coloring book for someone else. They will love that it's handmade! All you need are rubber stamps and basic office supplies that you can get at the grocery store.
Items needed:
Rubber Stamps and Ink
School folder with 3 metal clasps in the binding (found in any office supply section.)
White office paper (optional: card stock and/or watercolor paper).
Hole Punch
Pencil
Take the school folder, turn it the long way and trim so that it's 6 1/2 inches wide. This leaves you with 2 metal clips inside. If the folder has pockets, they will be in the part that's trimmed away.
Each page will measure 5 1/2 inches x 8 1/2 inches. So take the long side of your paper (place it landscape orientation) and cut it at 5 1/2 inches. You're cutting the 11 inch sheet in half.
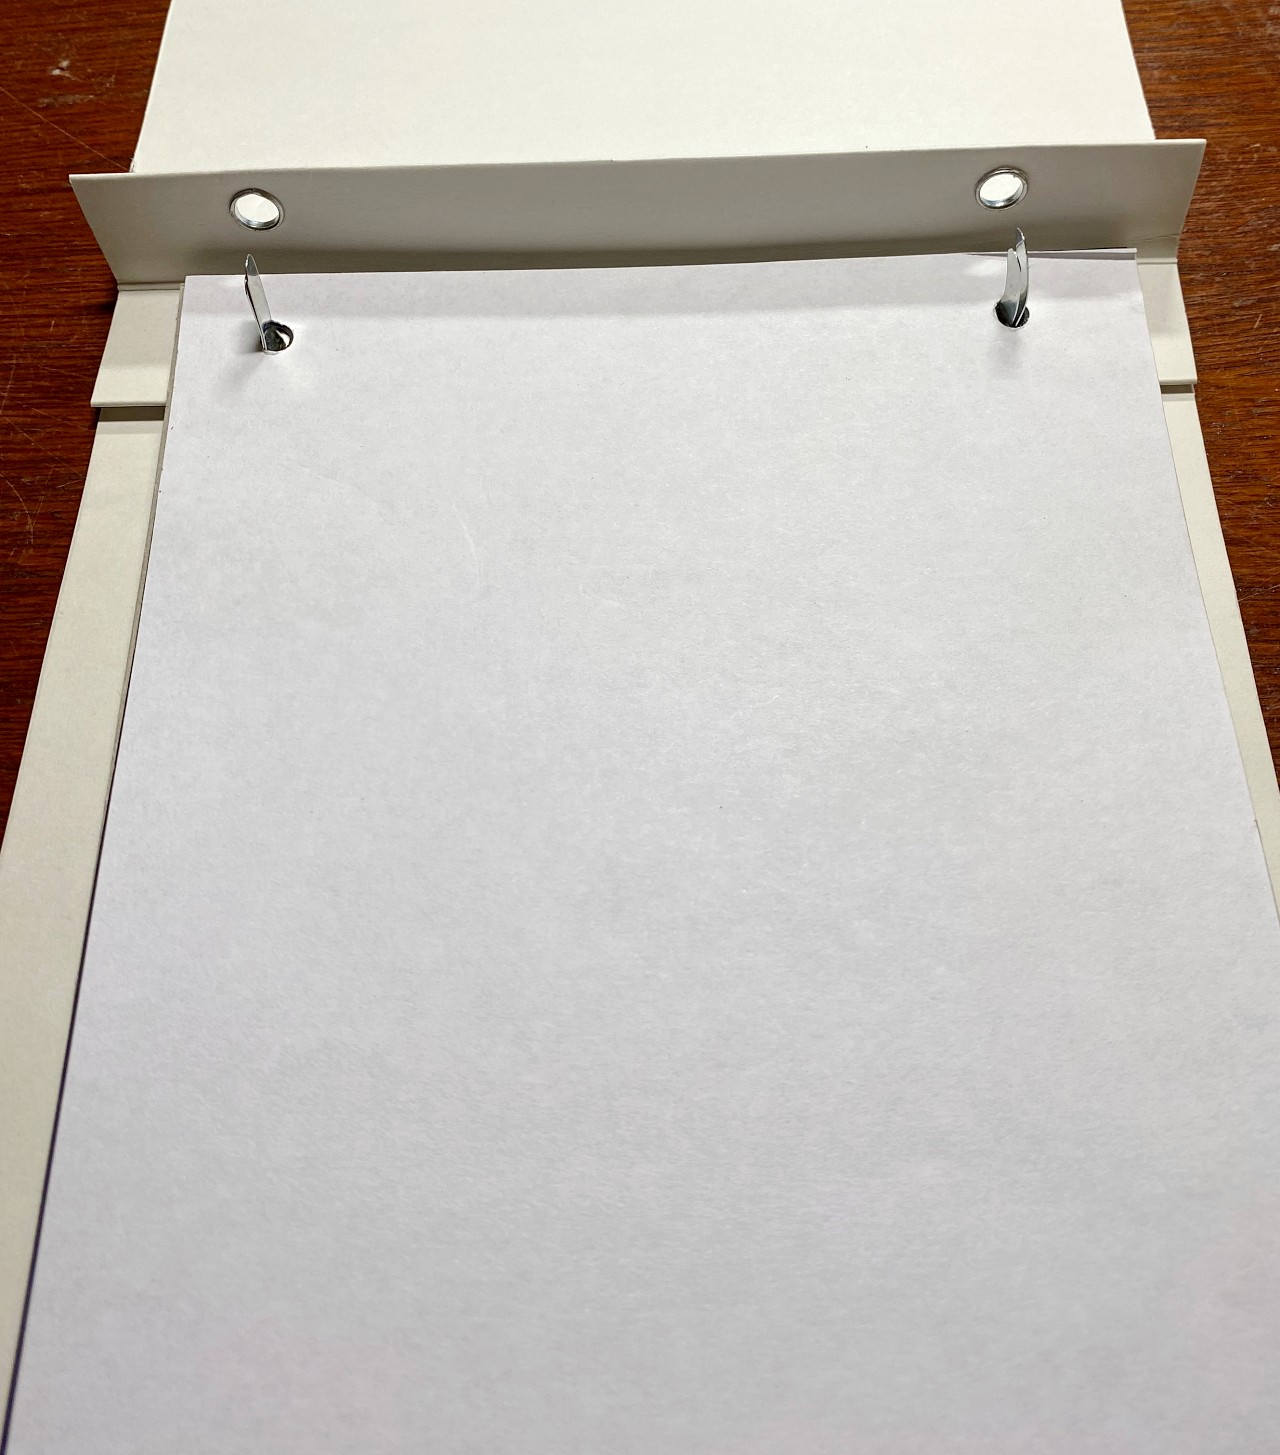
Measure where to punch your 2 holes at the top of the page and a half inch down from the top edge.
Tip: Use a piece of chipboard and cut it to 5.5" x 8.5". Mark where the 2 holes need to be on the chipboard and then punch the 2 holes. You can then use this as a template to make hole punching on the remaining pages easy. Also, you will be able to place this chipboard in your coloring book at the end of the pages to give it a sturdy backing.
Optional: Place a card stock page behind each white paper page so that you minimize bleed through when coloring. I used black card stock.
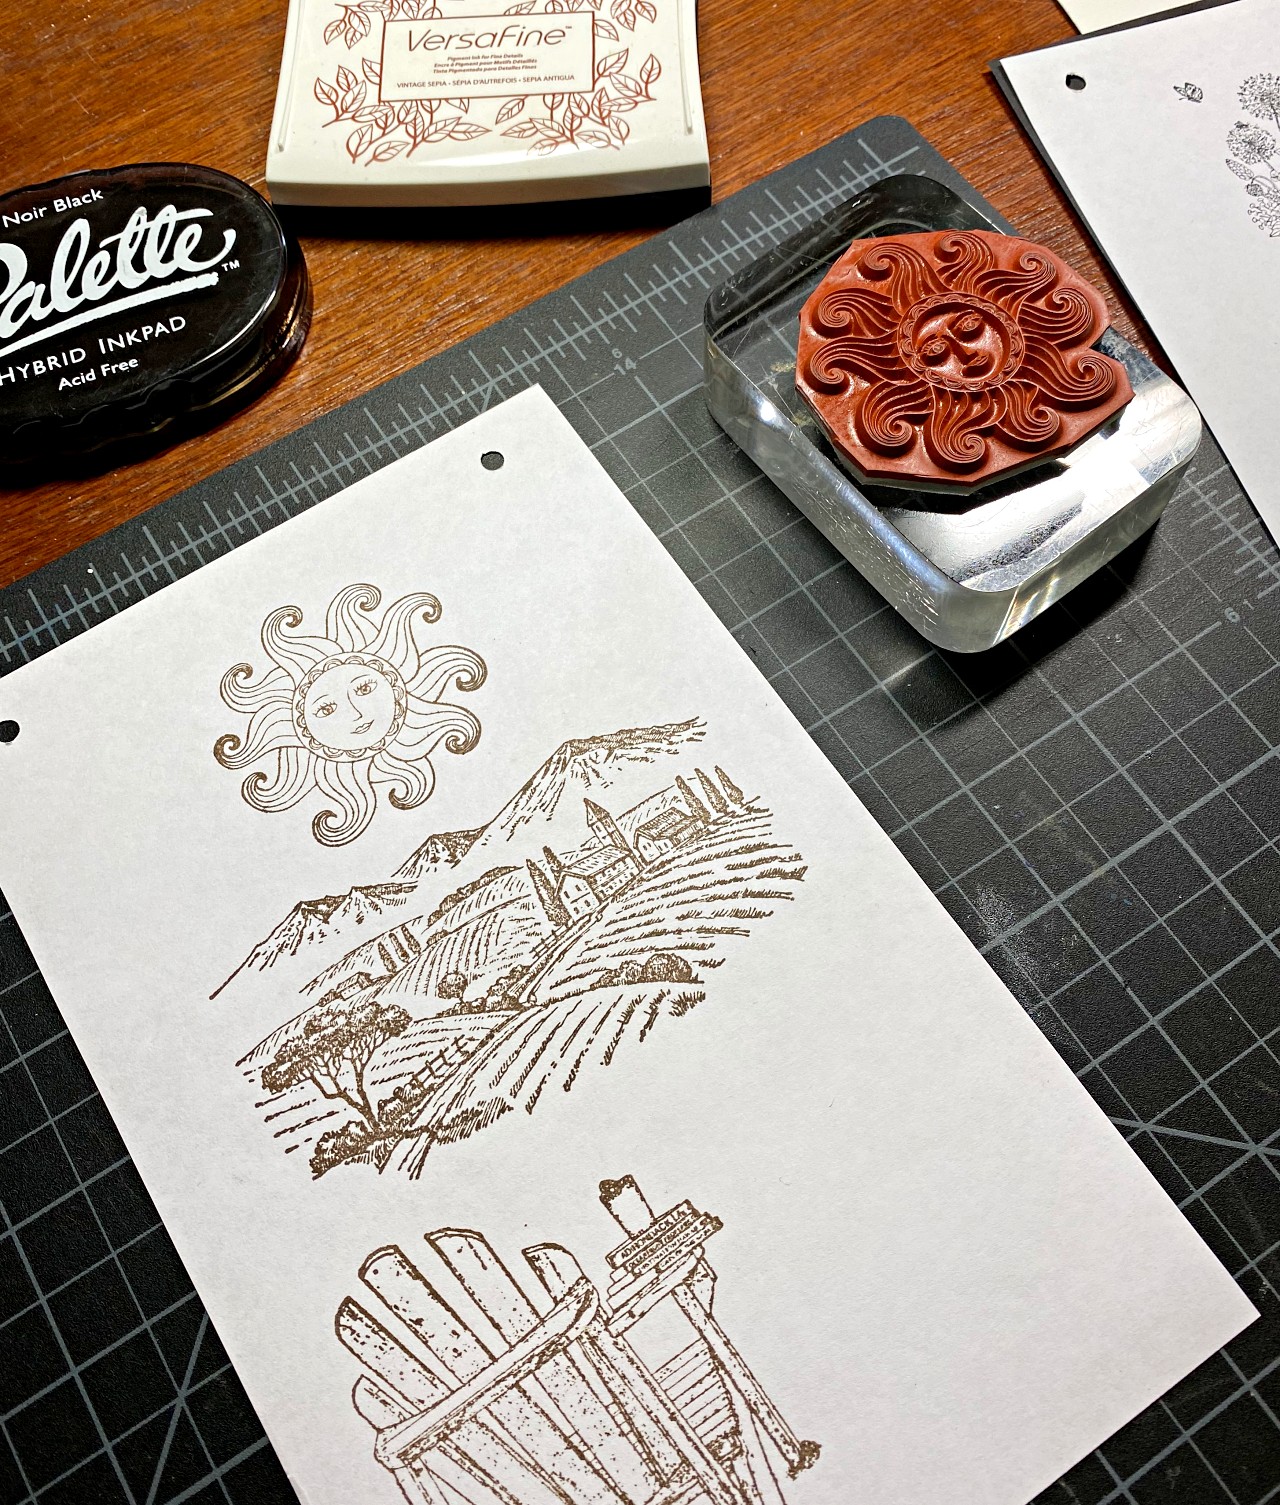
Now, the fun part... using your favorite stamps and any ink colors, stamp your designs onto each page. On the page above, I used stamps that are fun to color in:
Rolling Hills Vineyard Rubber Stamp
and Miss Sunshine Rubber Stamp
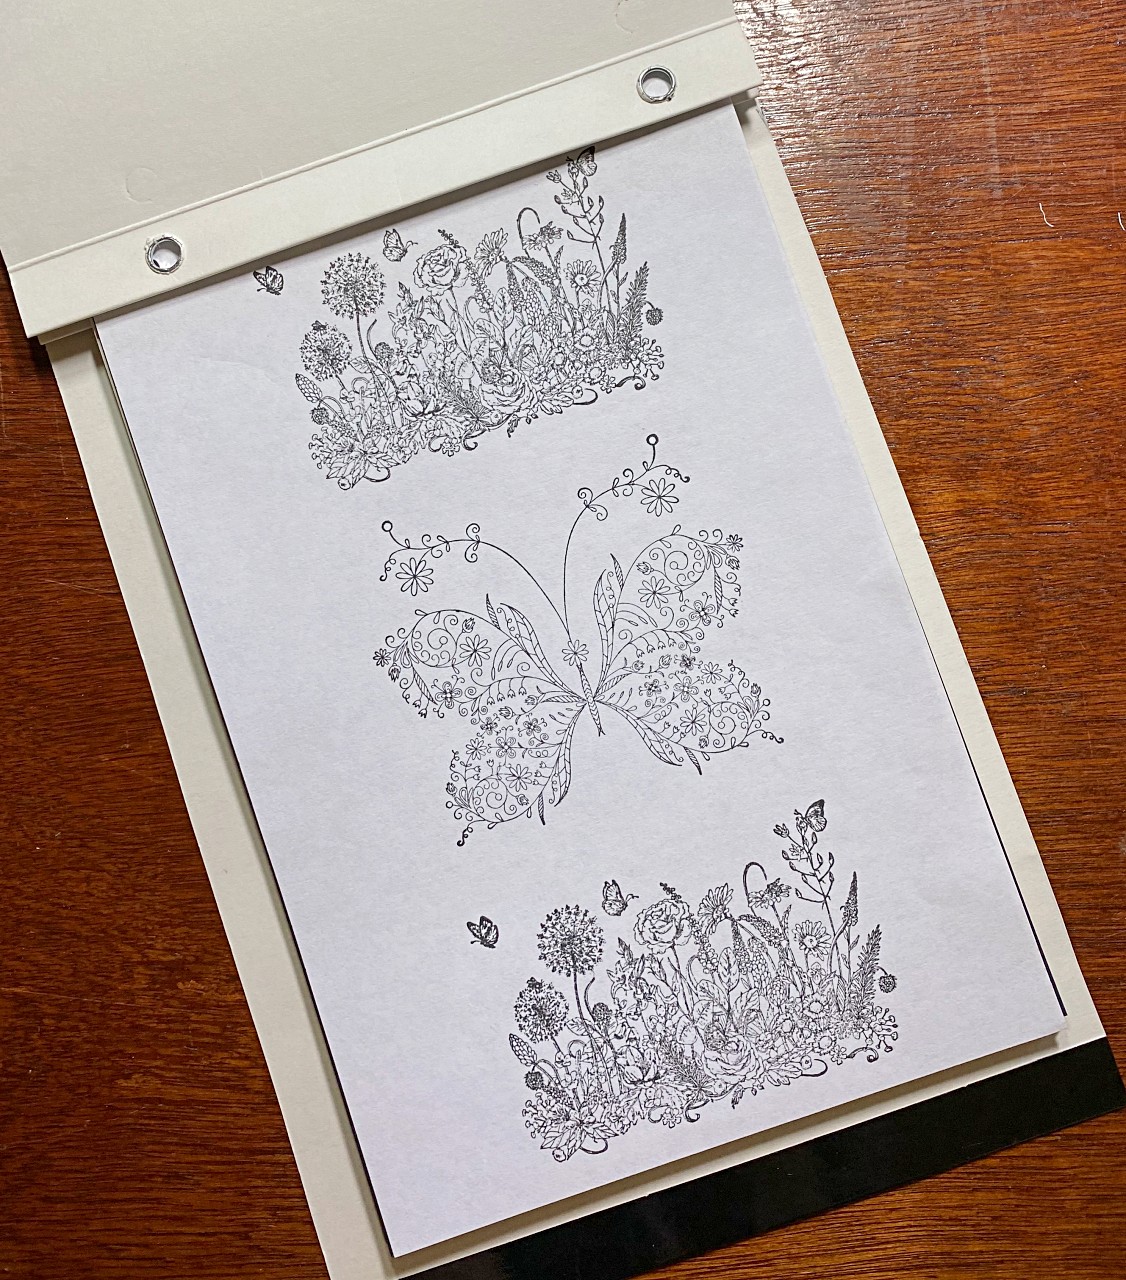
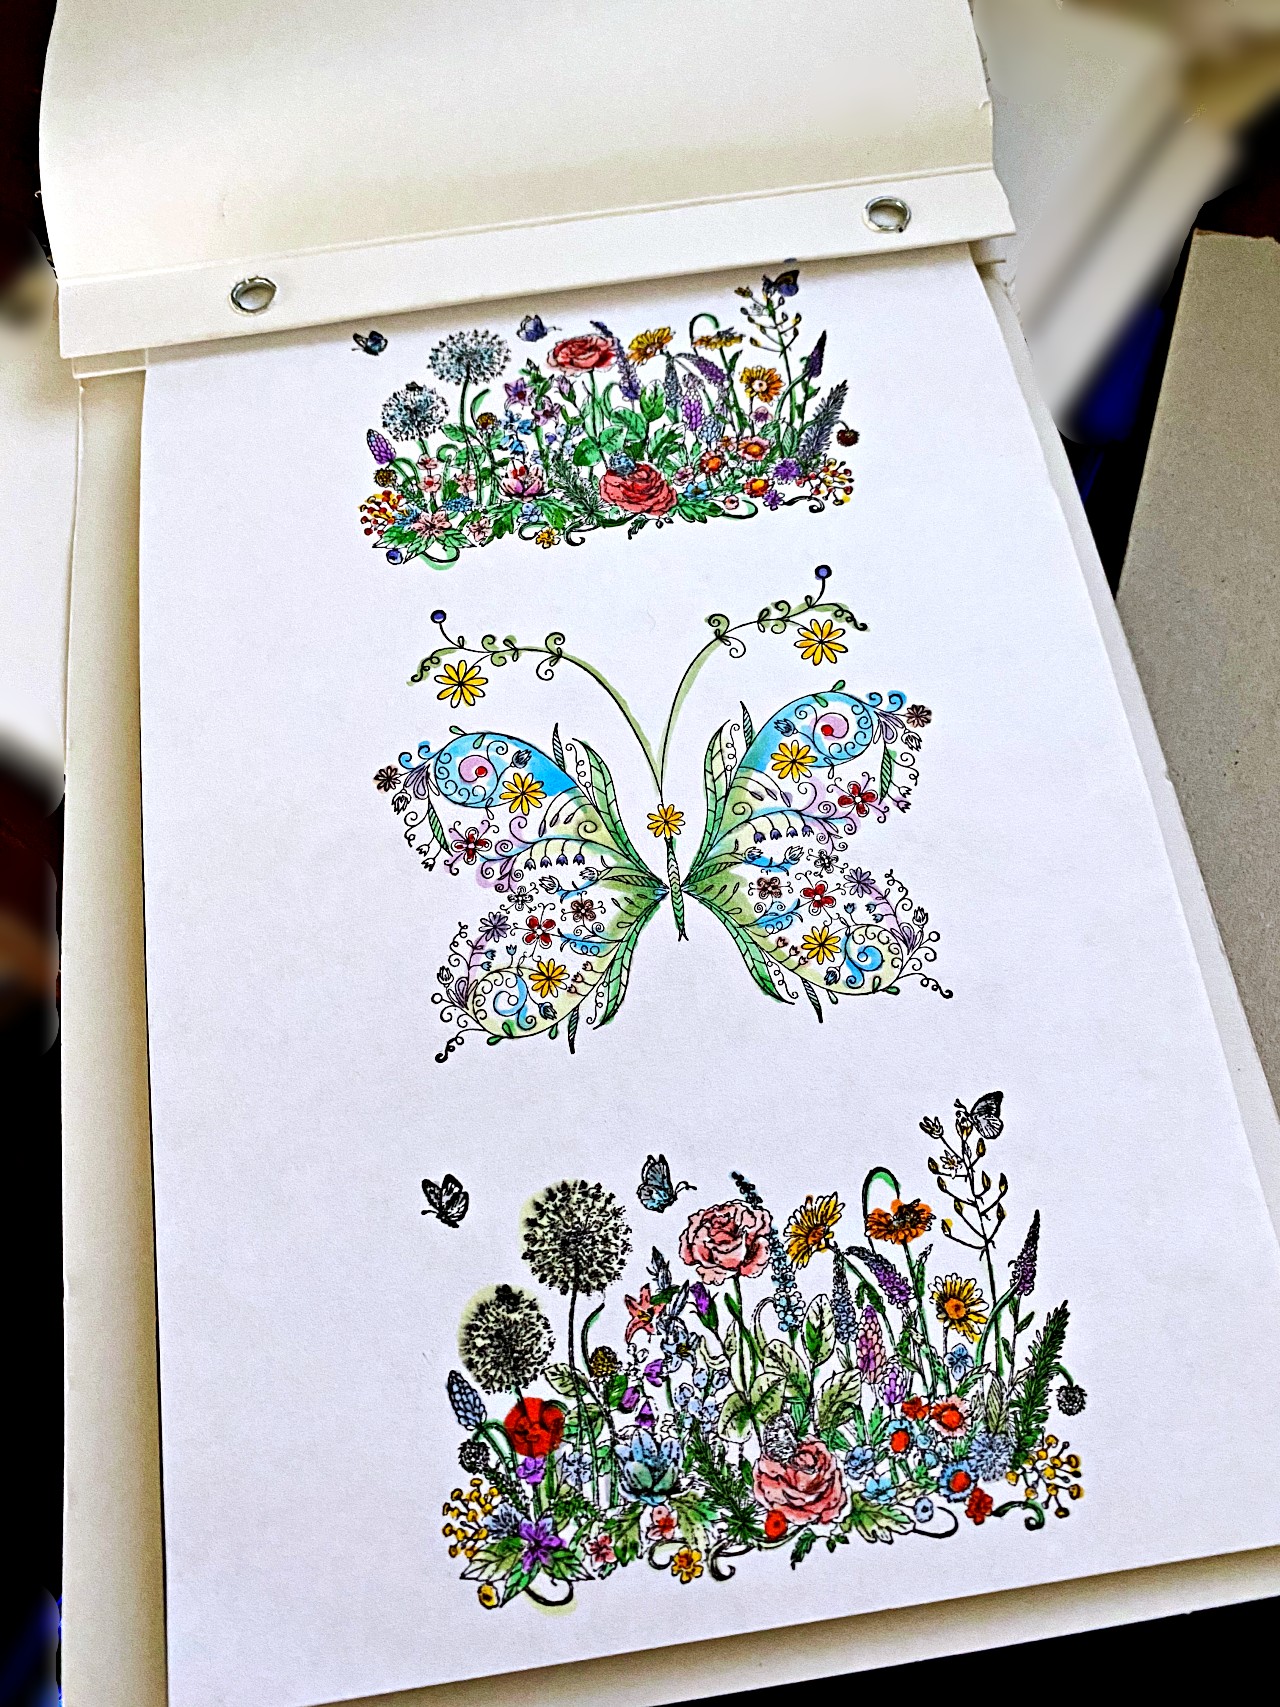
Each page can have its own theme and we have the perfect rubber stamps to make the perfect coloring book(s)! Above is Summer Flowers Border Rubber Stamp (stamped twice) and Floral Butterfly Rubber Stamp. Other themes that would make great coloring book pages include:
Flowers, Animals, Nature, Christmas, Aquatic, and...who wouldn't love the City Girls to color? Spacing between the stamps on your pages is up to you. Anything will look good if you keep a theme/color going. Stamp in the middle of the page or try and fill the page with designs. Magnolia Blossom Rubber Stamp, Blossom Time Rubber Stamp and Journaling Sketches I Rubber stamp set were used below.
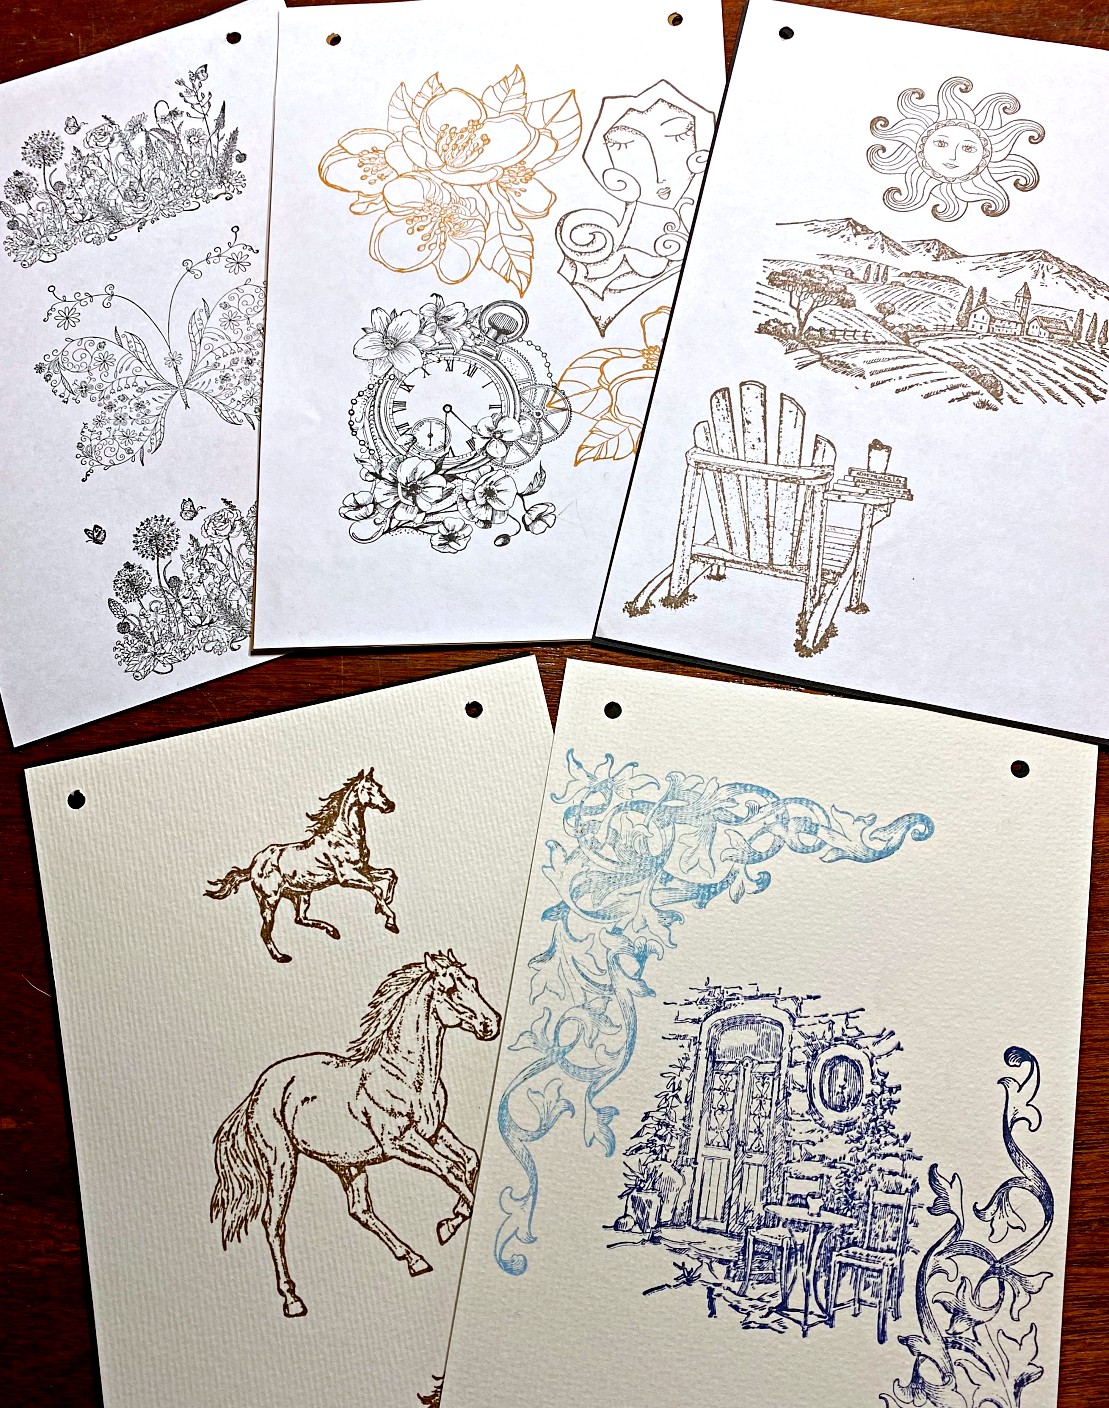
Optionally, you can use watercolor paper for your pages. (If your watercolor paper is 9 inch x 12 inch, trim it down to 8 1/2 inch x 11 inch first, then cut it in half.) On the pages above, I used Wild Horse Rubber Stamp and Spirited Horse Rubber Stamp. Also, the other page features: Dining Alfresco Rubber Stamp and Wrought Iron Corners Rubber Stamp Set.
Hint: when stamping onto textured watercolor paper, place craft foam underneath the paper, then stamp with a good, quality ink pad. Press firmly and evenly on your block or platform and you will get a good impression even on the texture!
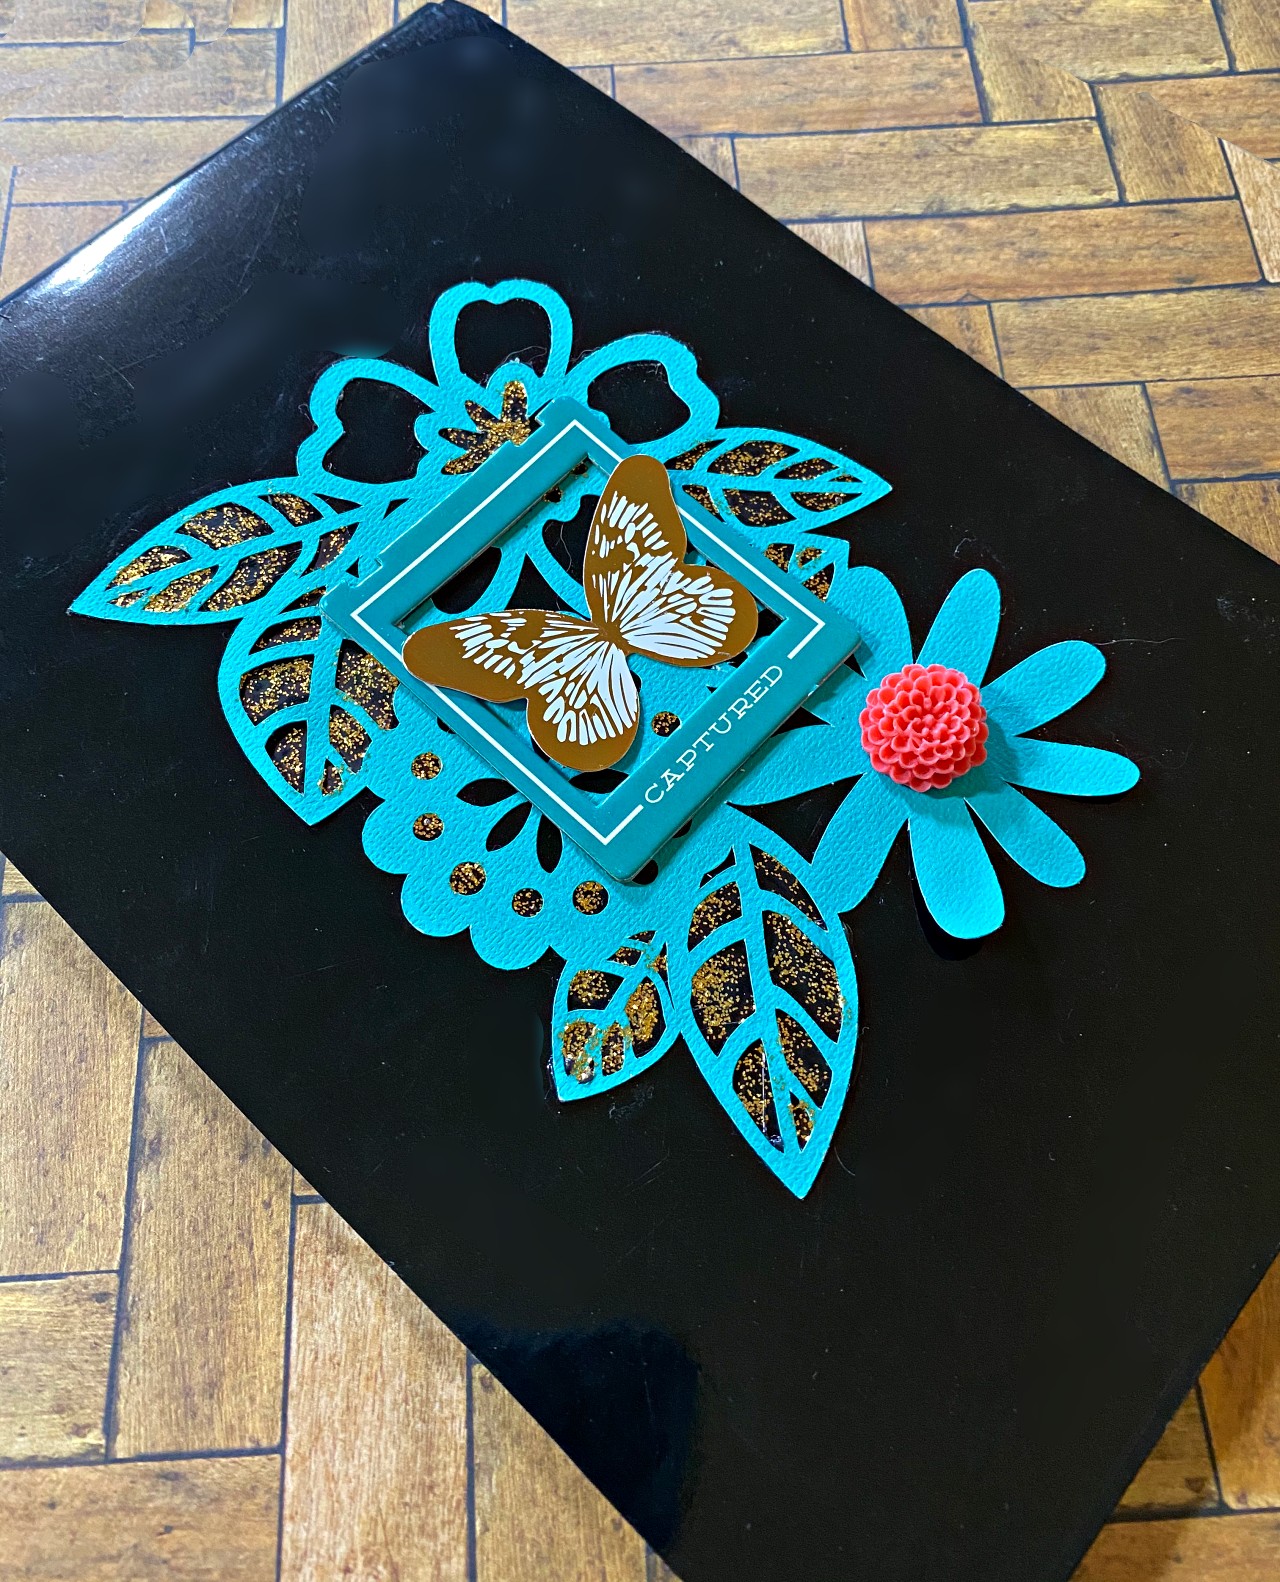
As a final step, decorate the cover of the coloring book. I placed some die cuts and embellishments on mine. Glue, glitter and emboss, whatever you wish, to put the finishing touch on your custom, handmade coloring book!
(Alternately, if you just want to give someone a page to color in without creating an entire book, then simply include a 5x7 sized page in a 5 inch x 7 inch card. It adds an extra special touch to a handmade card!)