
Mini Journal with Glue In Pages
Posted by Deep Red Stamps on Oct 11th 2022
 Journals are always a good idea, no matter what the size. Since there aren't that many mini journals you can buy out there, you can certainly make them yourself. In this project, we create a mini journal sized at 3 inches by 4 inches with 14 pages. Add stamps, stickers, text, whatever you like on the inside pages! Make it a flip page (like a book) or accordion style just by alternating how you glue the pages together.
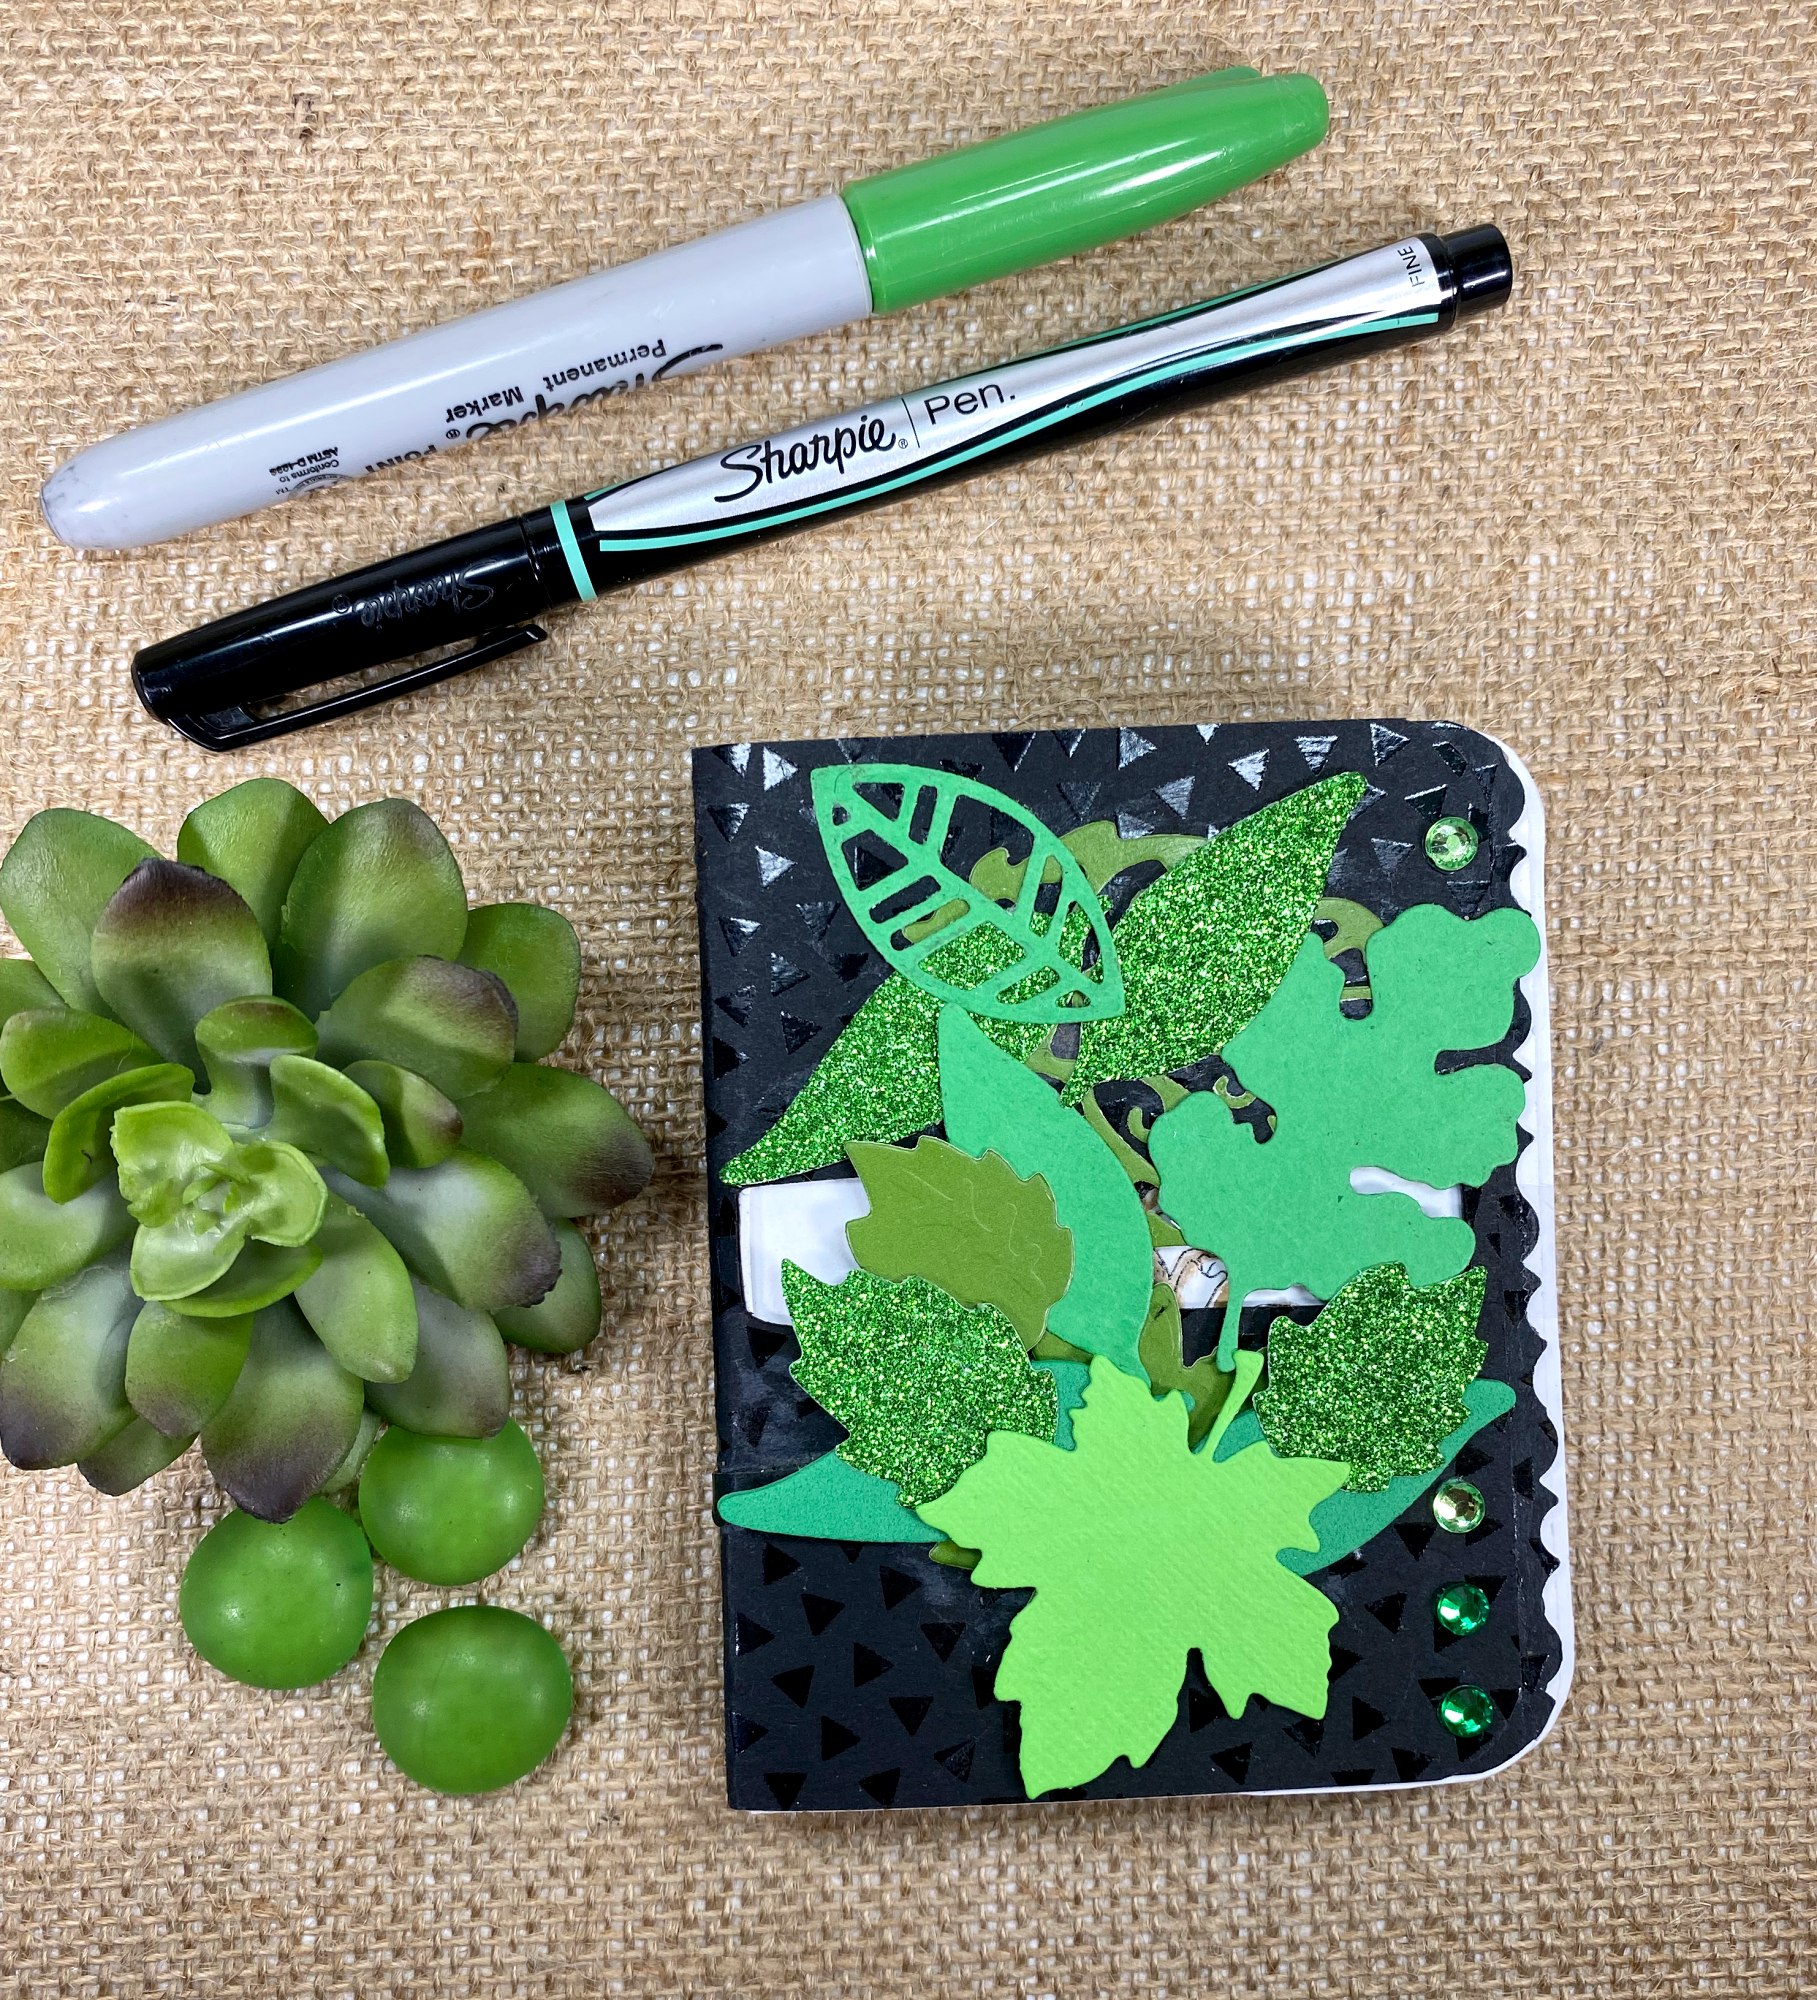
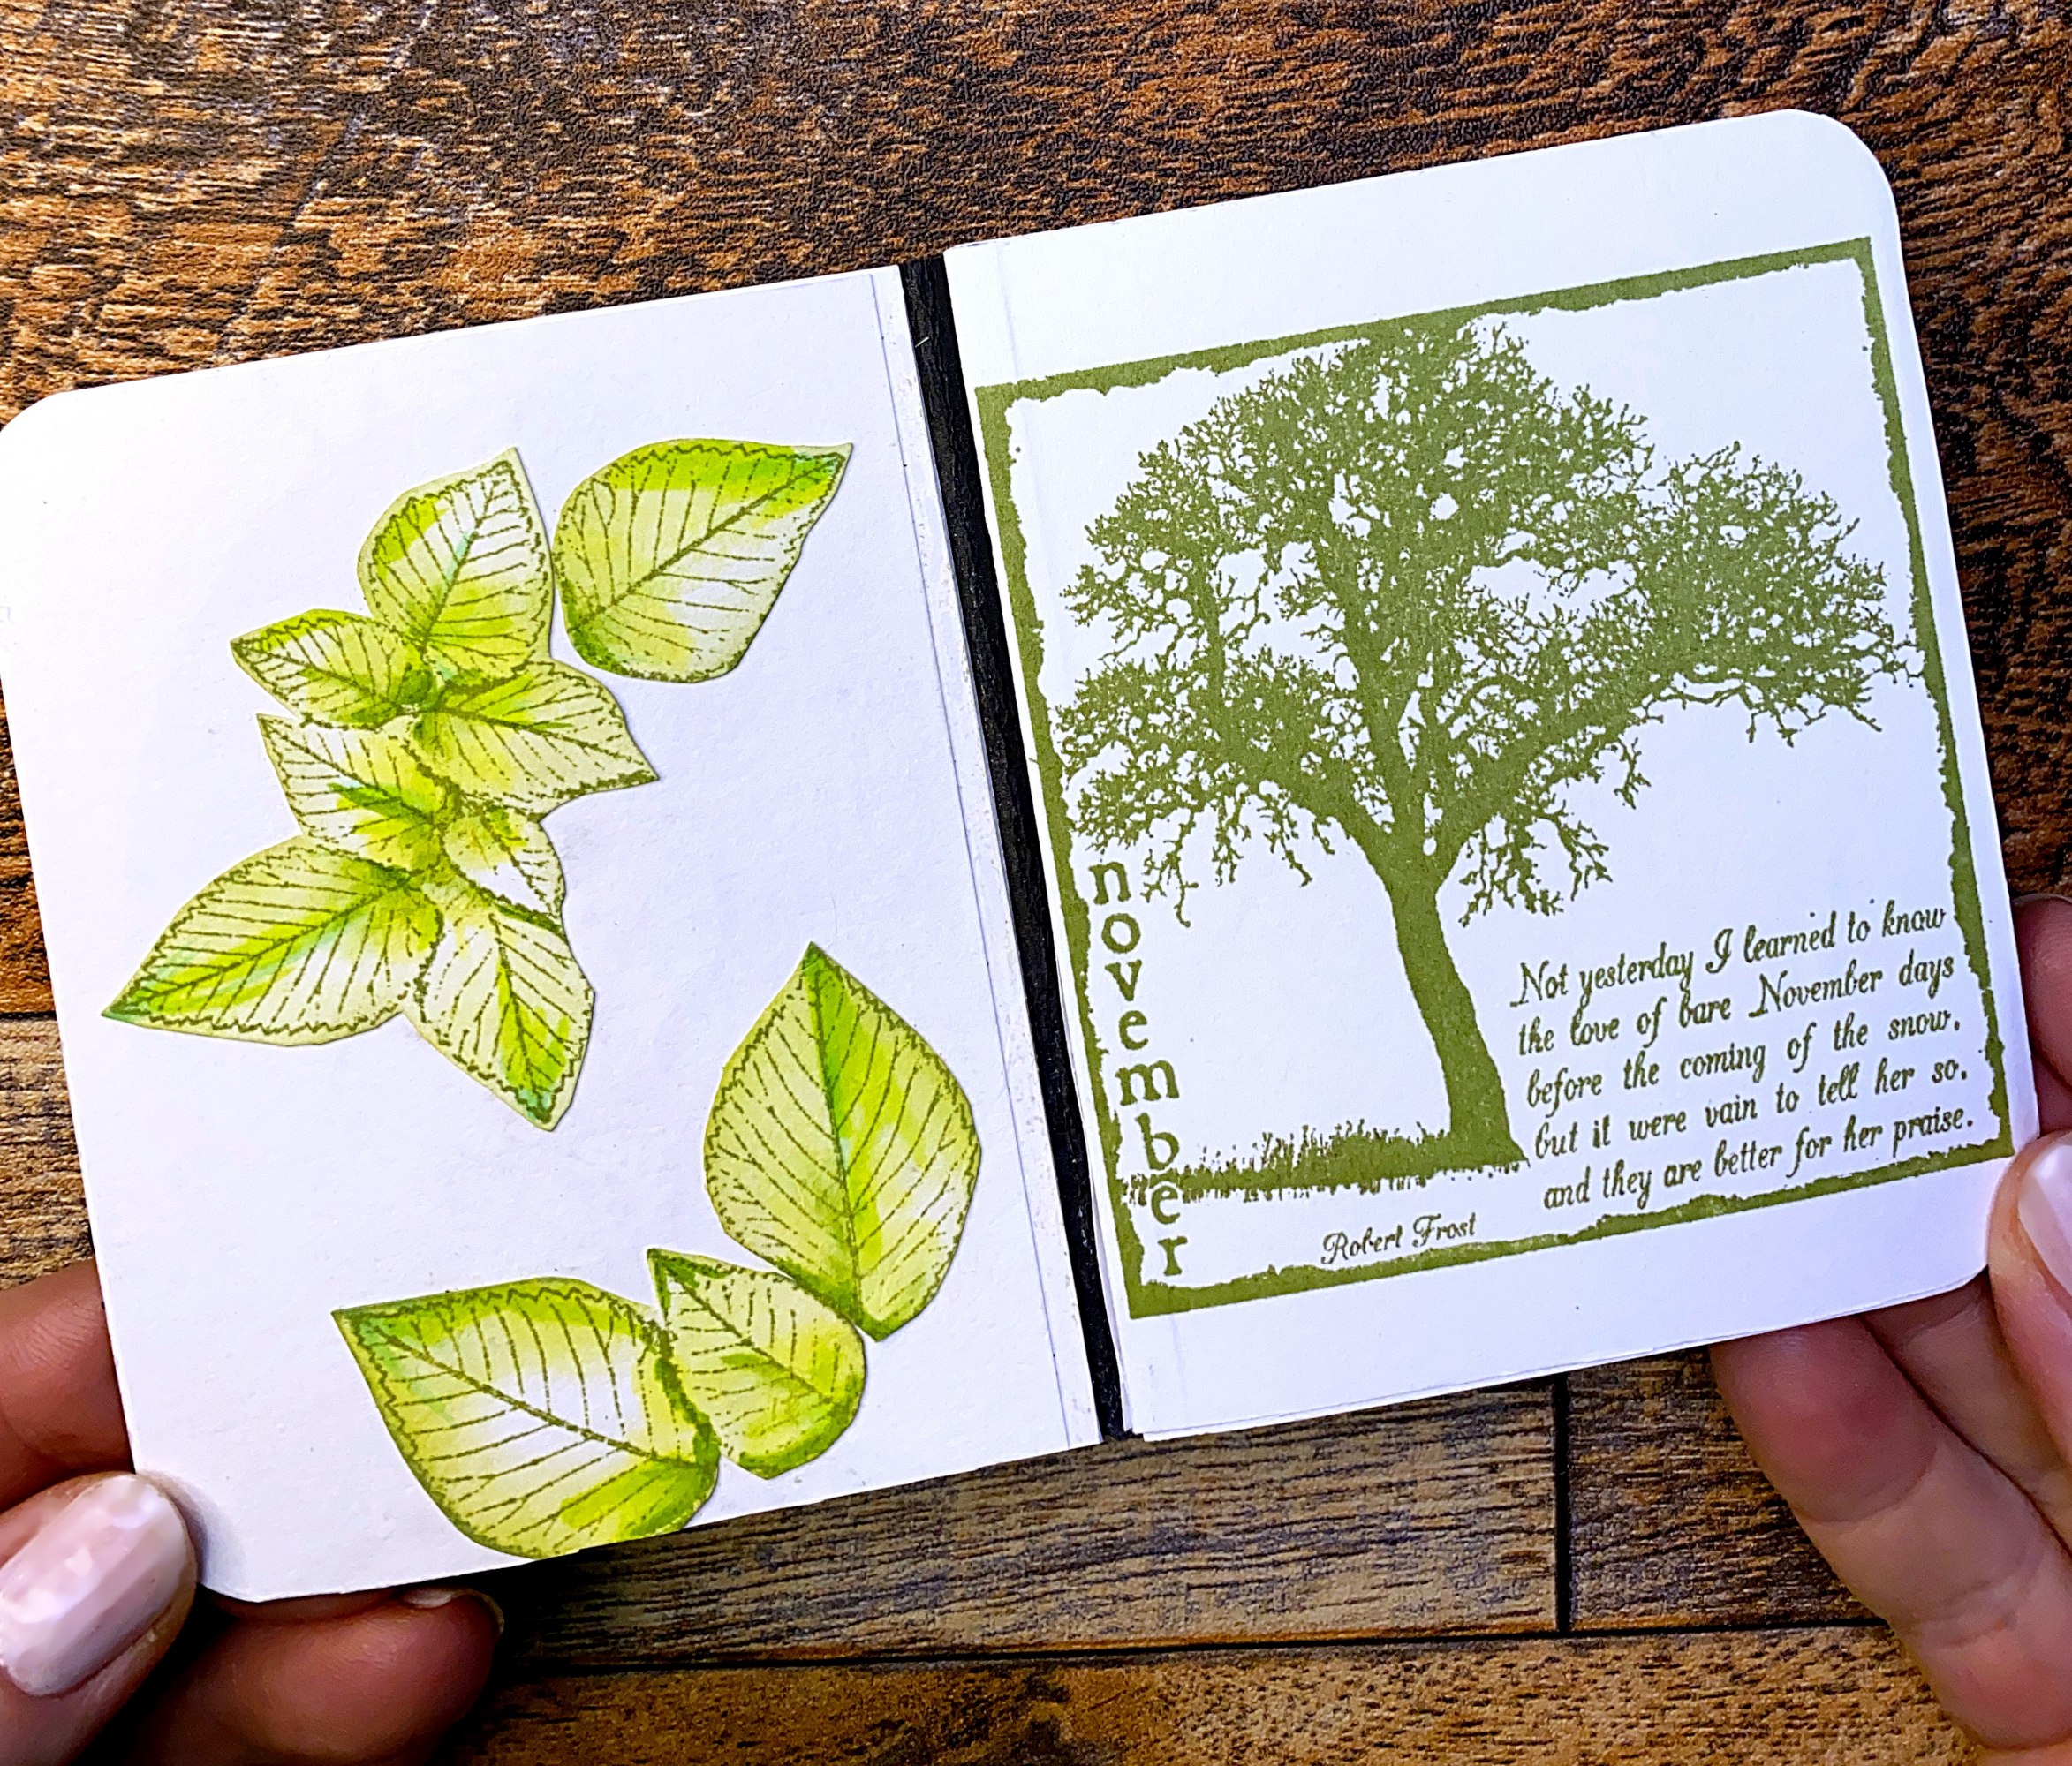
And of course, you get to decorate the cover as you wish. I decided to cover this journal cover with die cut leaves. The theme of the journal is an "Ode to Trees." Every page on the right side has a tree that has been stamped. On the left page, is a glued or sticker item. View some of our tree stamps, click here.
A printable template showing the dimensions of the cover and inside pages including score lines. You can always just hole punch or sew your journal any way you wish, but this shows how to glue the pages and give it that 'store-bought' look.
Cut pages: 3.25" x 4" tall
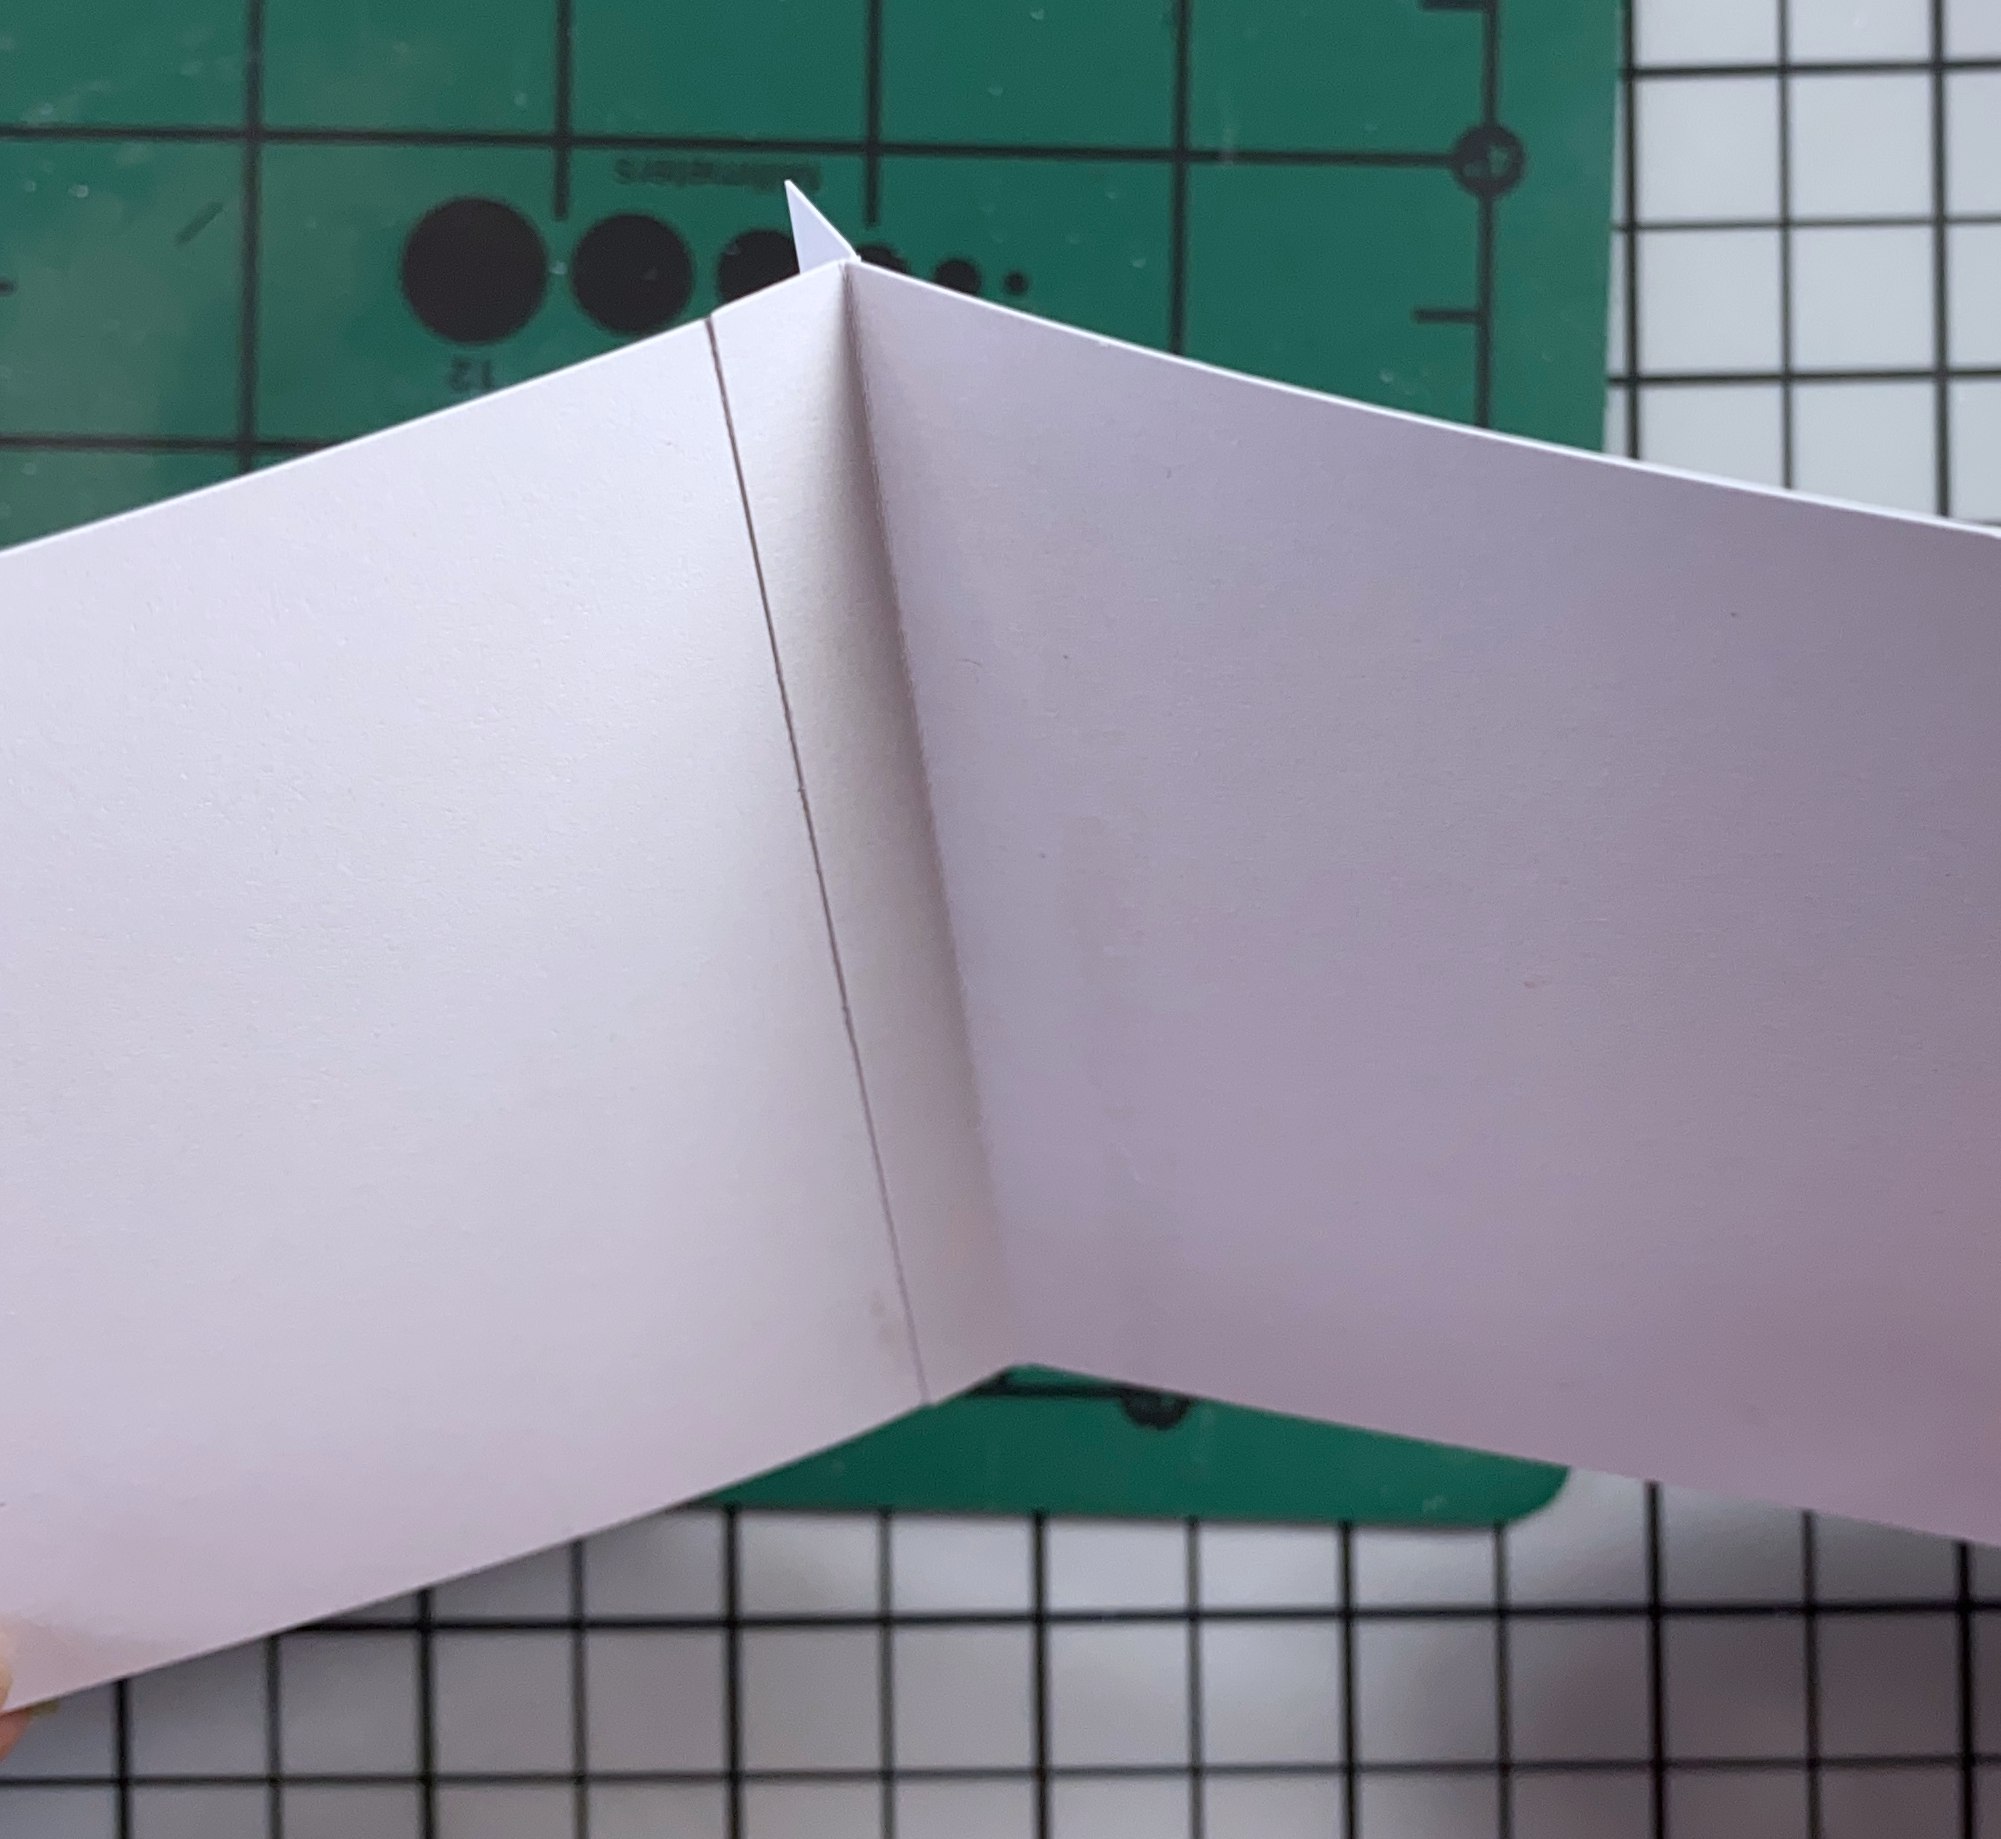
Crease line is at 3"
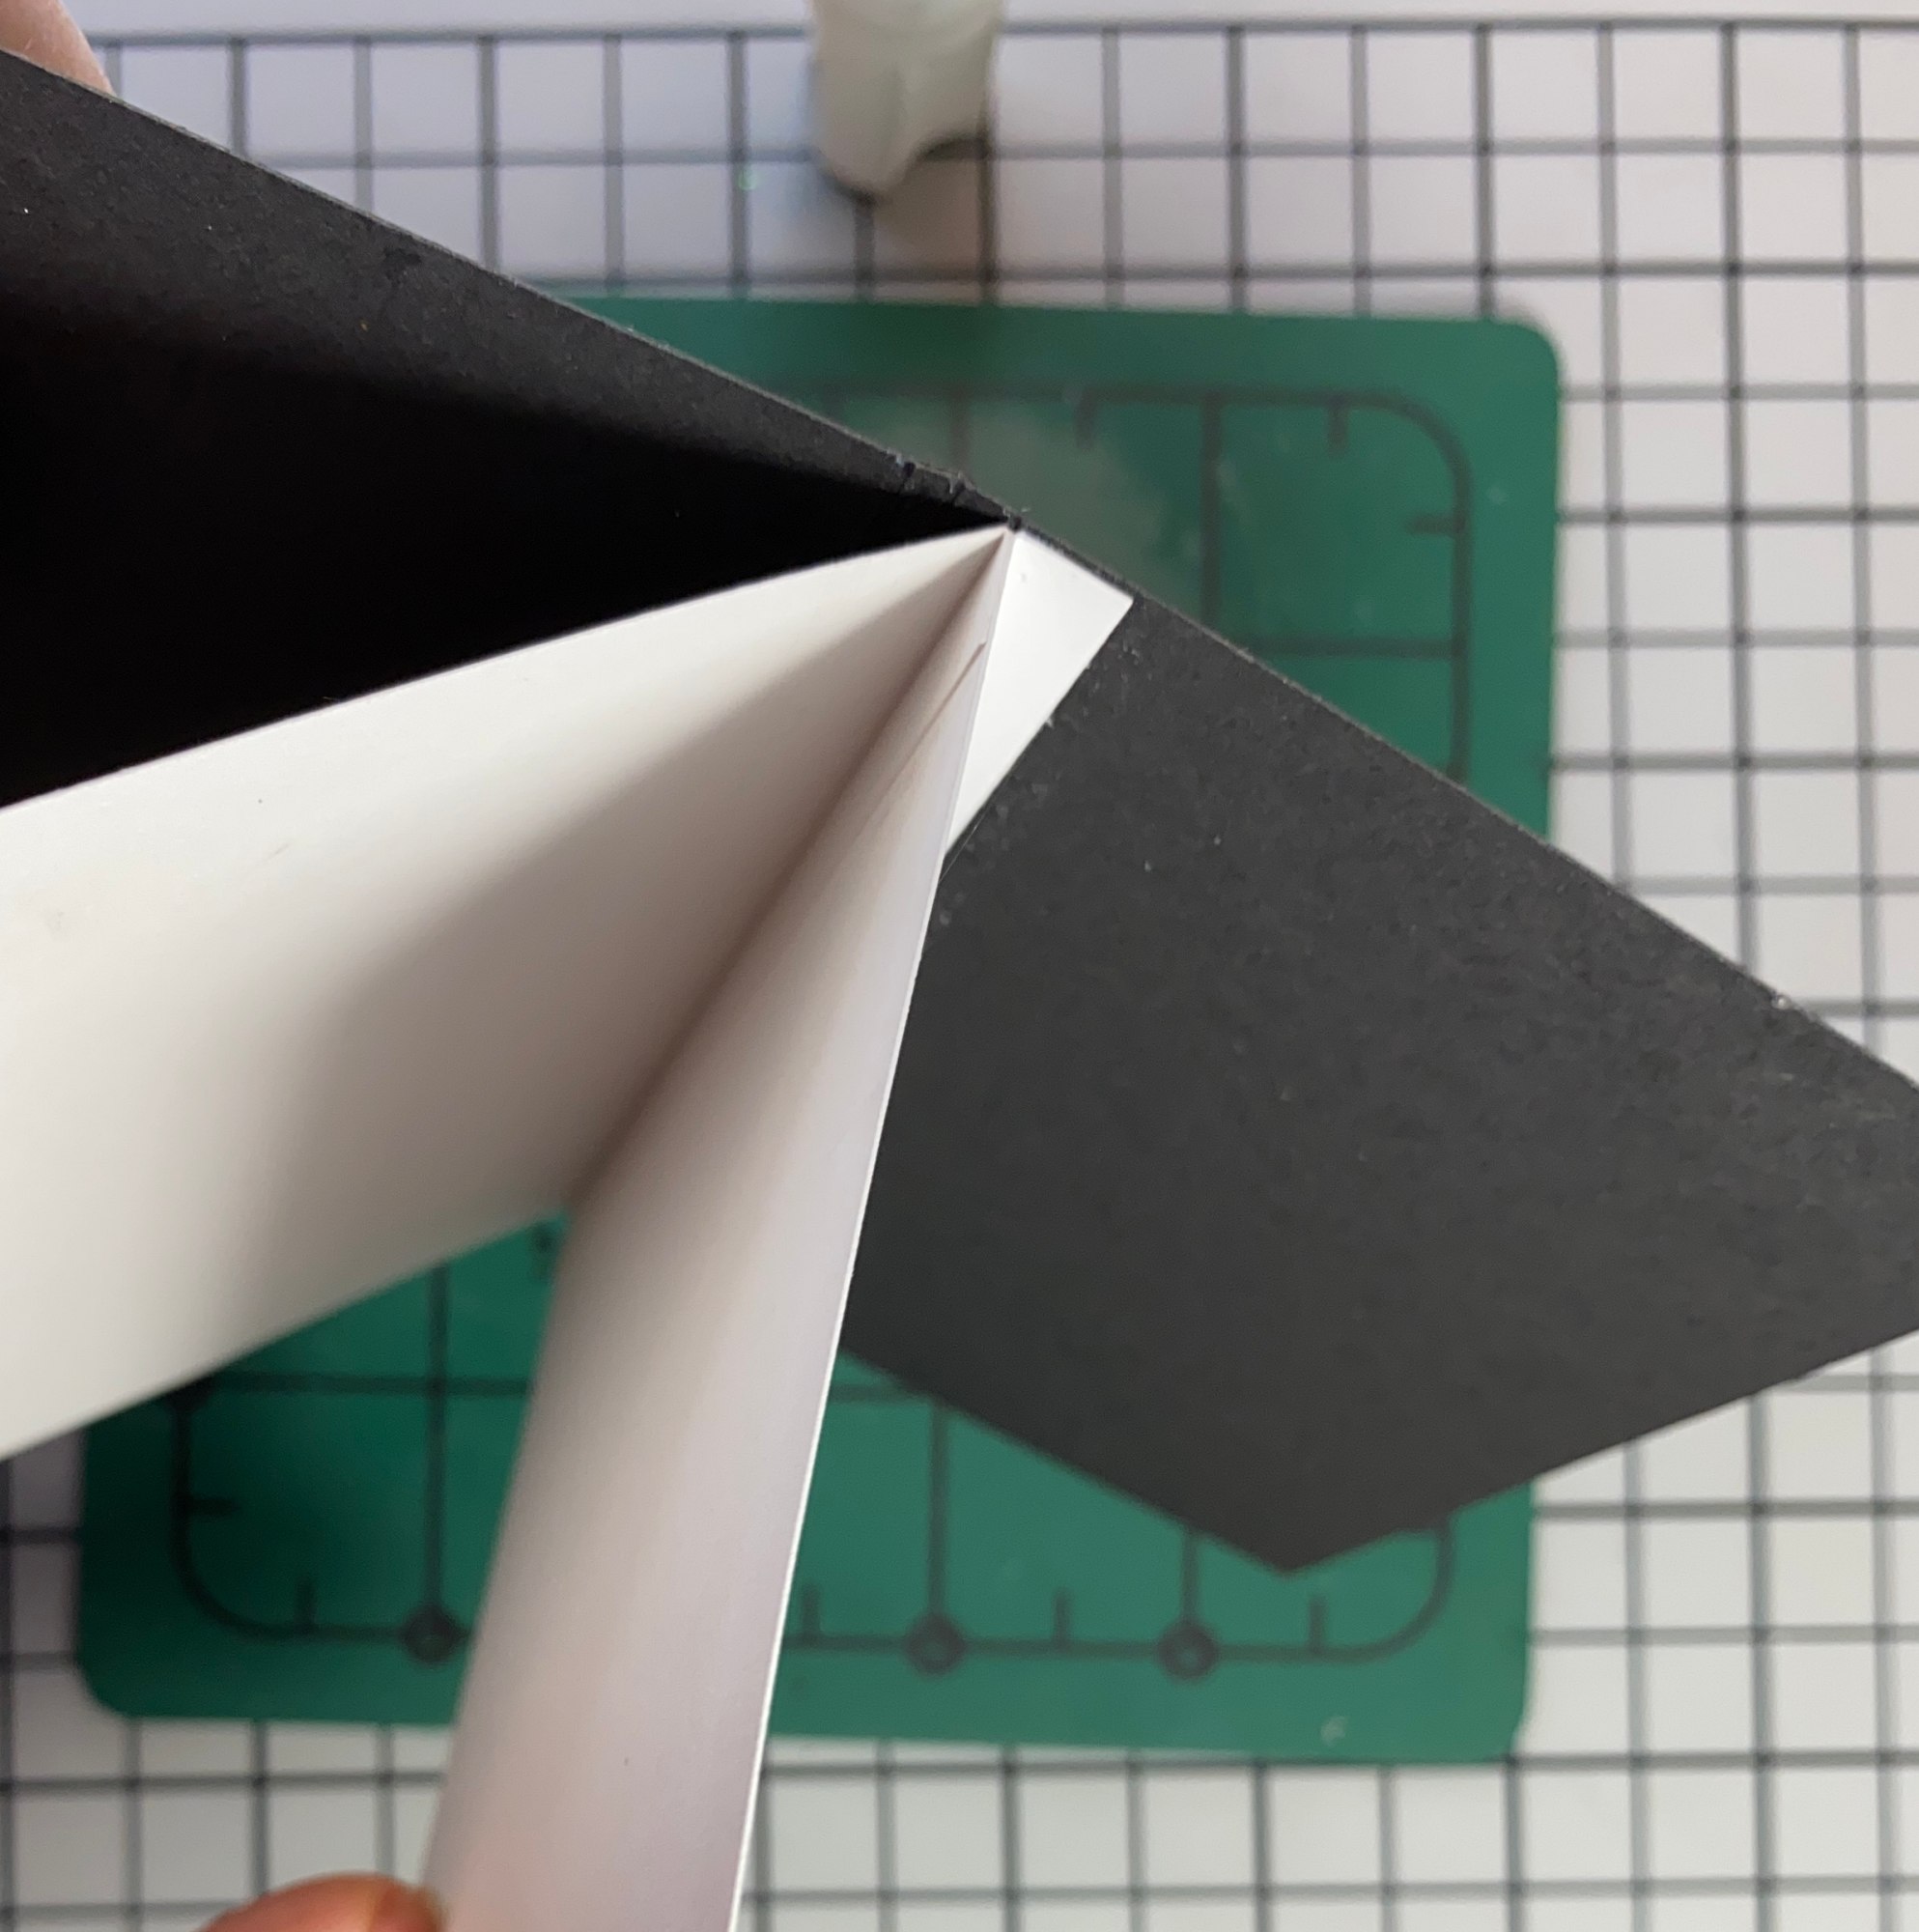
Fold at crease line and apply glue to folded edge. This will be placed on the next blank page.
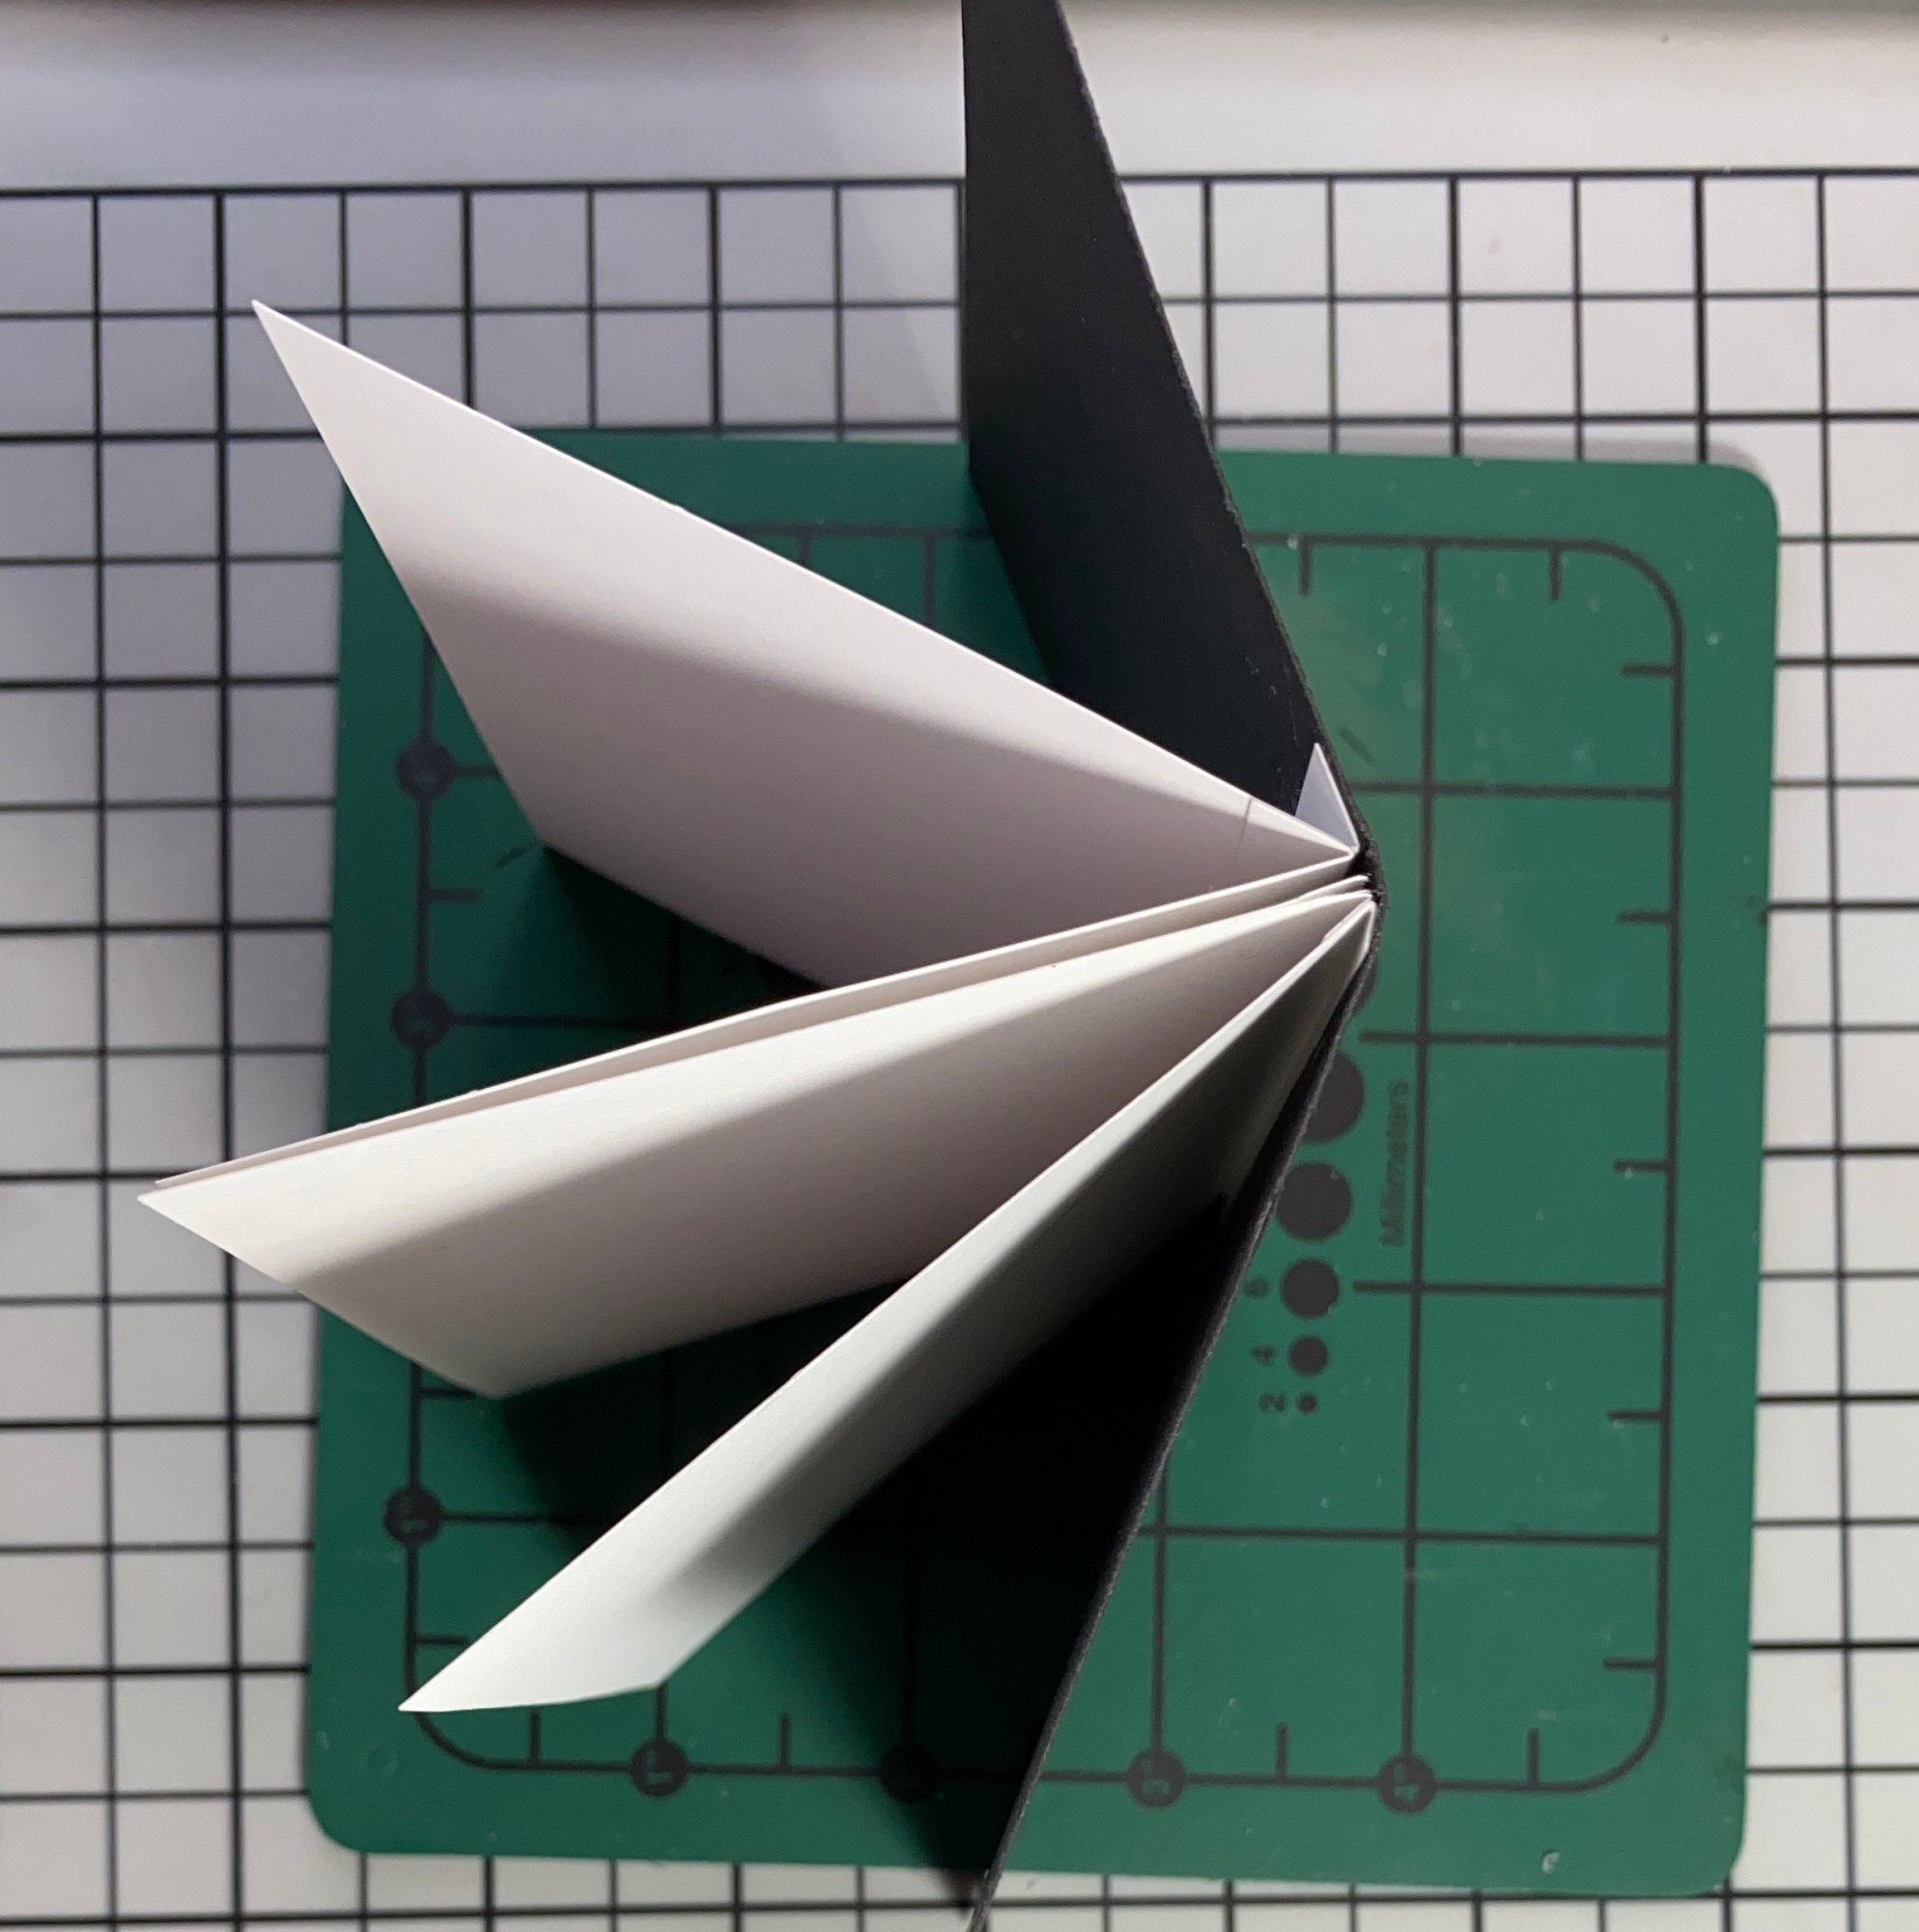
After you have 2 pages glued together, you can place it into your cover.
Cover measures: 6.25 wide x 4 inches tall.
Fold lines in the middle of the cover are at: 3 inches, 3 1/8th and 3 1/4th
Place your page pairs on each side of the center line of your cover. Leave space in the middle to keep glueing in page pairs, however many you want.
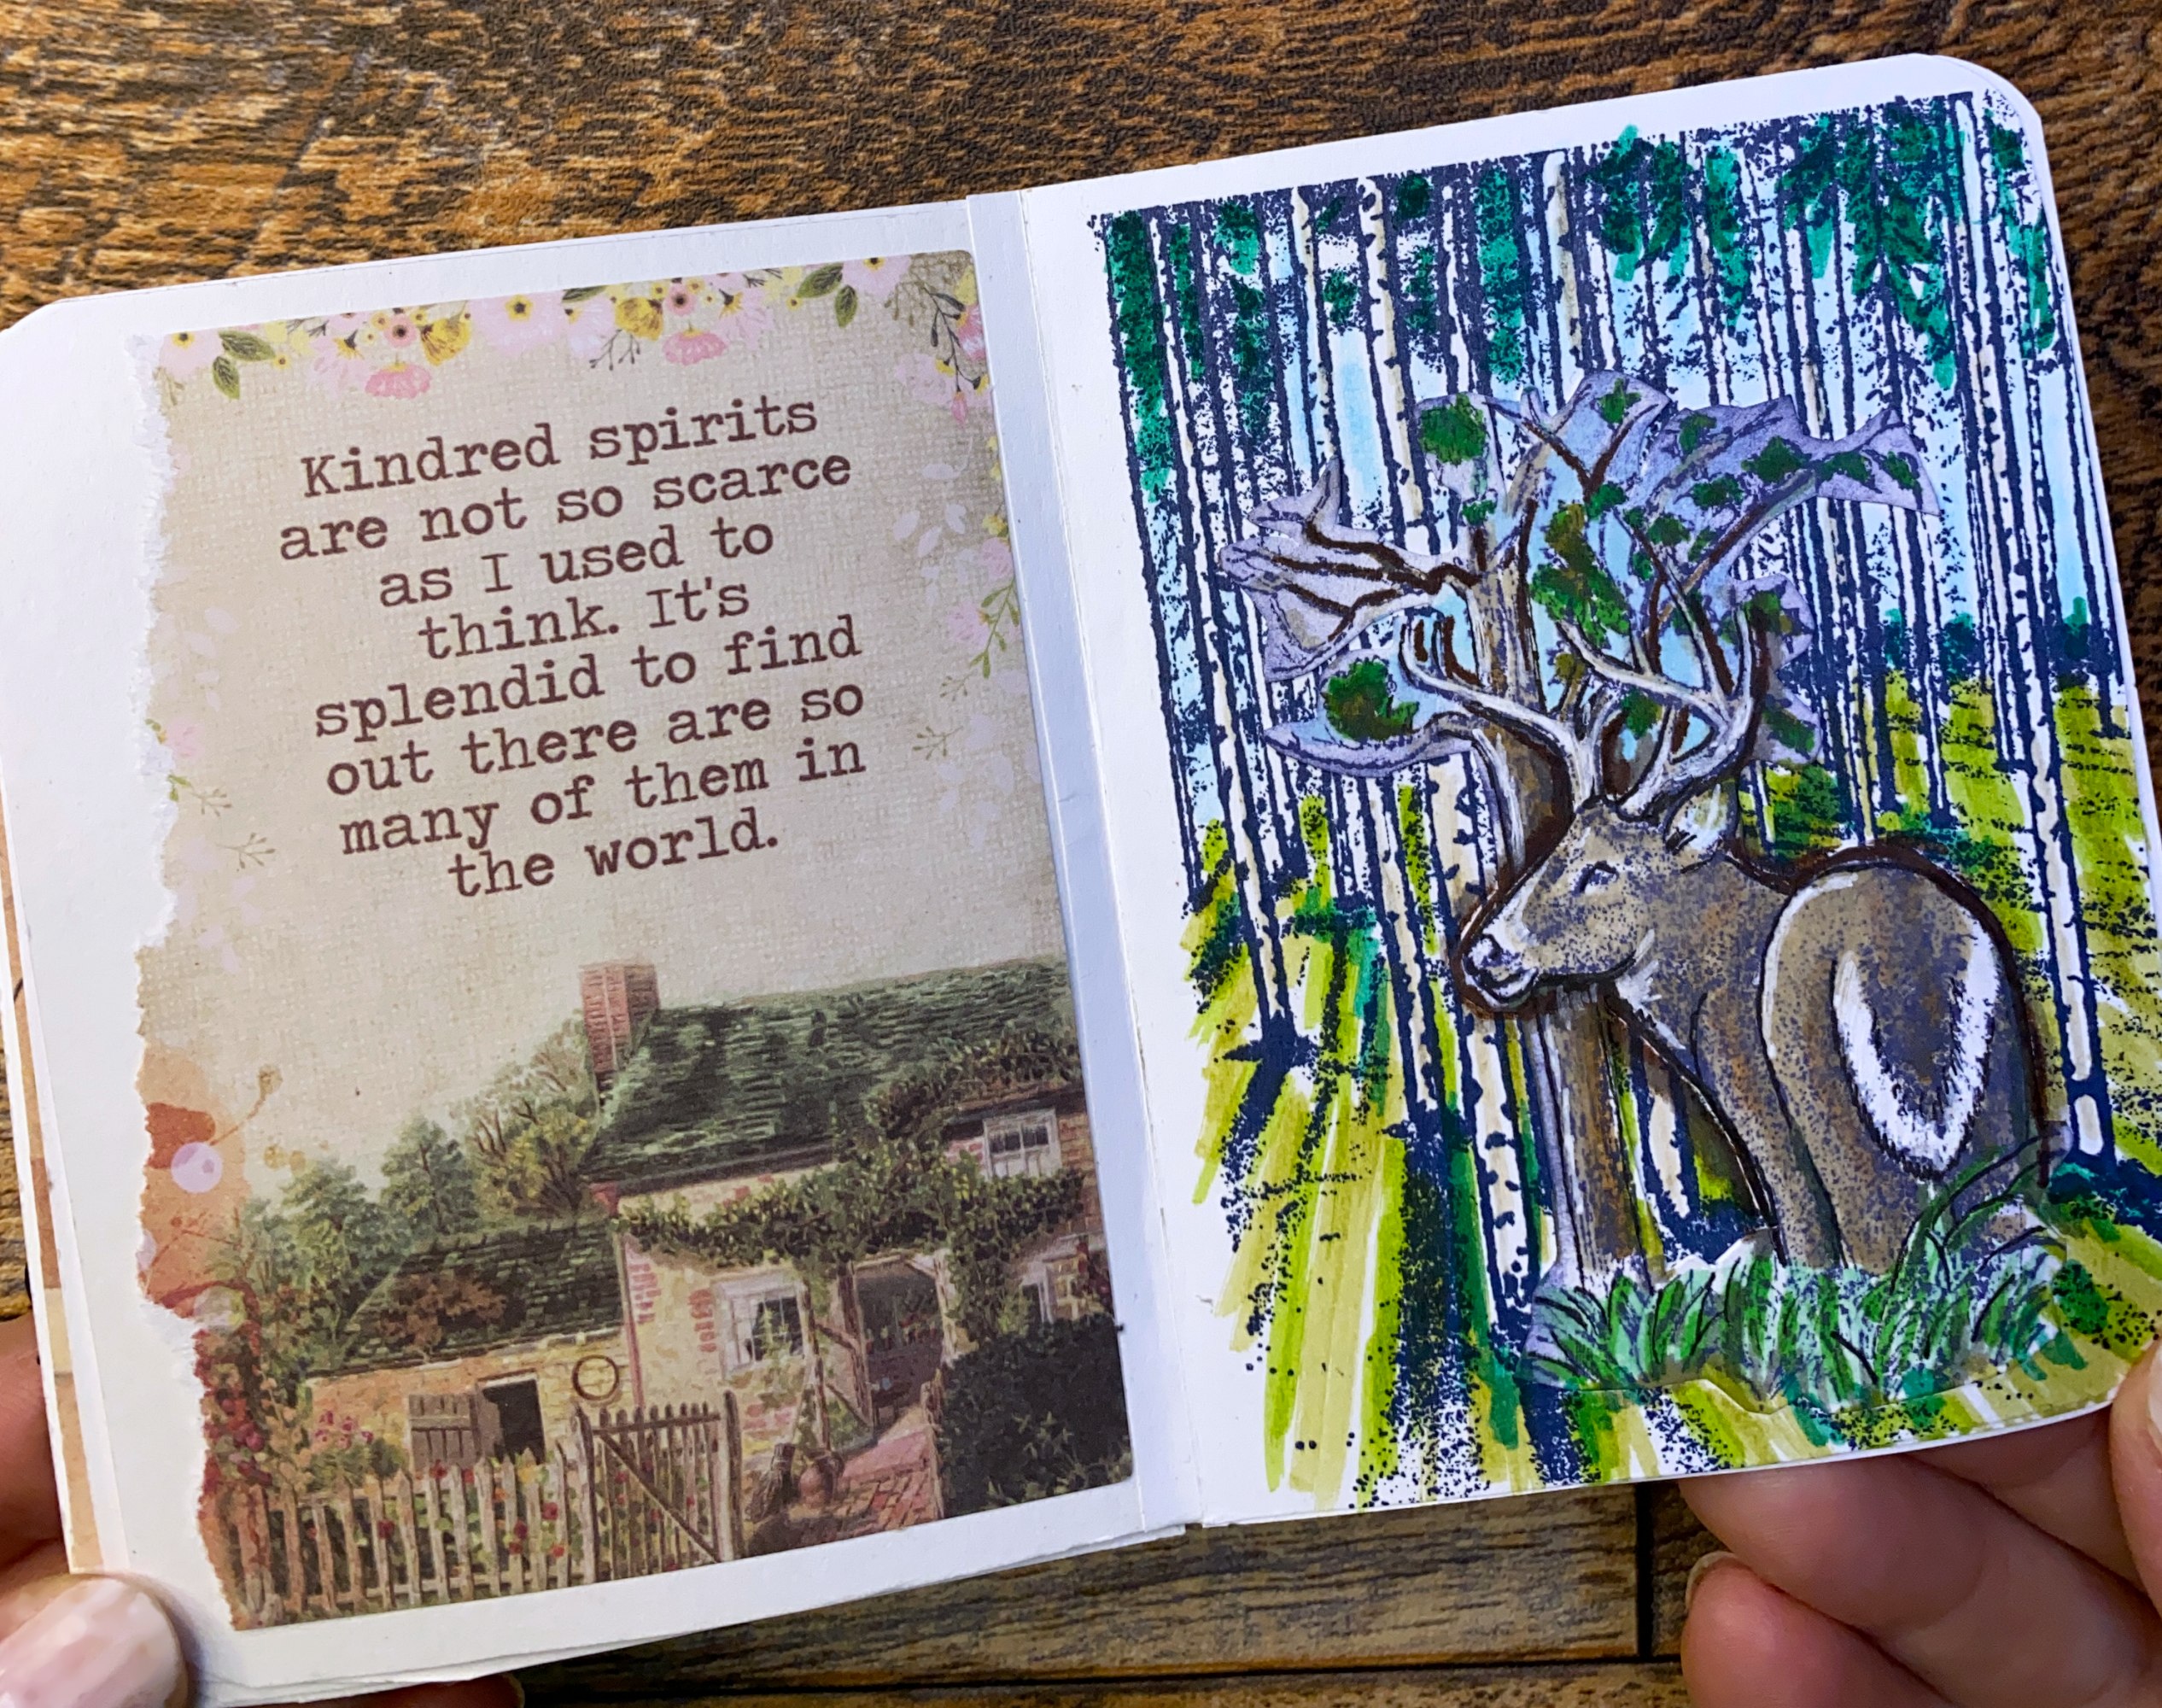
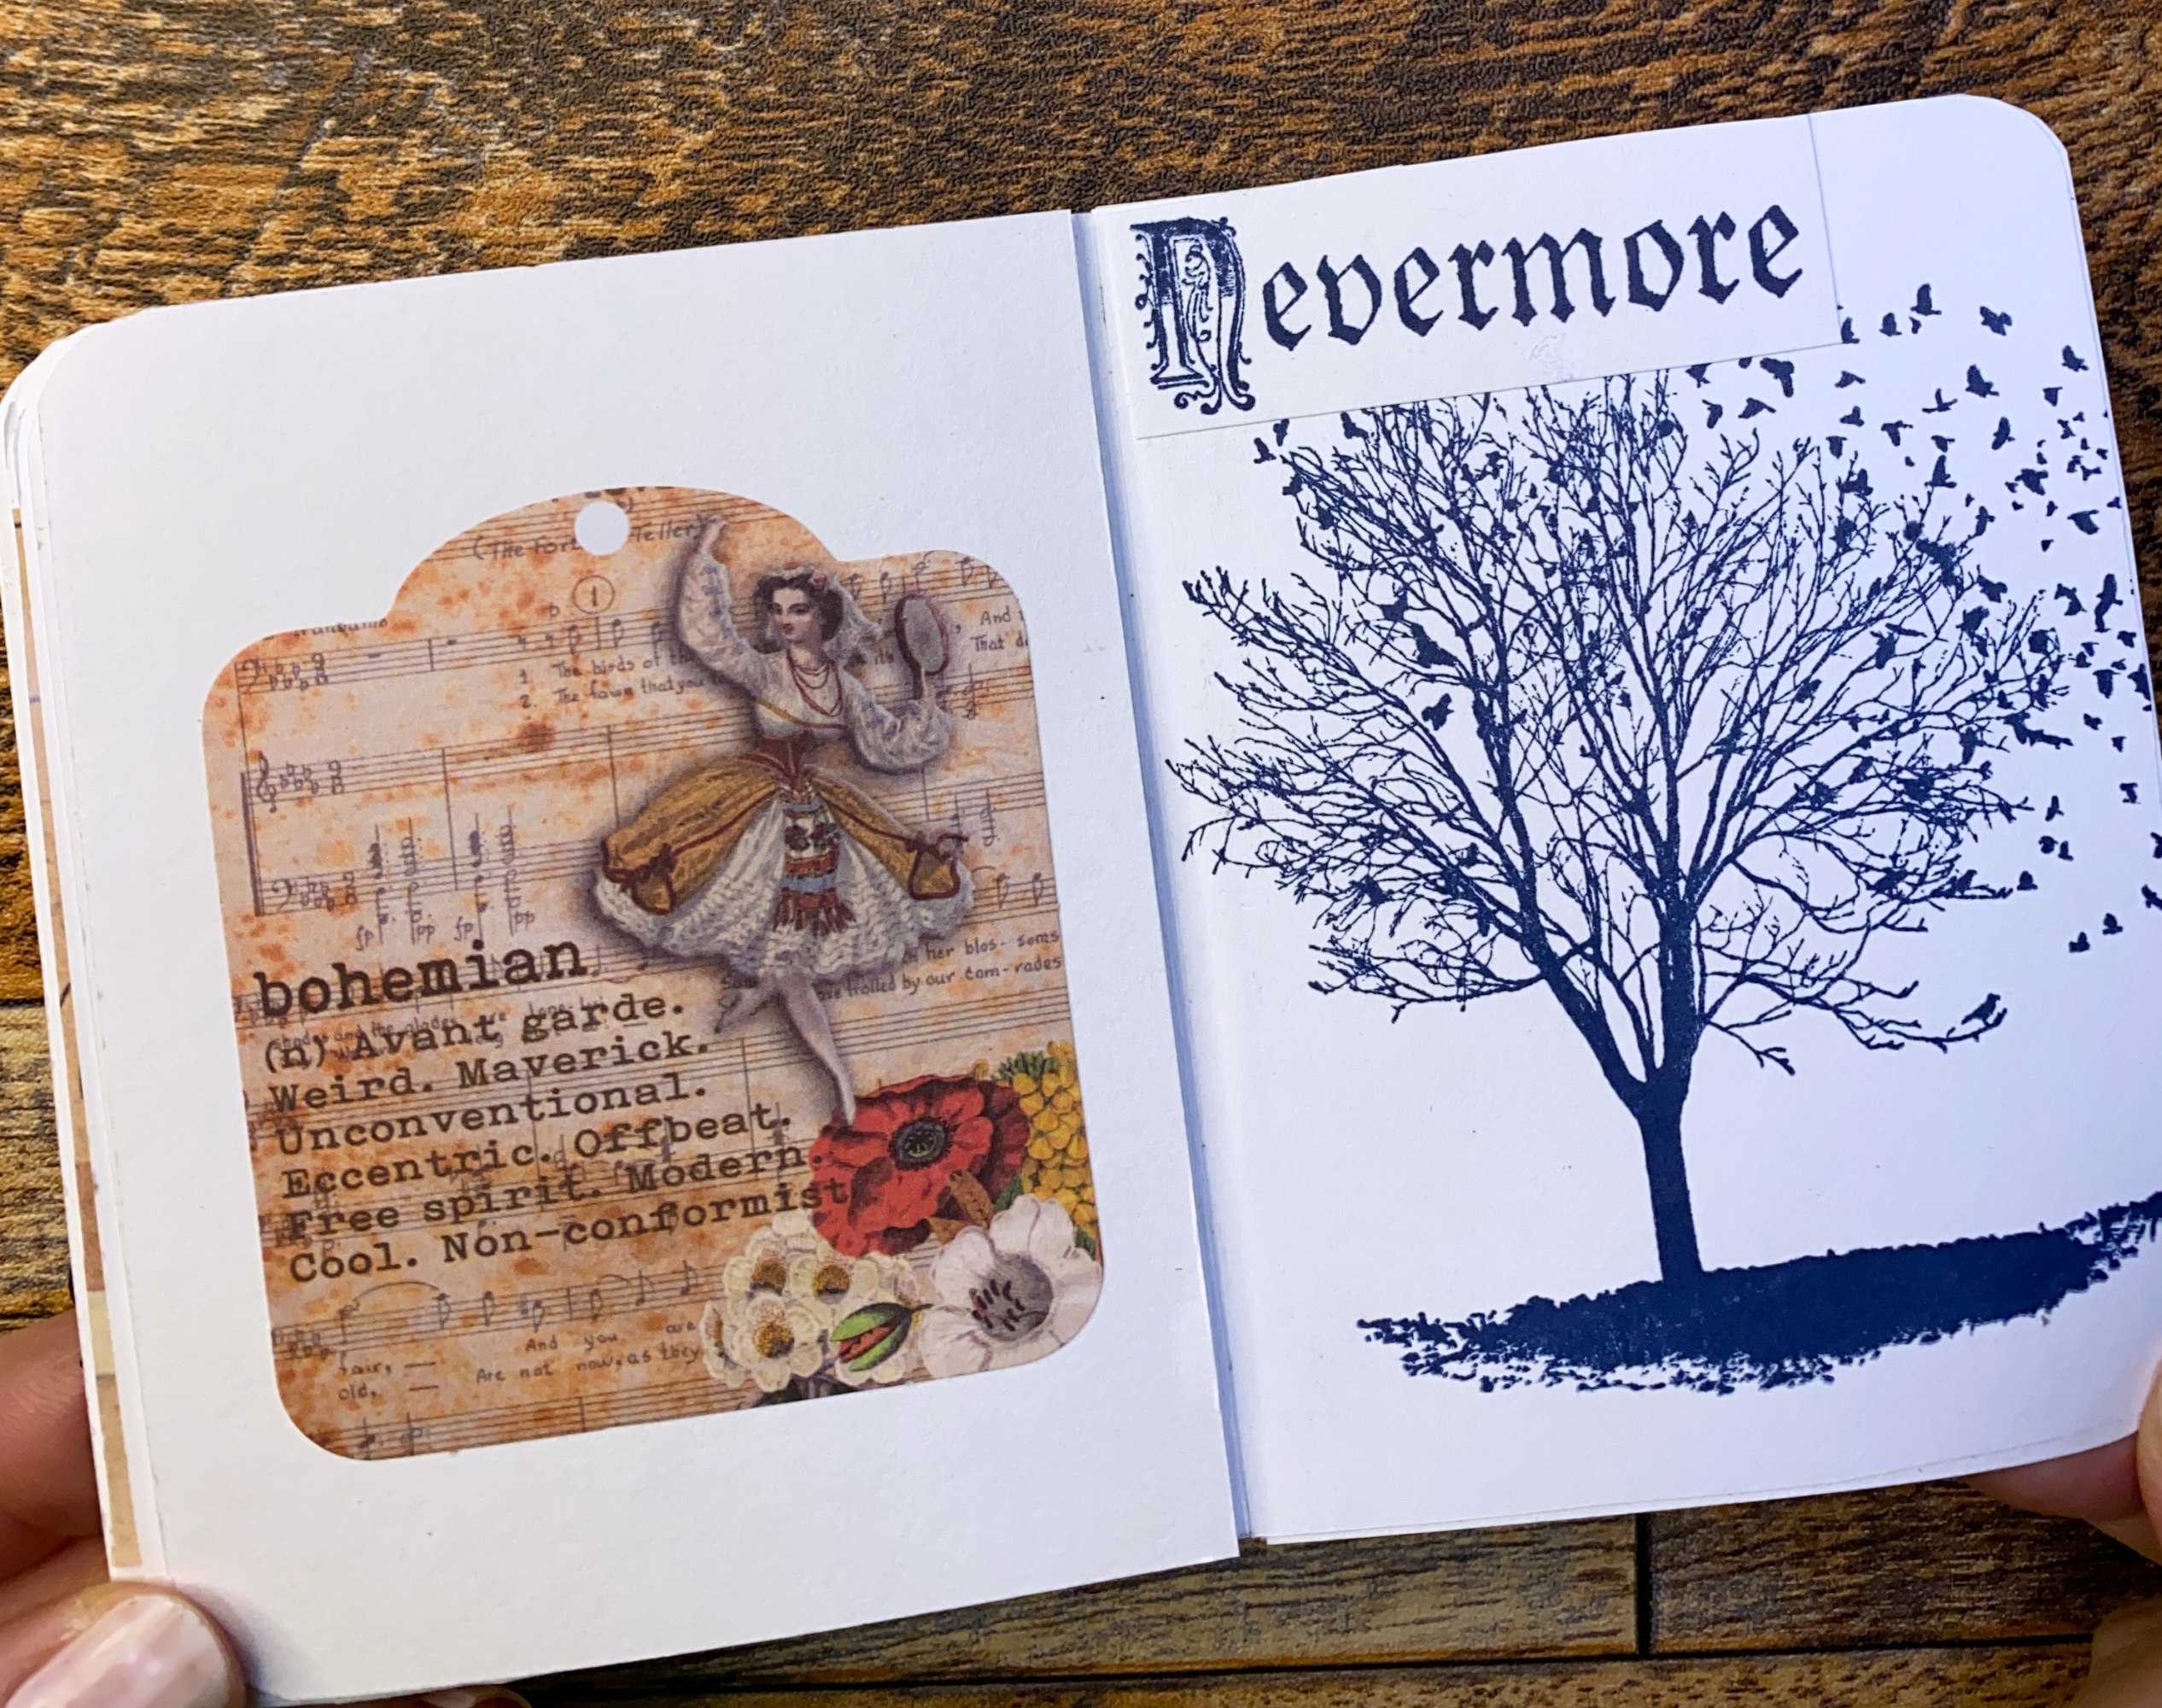
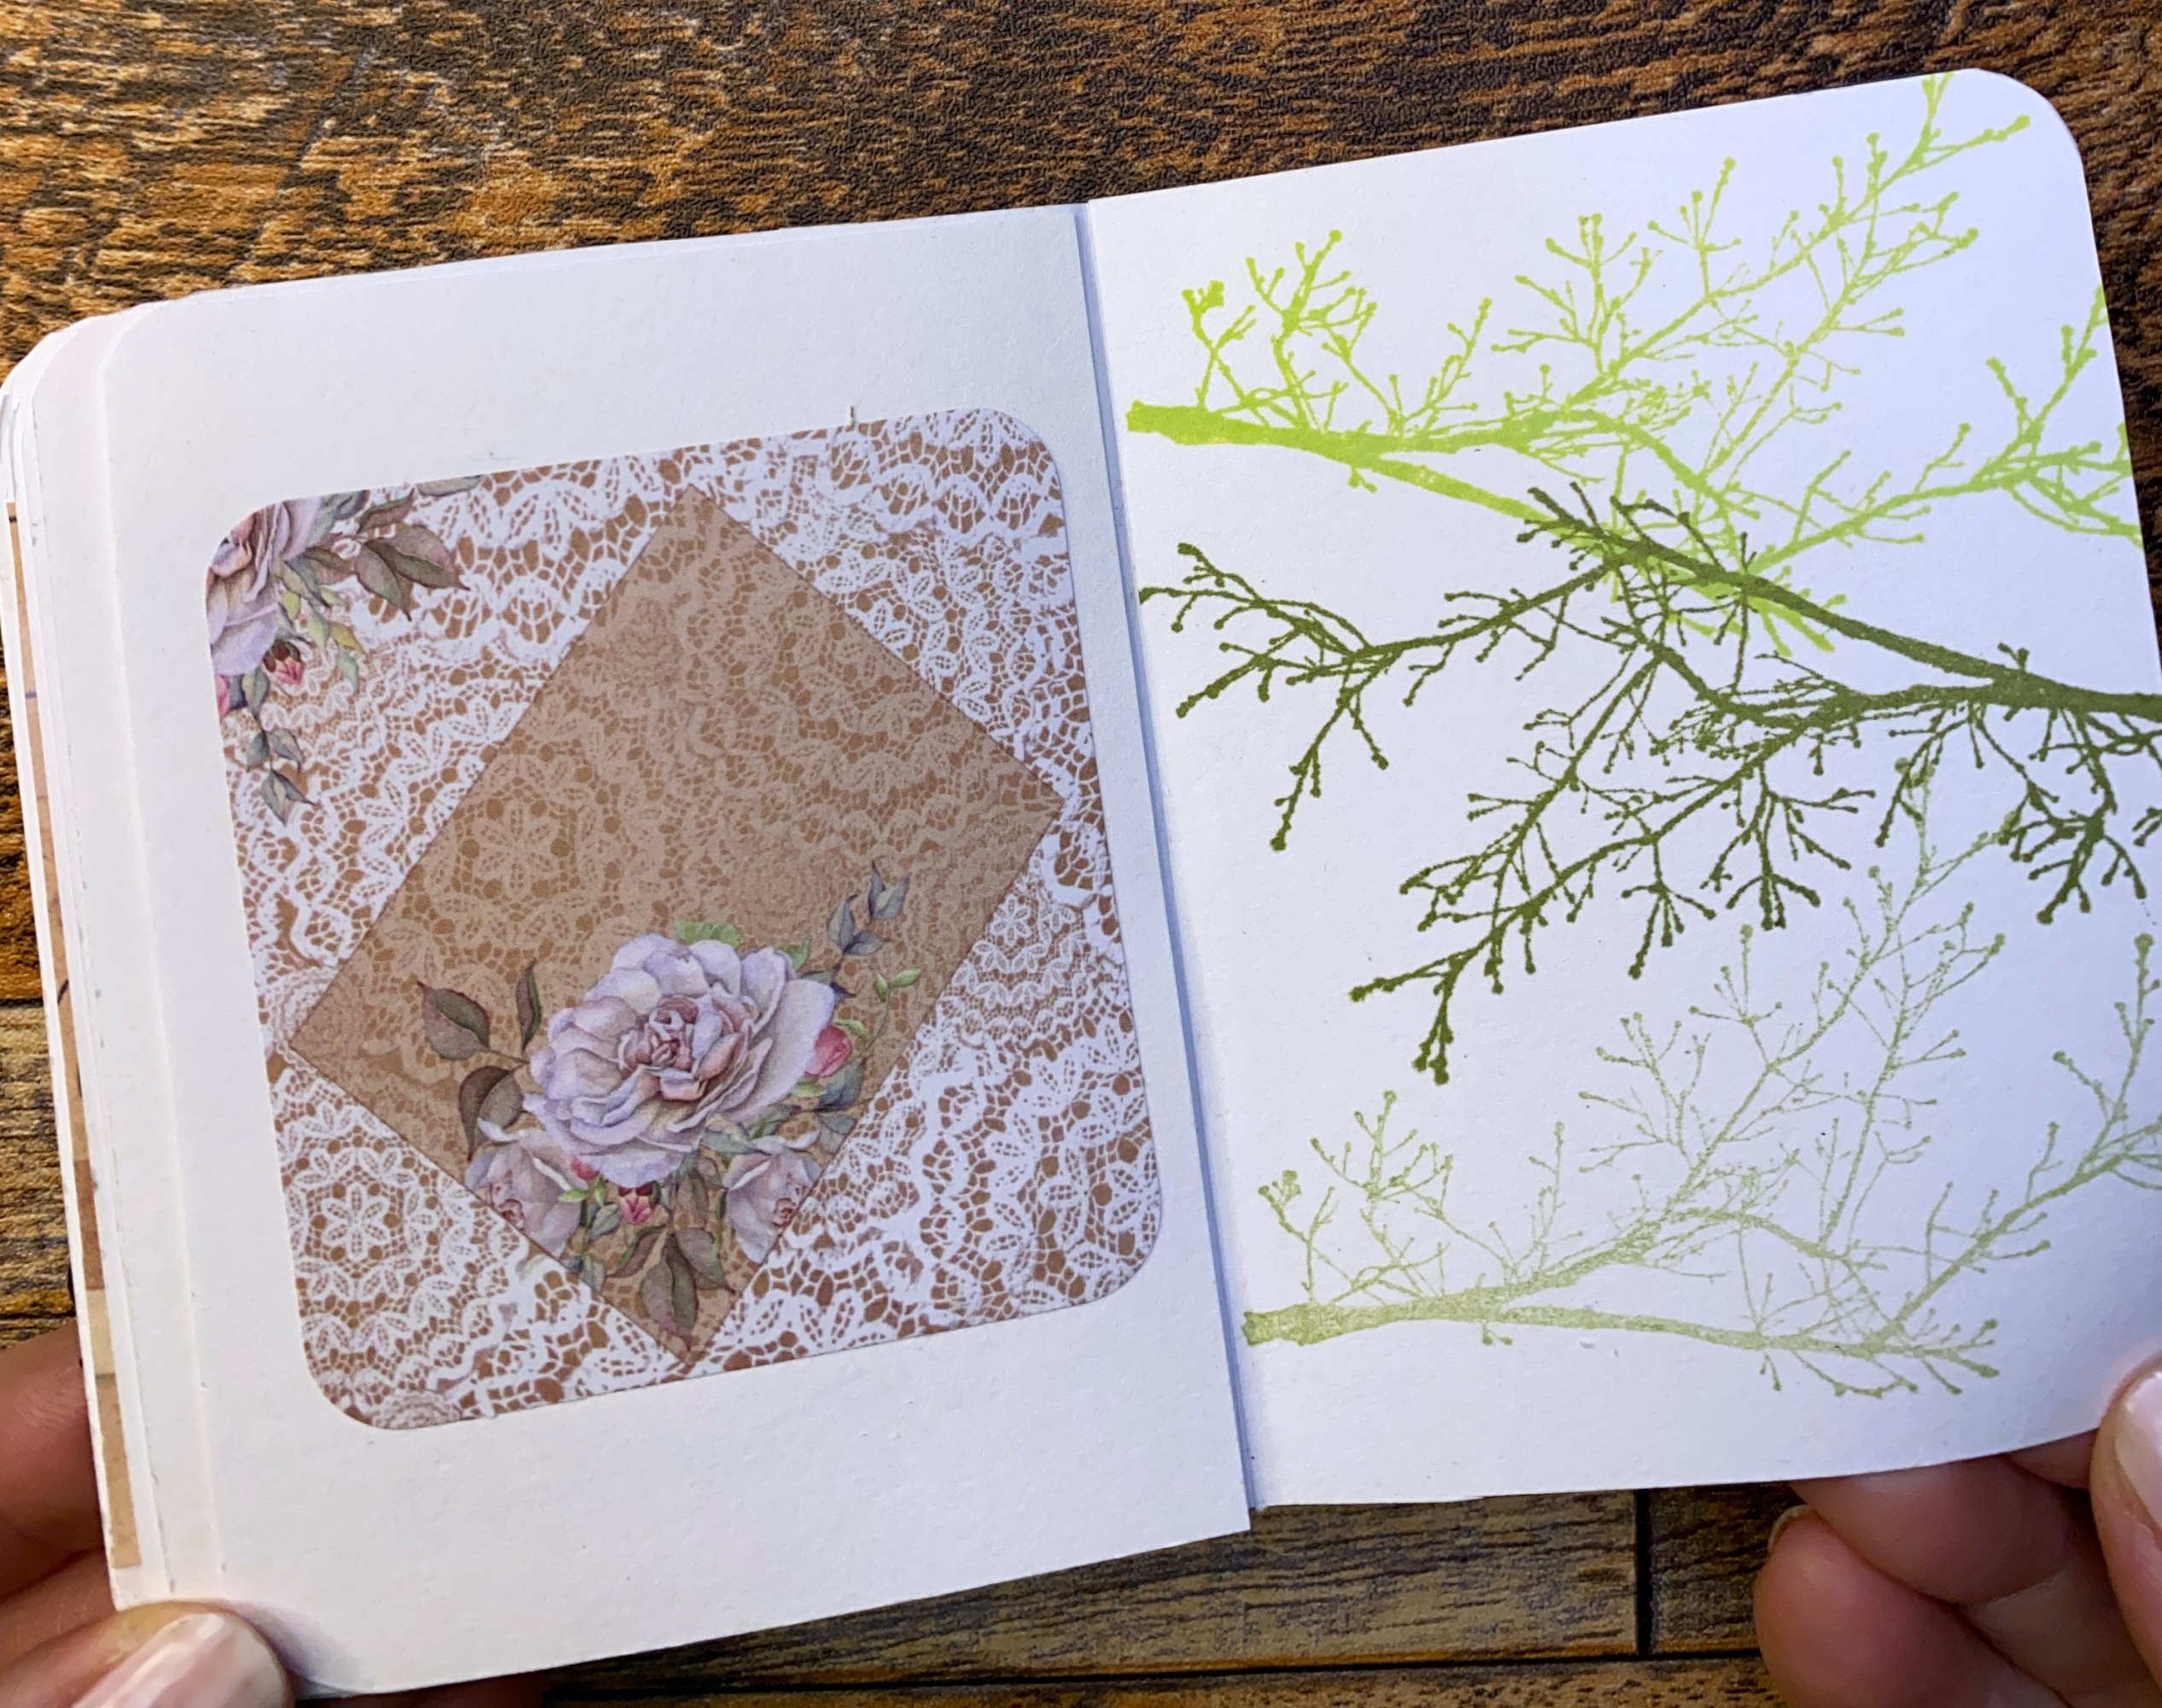
You can decorate your pages before or after you glue them in. I did a little of both: stamped onto pages before gluing them together and added embellishments after they were glued in. Here is a look at the inside pages of my journal.
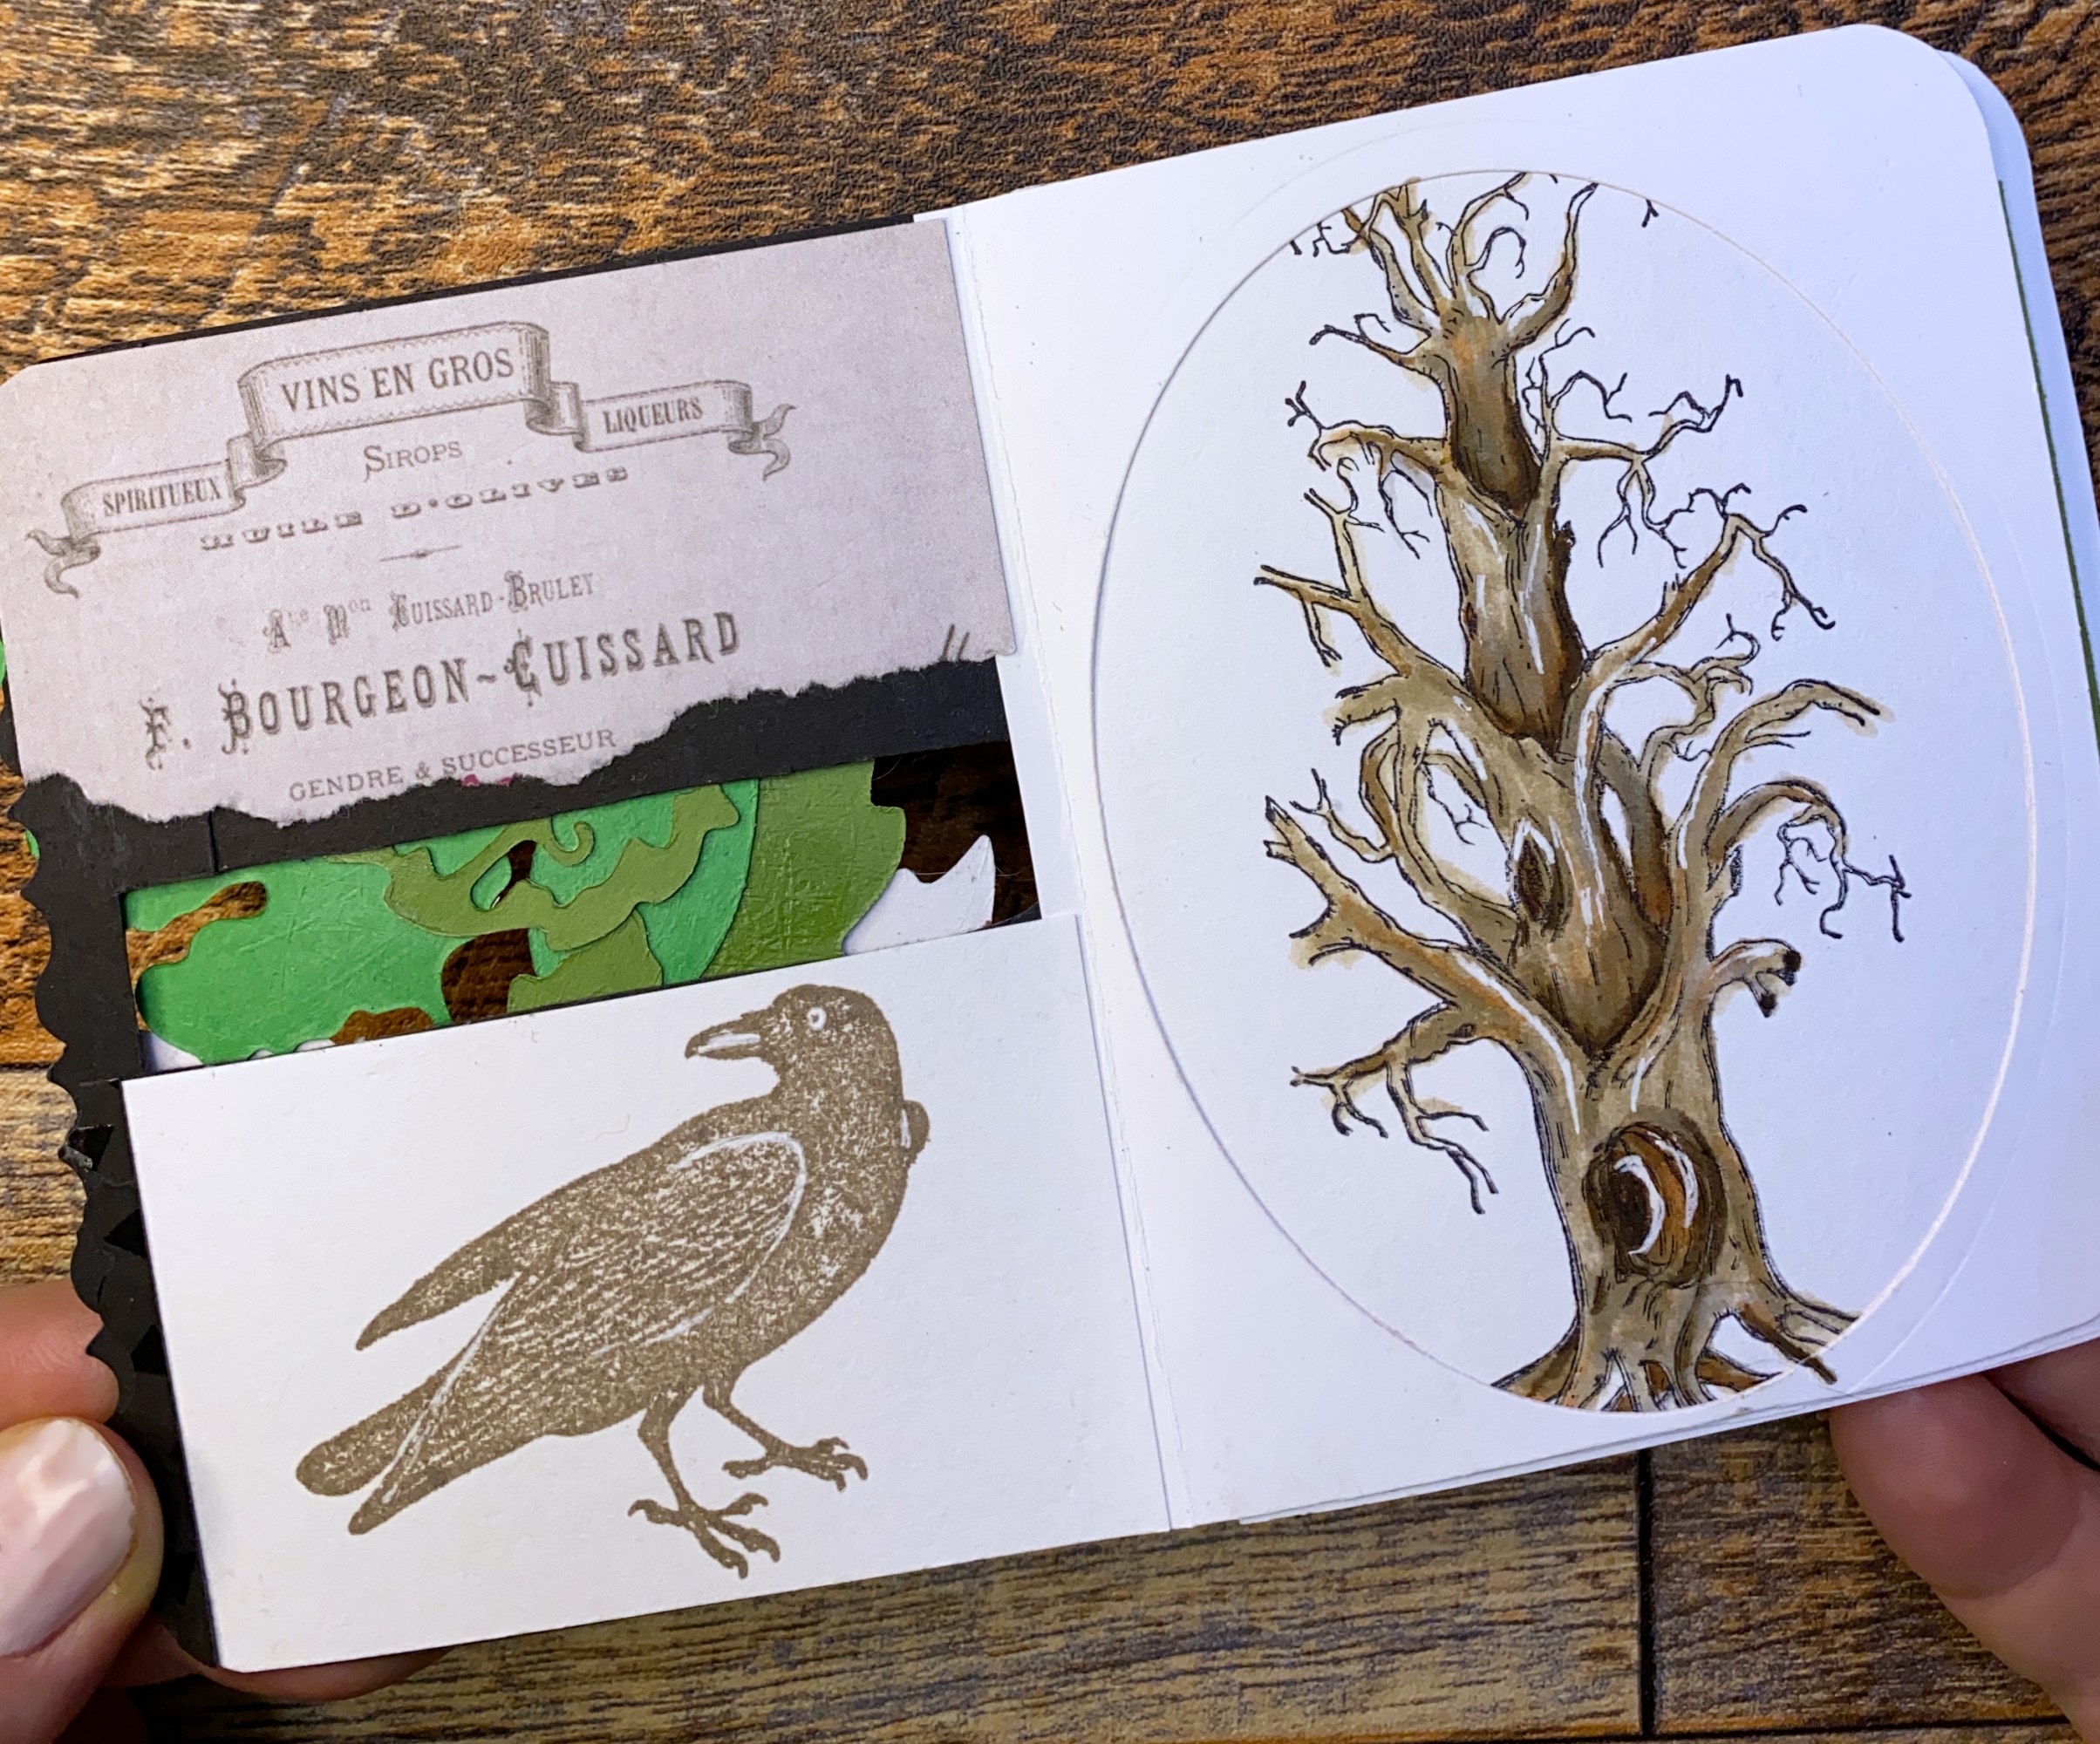
Page One: is a raven from our Quoth the Raven Rubber Stamp (left) and a piece of pre-printed vintage paper above it.
Page Two: Scary Tree Rubber Stamp on right with an oval die cut opening glued on top.
Page Three are some leaves from our Foliage Rubber Stamp. I stamped it and them cut out a few of the leaf groups.
Page Four: our November Frost Rubber Stamp.
Page Five: pre-printed cardstock
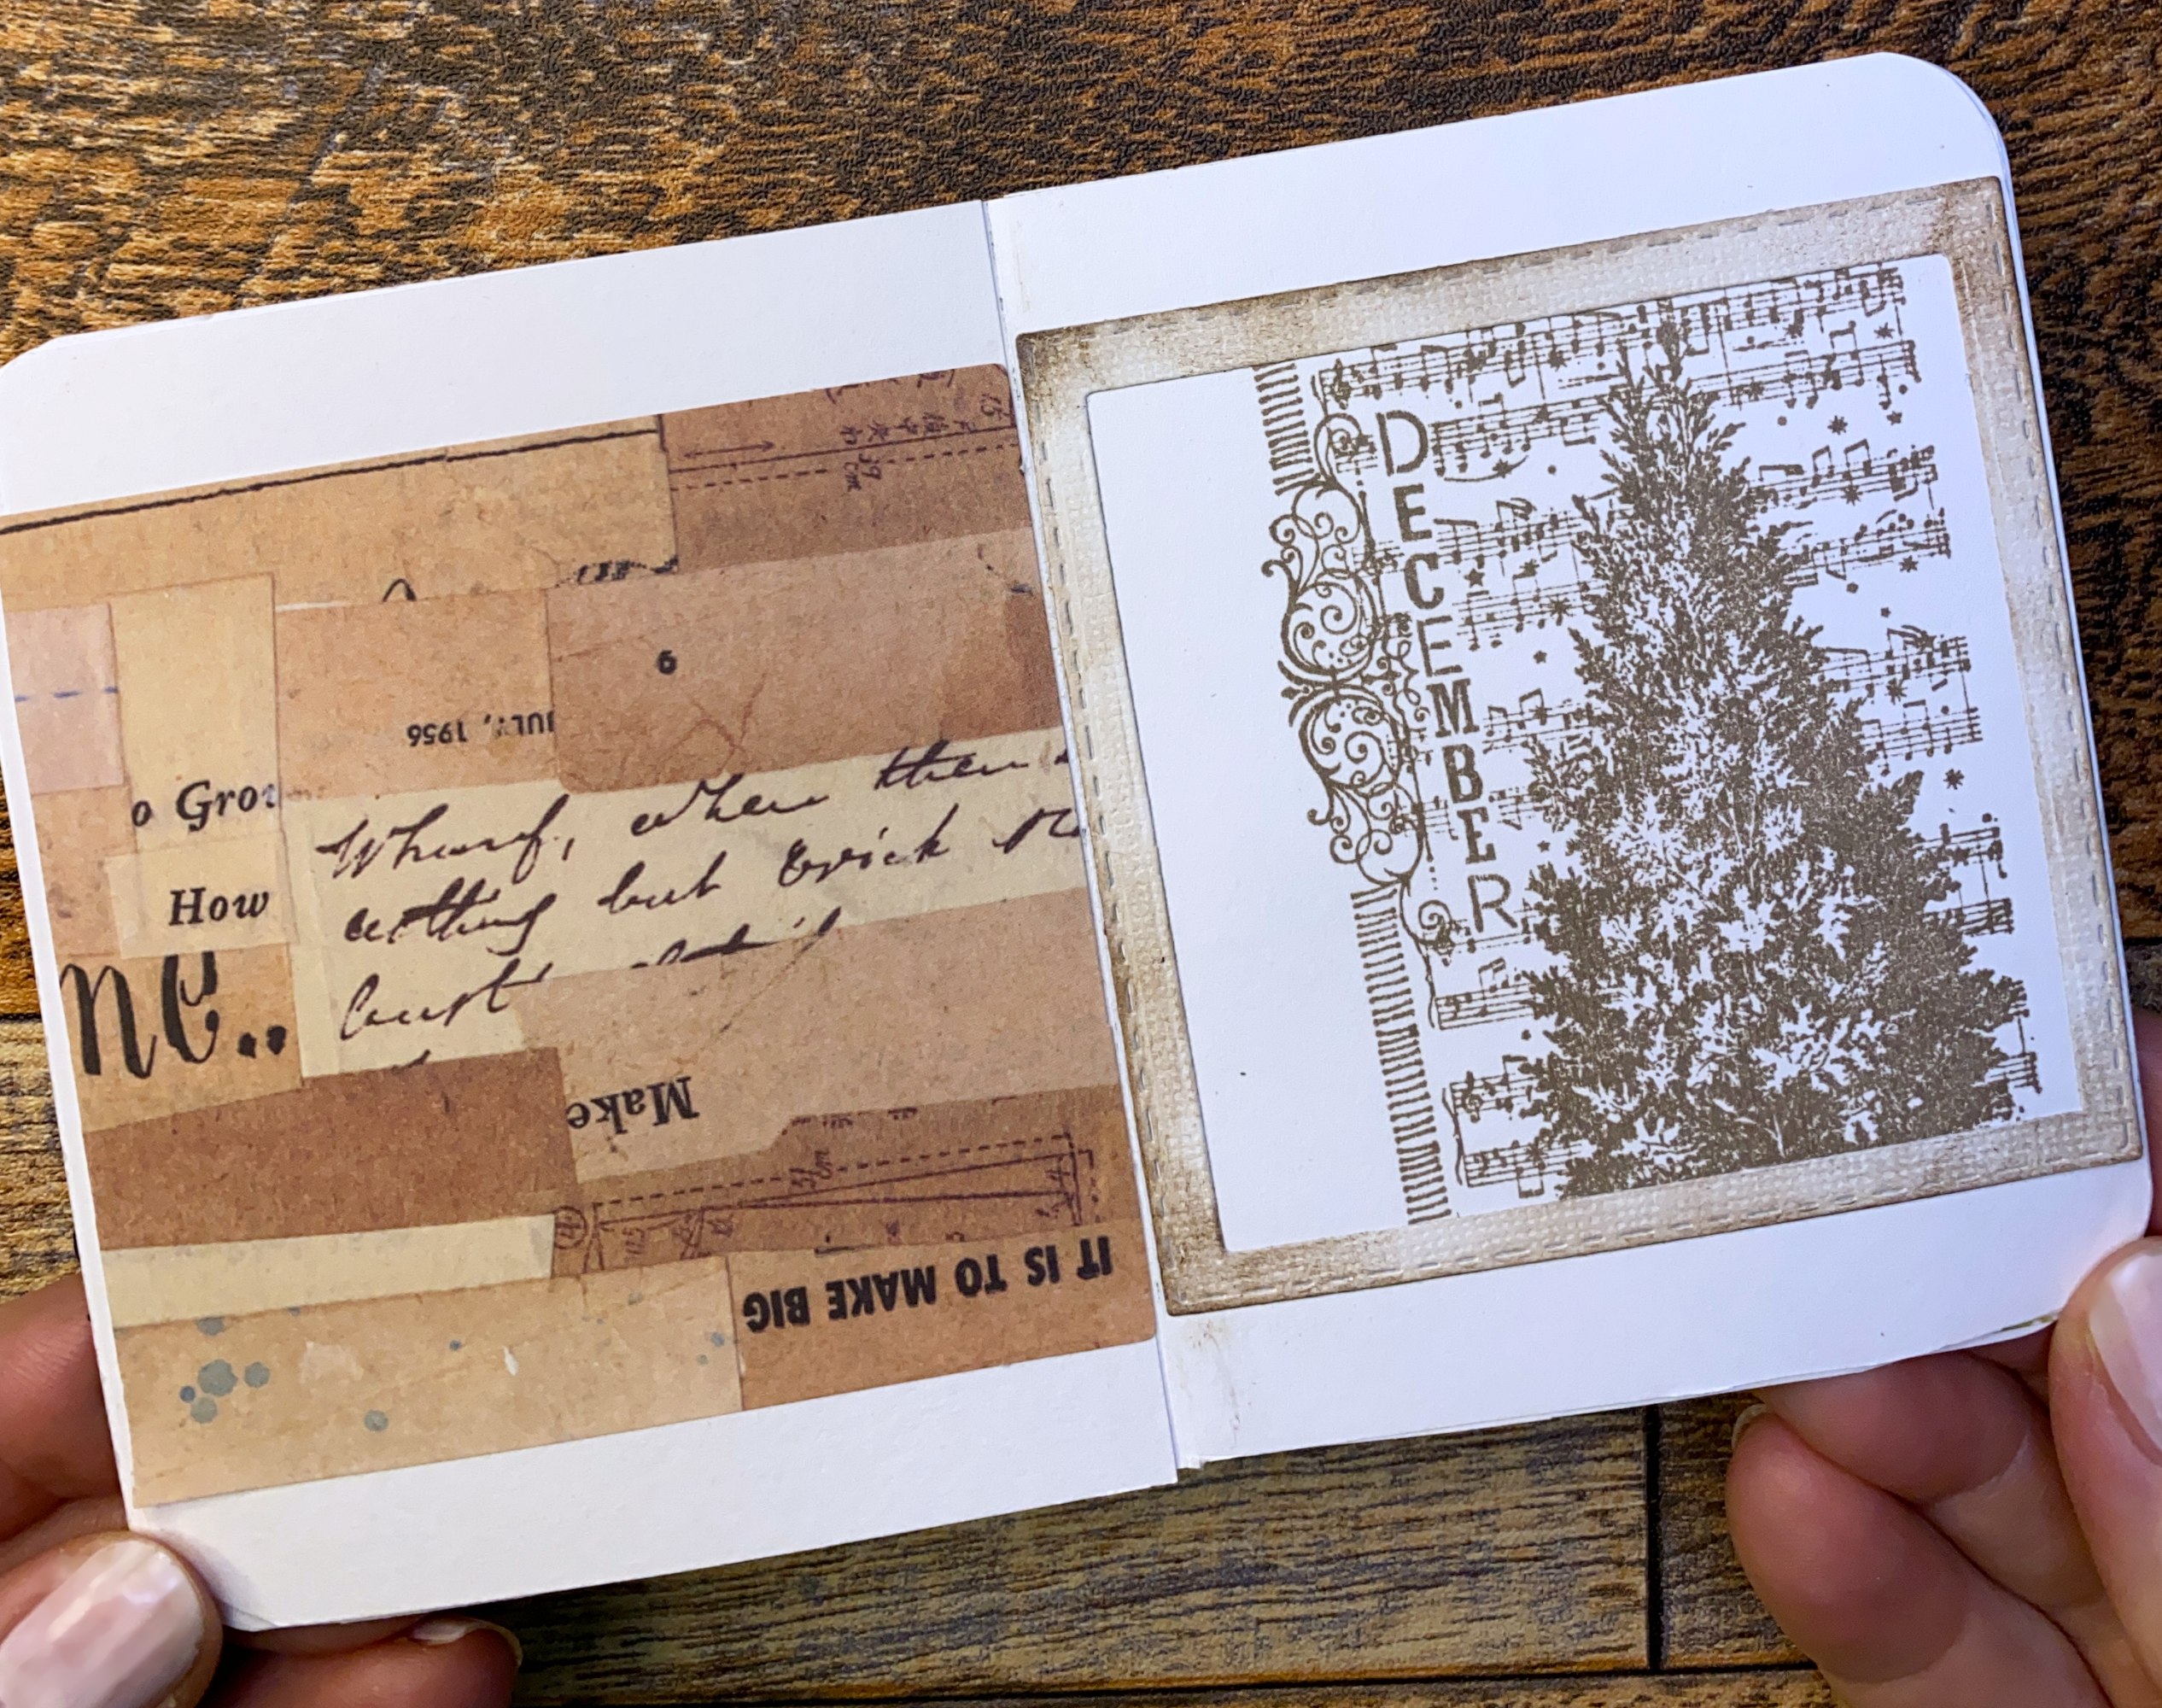
Page Six: Our December Tree Rubber Stamp with a square die cut frame glued over it.

Page Seven: A bird sticker and 3 sticker quotes.
Page Eight: our Raven Flock Rubber Stamp and text part from our Quoth the Raven Rubber Stamp.
Page Nine: Pre-printed card
Page Ten: Our Moonlit Forest Rubber Stamp with our Whitetail Buck Rubber Stamp cutout and glued on top of the forest.
Page 11: Pre-printed paper
Page 12: our Blackbird Tree Rubber Stamp and other part of Quoth the Raven Rubber Stamp.
Page 13: pre-printed paper
Page 14: branches from our large collection, Season of Joy Rubber Stamp Set.
The tree theme was fun to create. Who knew you could create a 14 page journal by glueing in pages. The two corners were rounded. There is no end to the amount of embellishing and coloring you could do with just a blank journal! Have fun :-)