

Merging Journaling and Card Making
Posted by Susan J. Deep Red Stamps on Oct 24th 2023
In this project, I combined some favorite journaling techniques to create a handmade card. For those of you that do not create junk journals, that's ok because the processes, like watercolor paint splashes, rolling edges of the paper are used below make a very pretty card with many layers. I also include below a couple of tips on keeping your tools sharp and options for using different focal points.
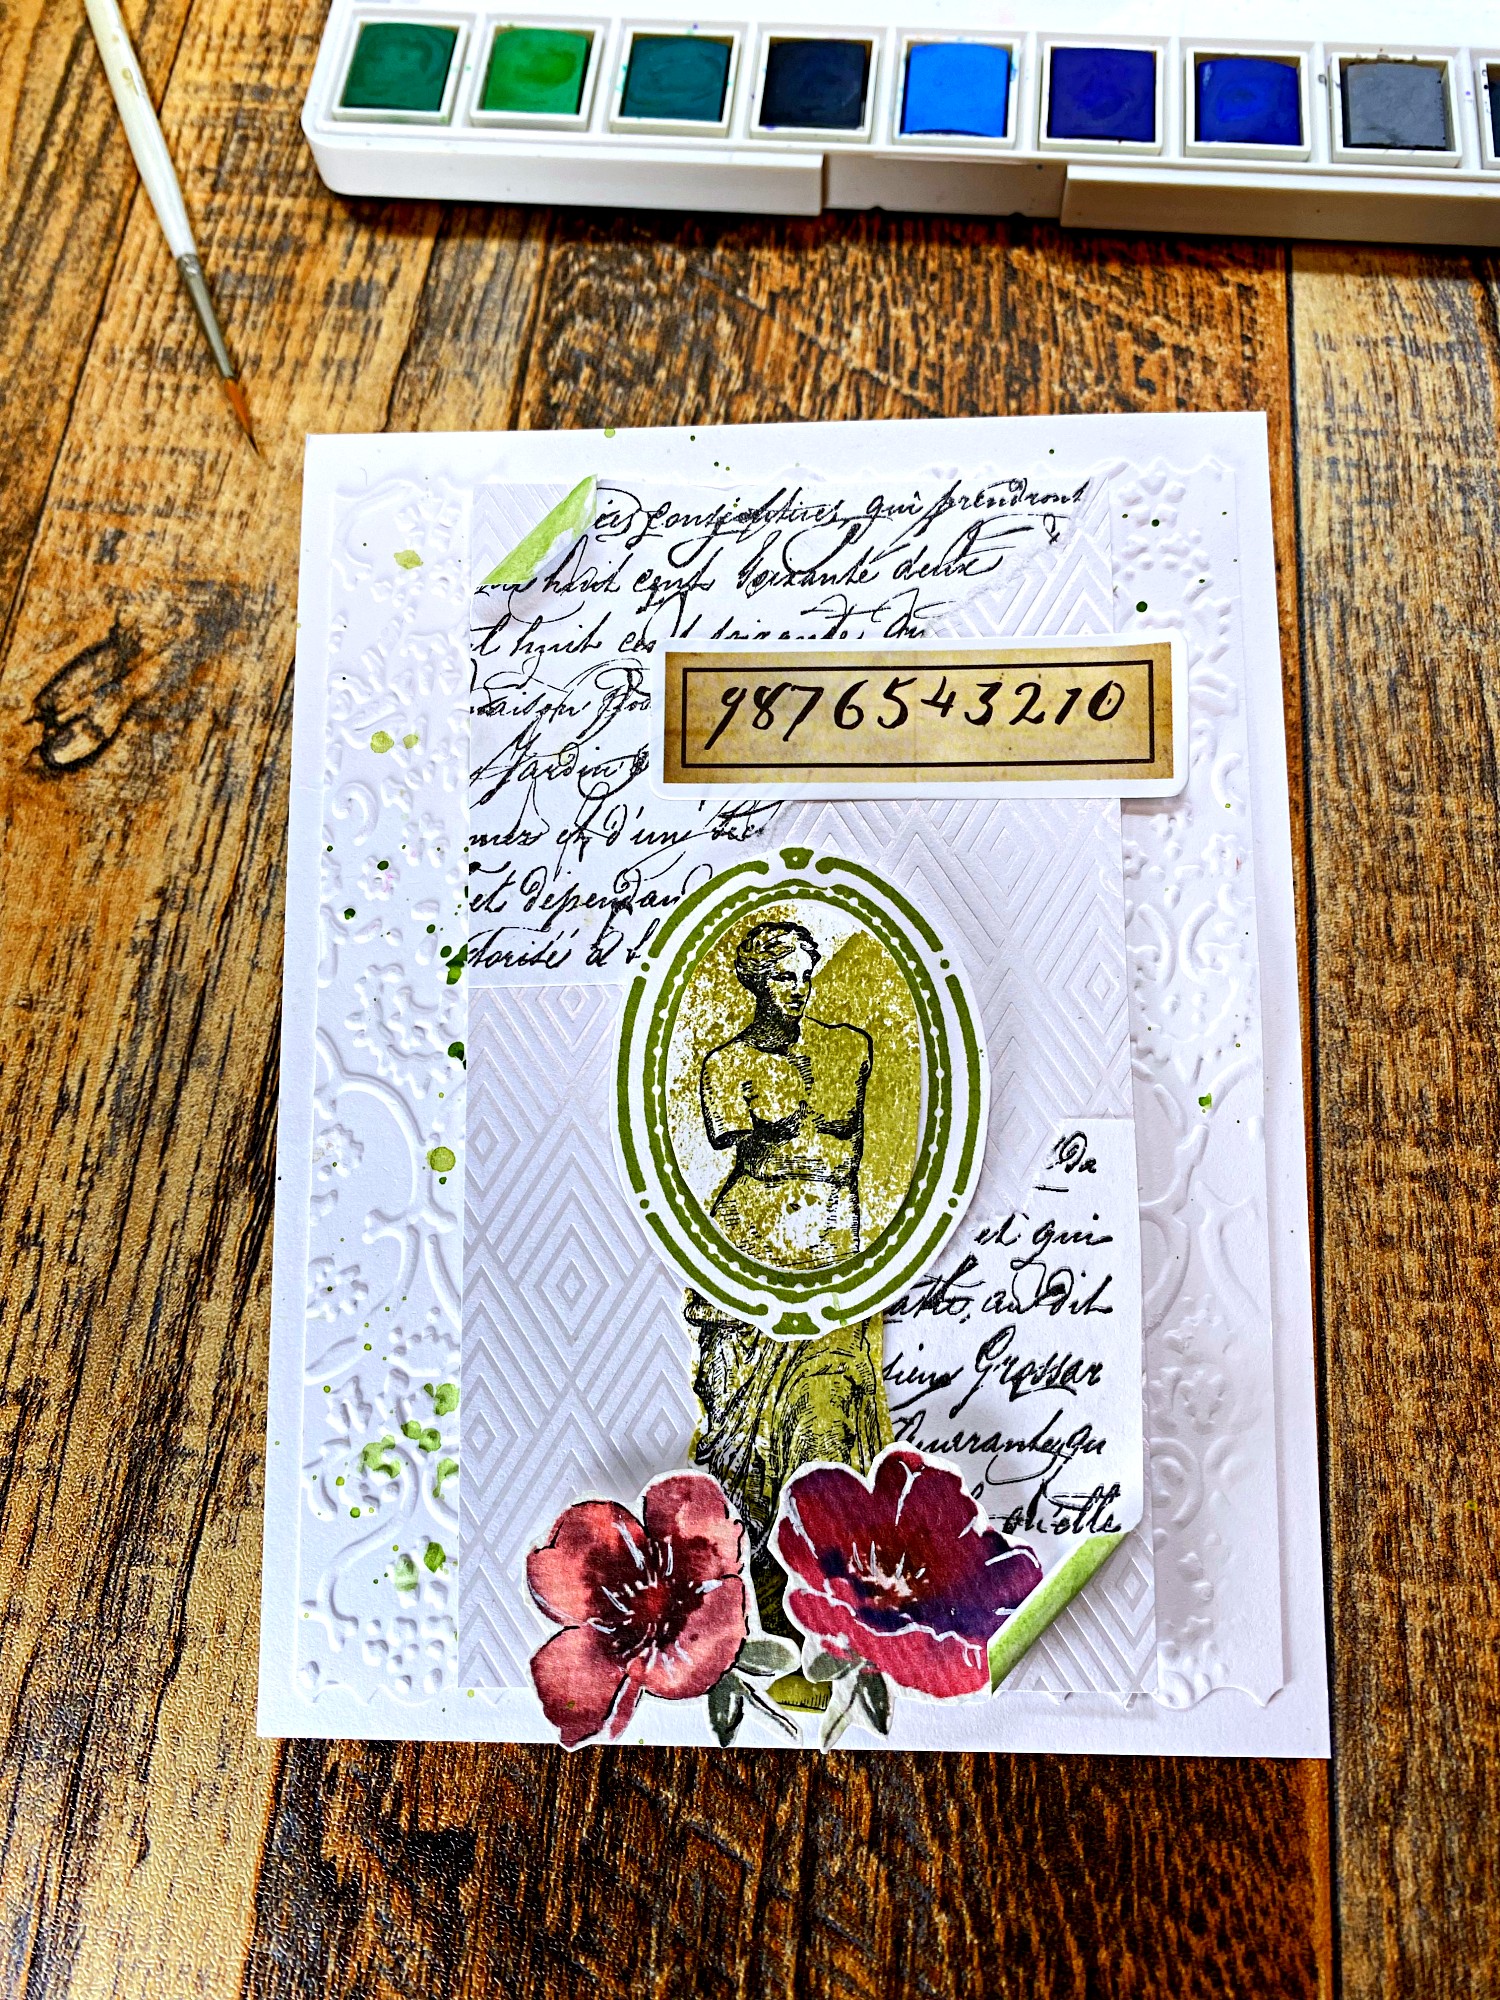
We use a center layout where everything is built around the middle line of the card. Embellish using the top left and bottom right which is often seen in journaling. A background pattern of script in black ink gives the green center a nice contrast. (The red flowers are watercolor designs inkjet printed). You can use stickers of flowers just the same.
The Venus de Milo Rubber Stamp is now available for purchase. It measures about 1.25" wide x 3.25" tall.
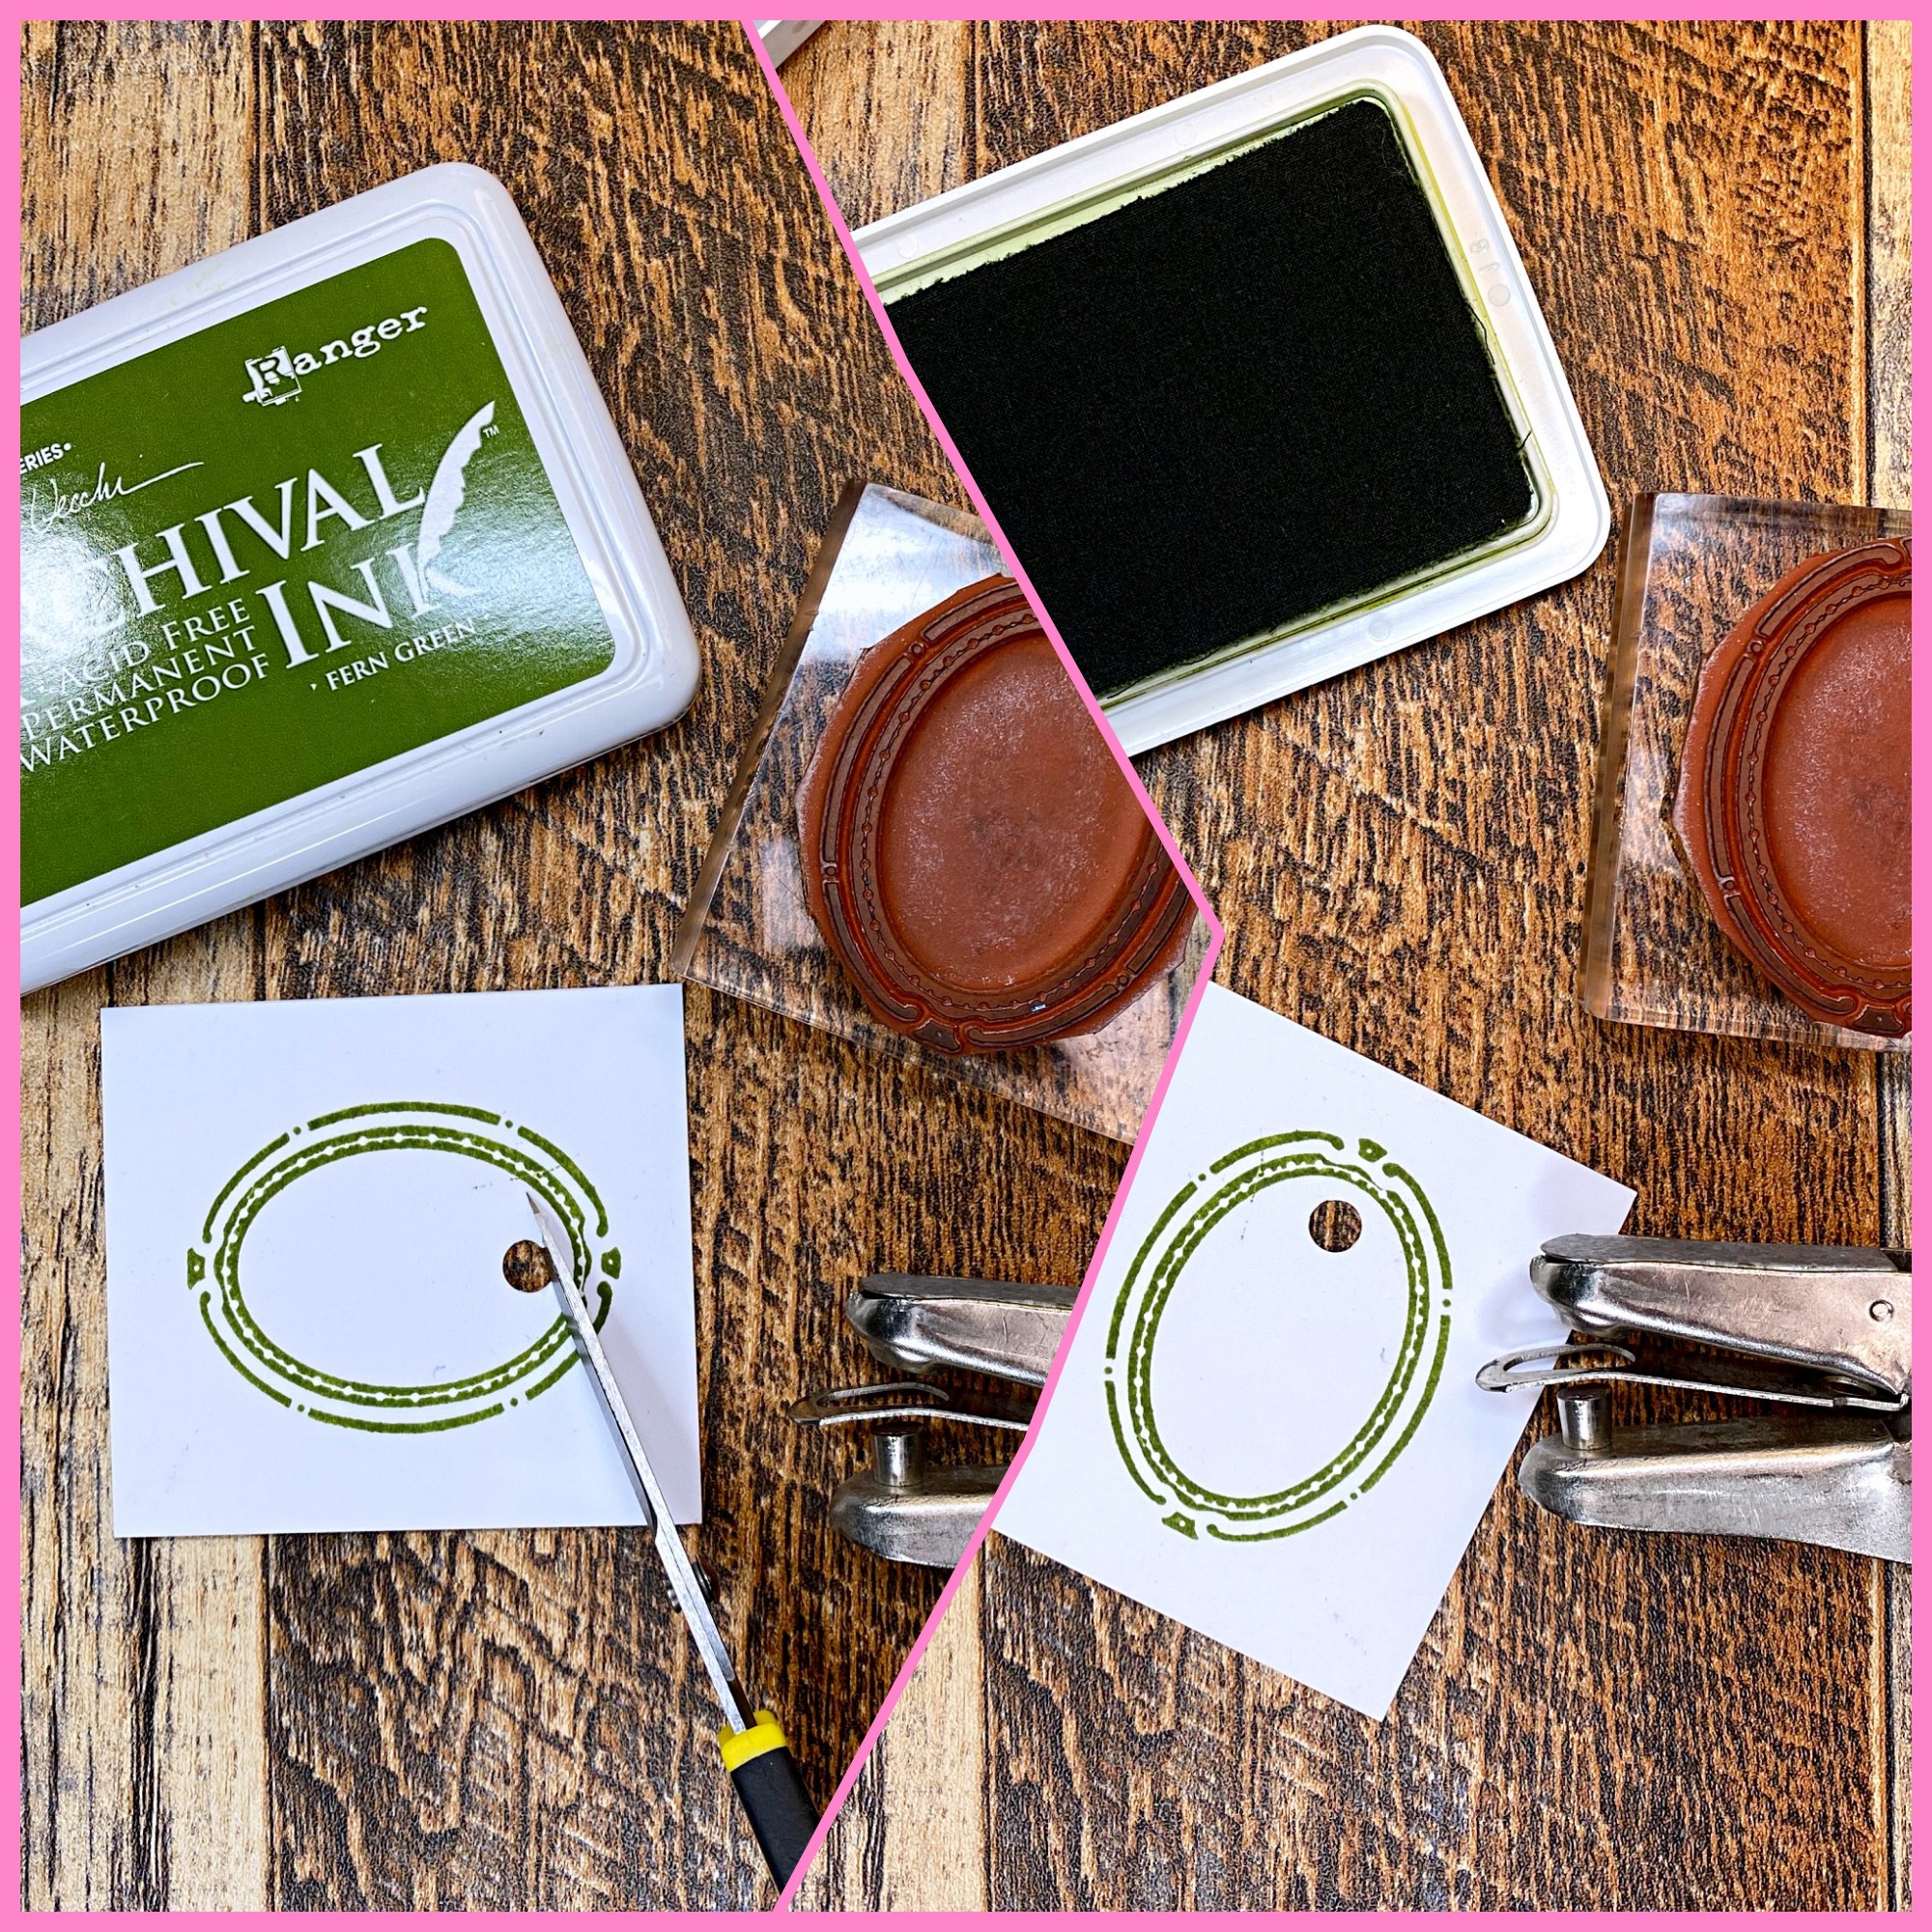
The oval frame is from our Create a Cameo Rubber Stamp Collection. You will notice, I used the top part of the Venus on top of the frame and the bottom portion of the statue lays underneath the oval.
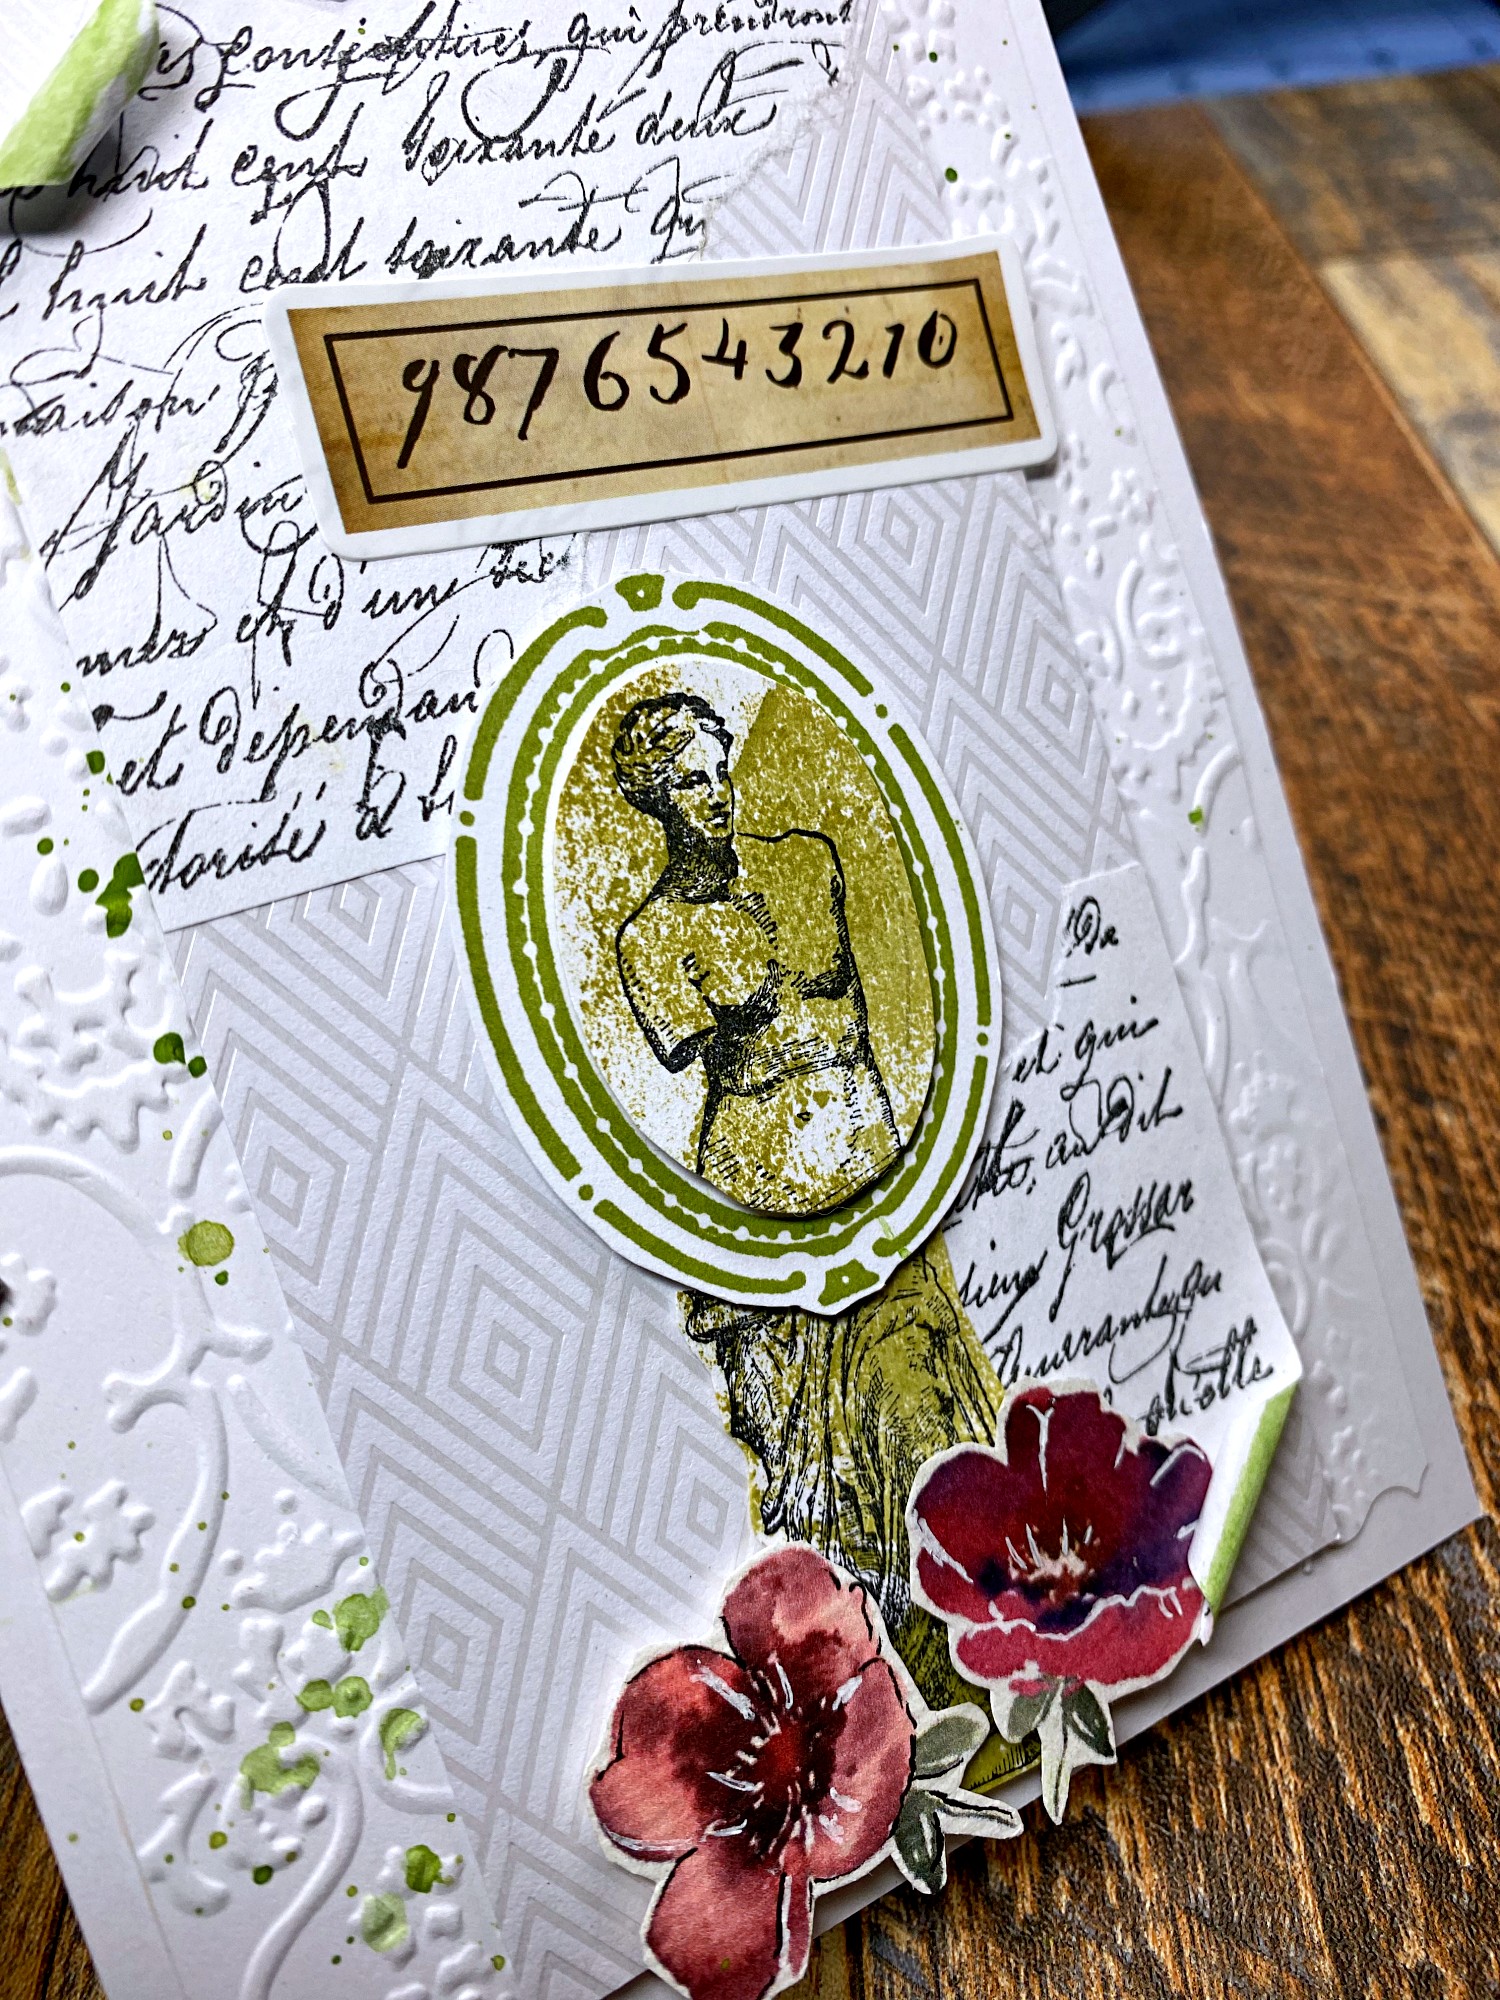
The Venus de Milo you see in the photo above was stamped in black ink and then "dipped" in green alcohol ink splattered on a silicone mat. The alcohol inking step was unnecessary here since watercolor paints would have done just as interesting of a job.
You can add ink onto the Venus any way you prefer since the design is so iconic and looks good however method color is added.
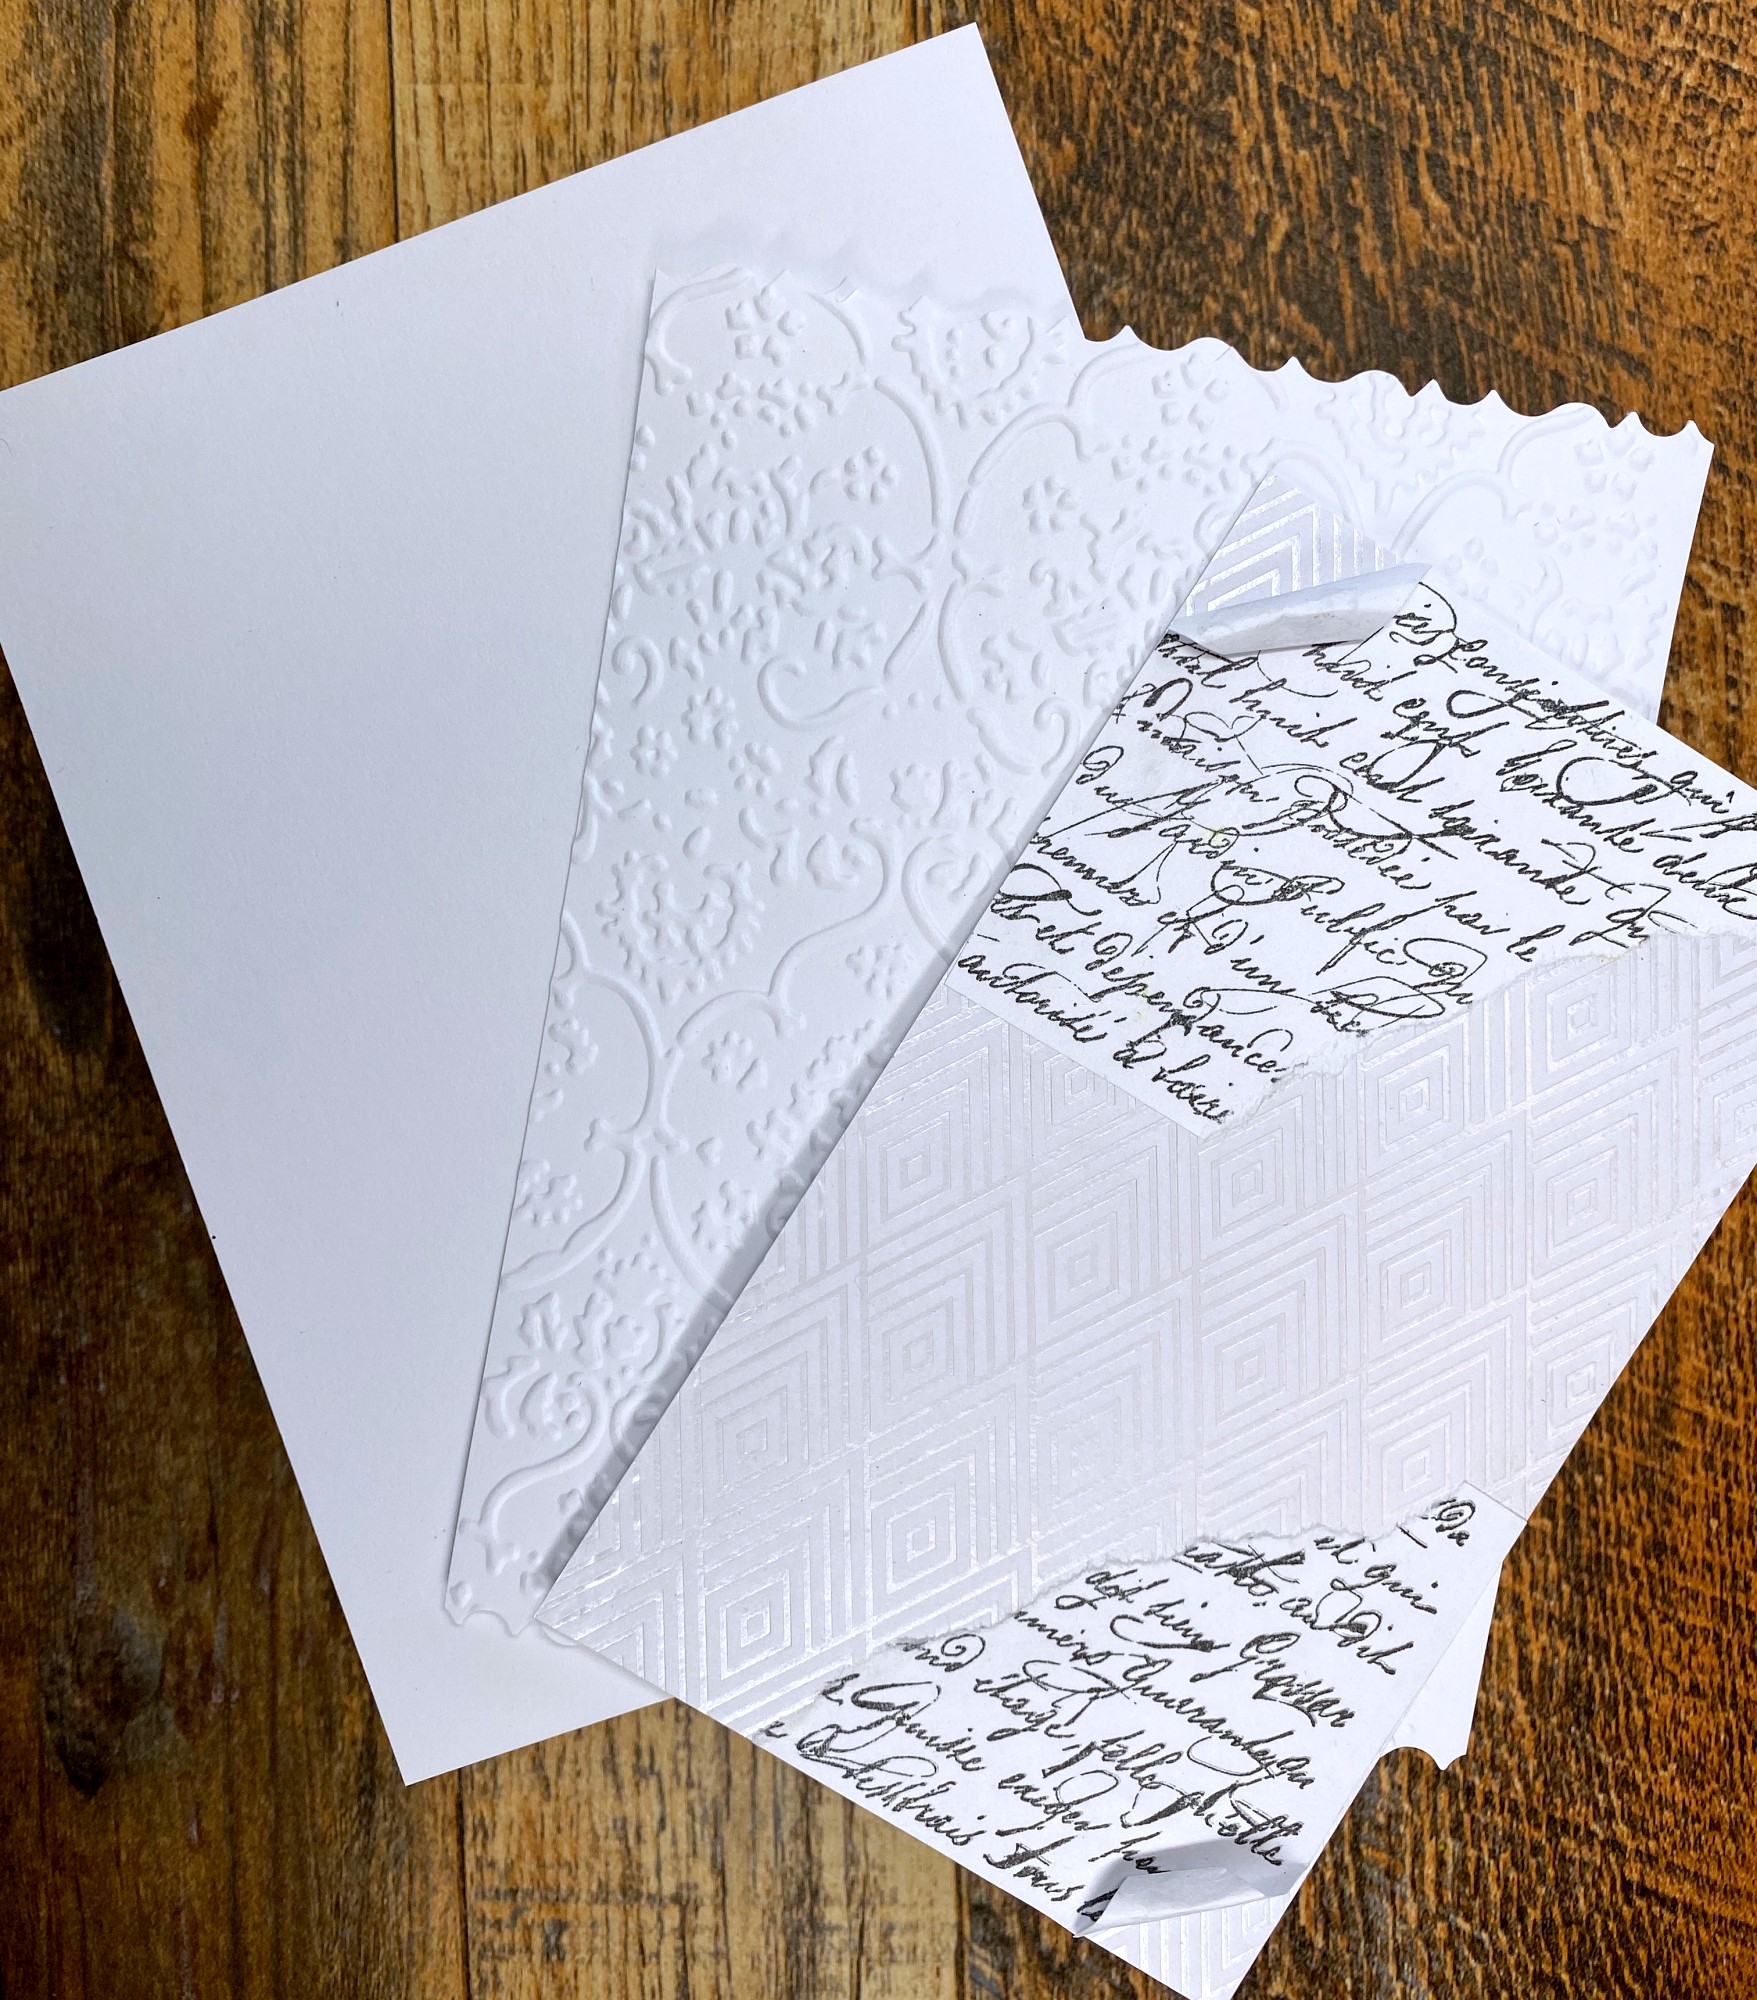
For the card base, I used all white paper card stocks, one embossed with a folder.
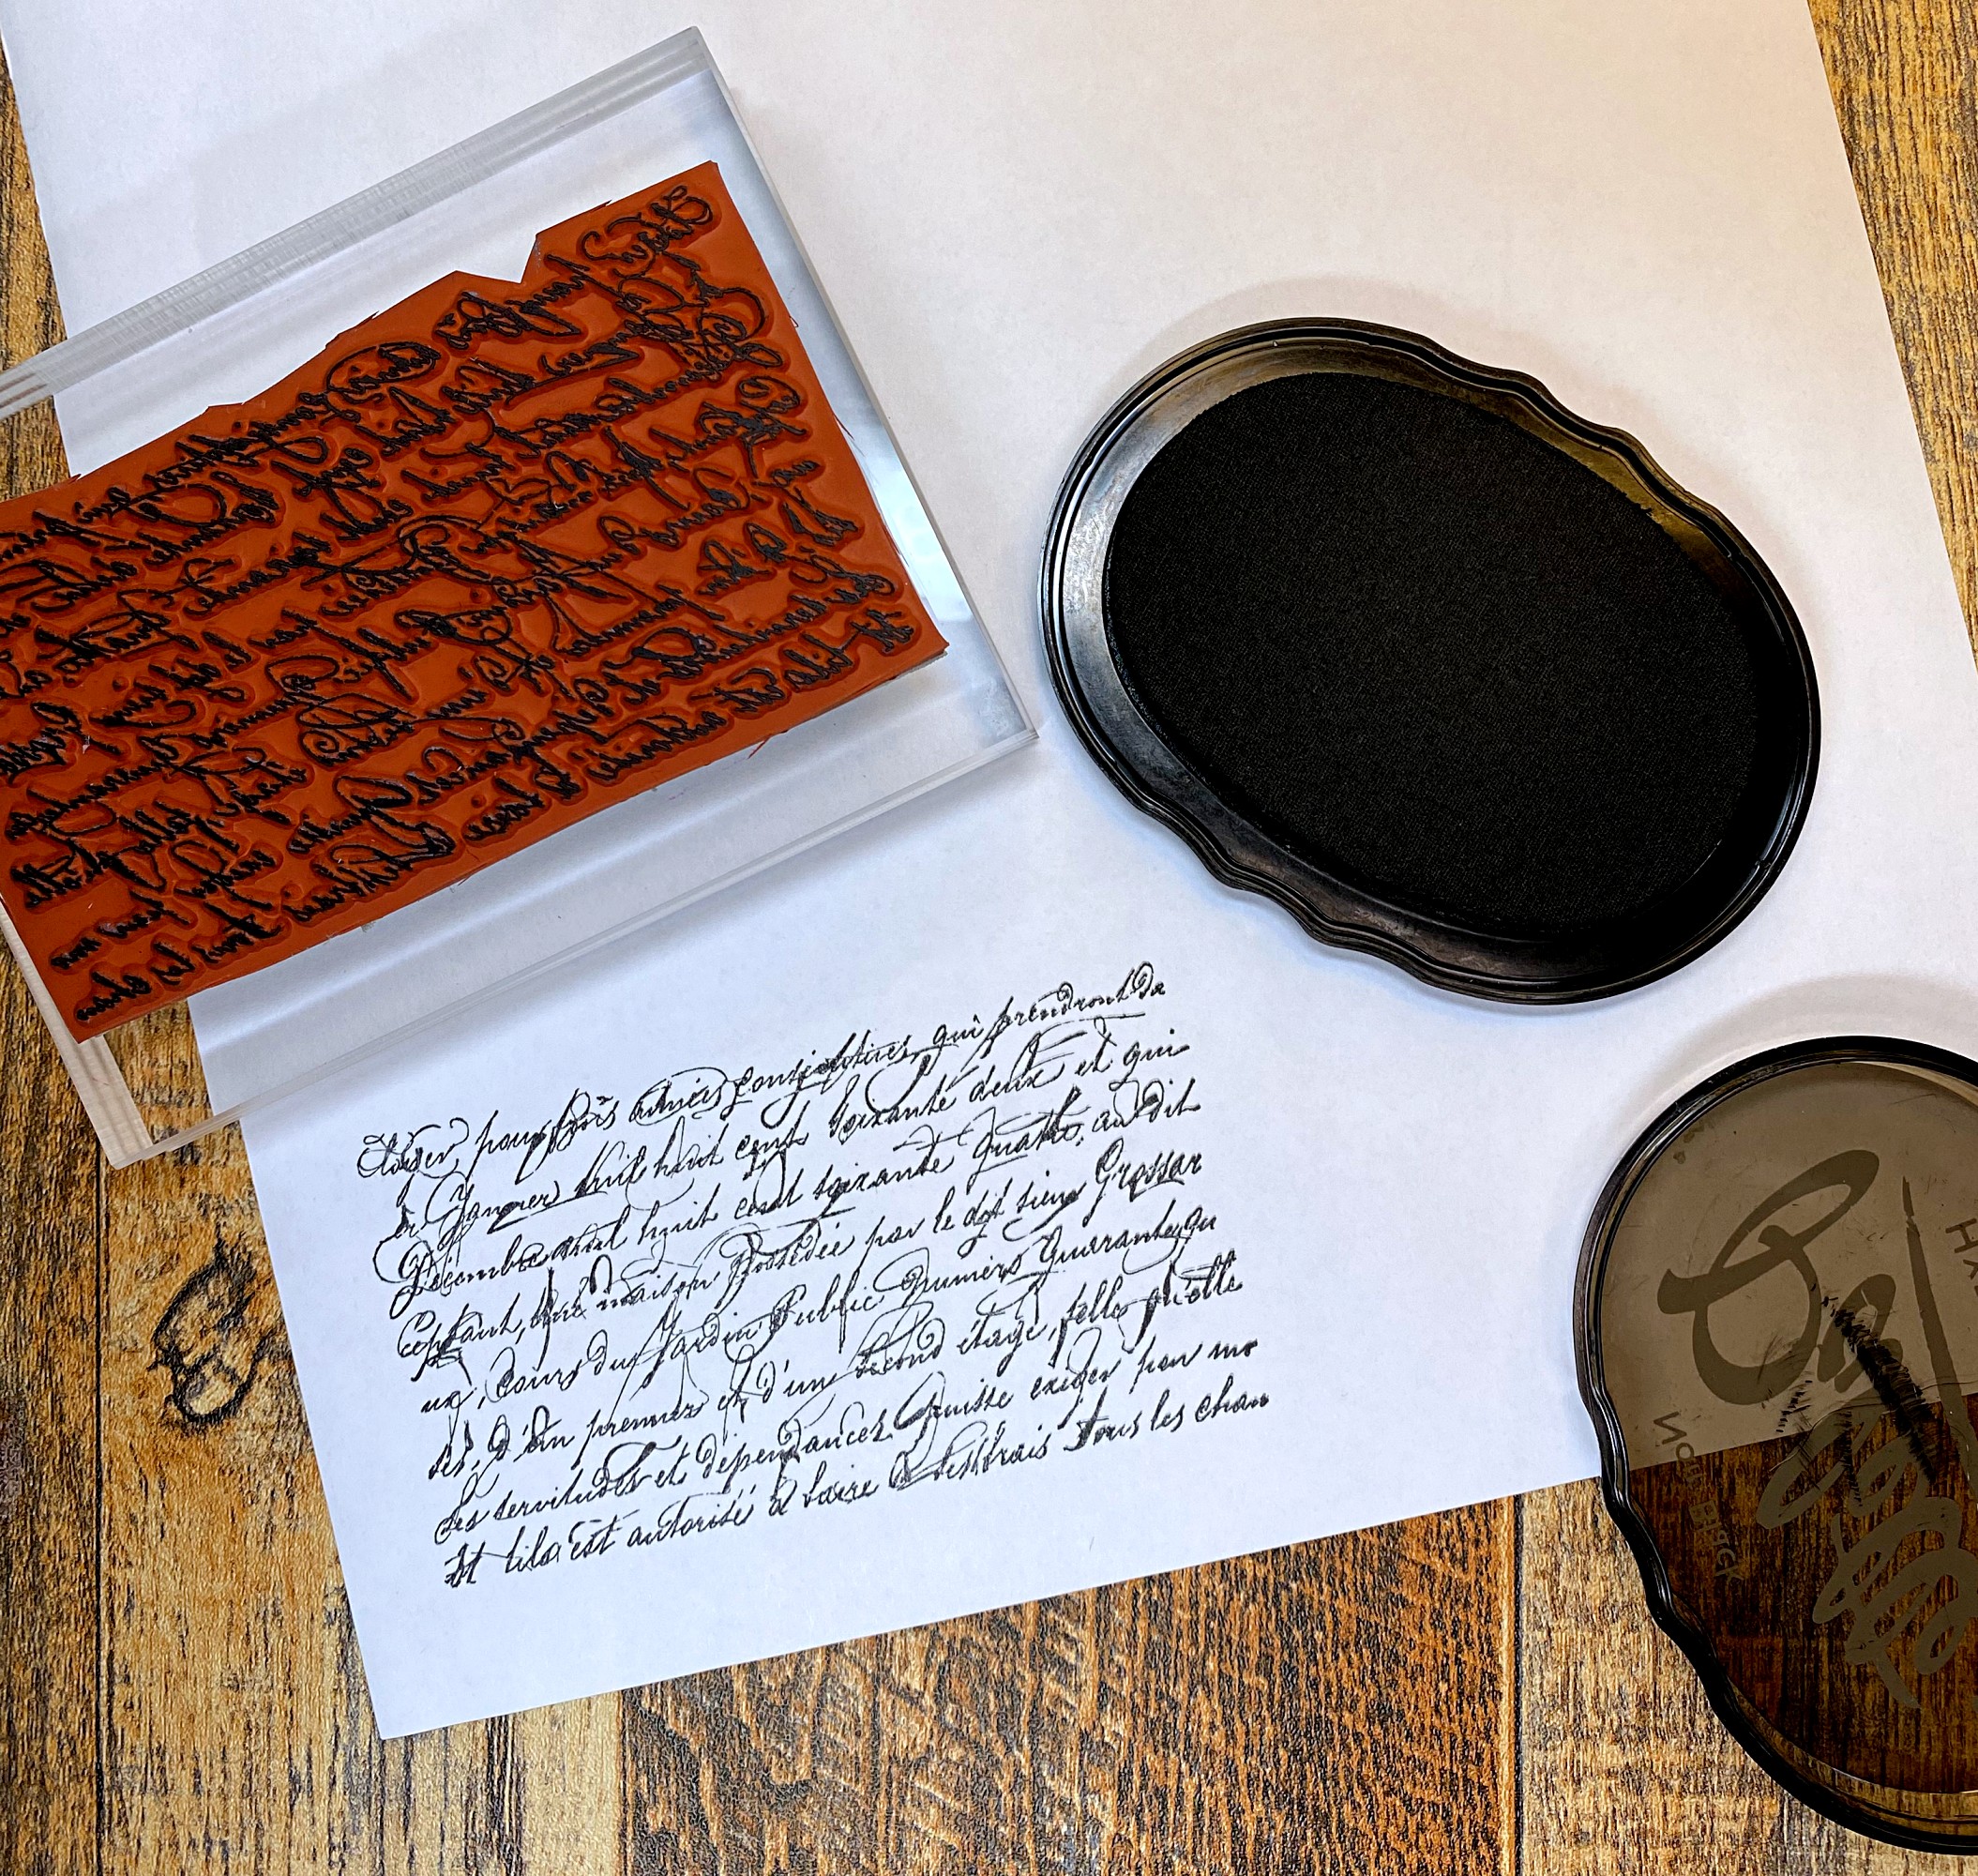
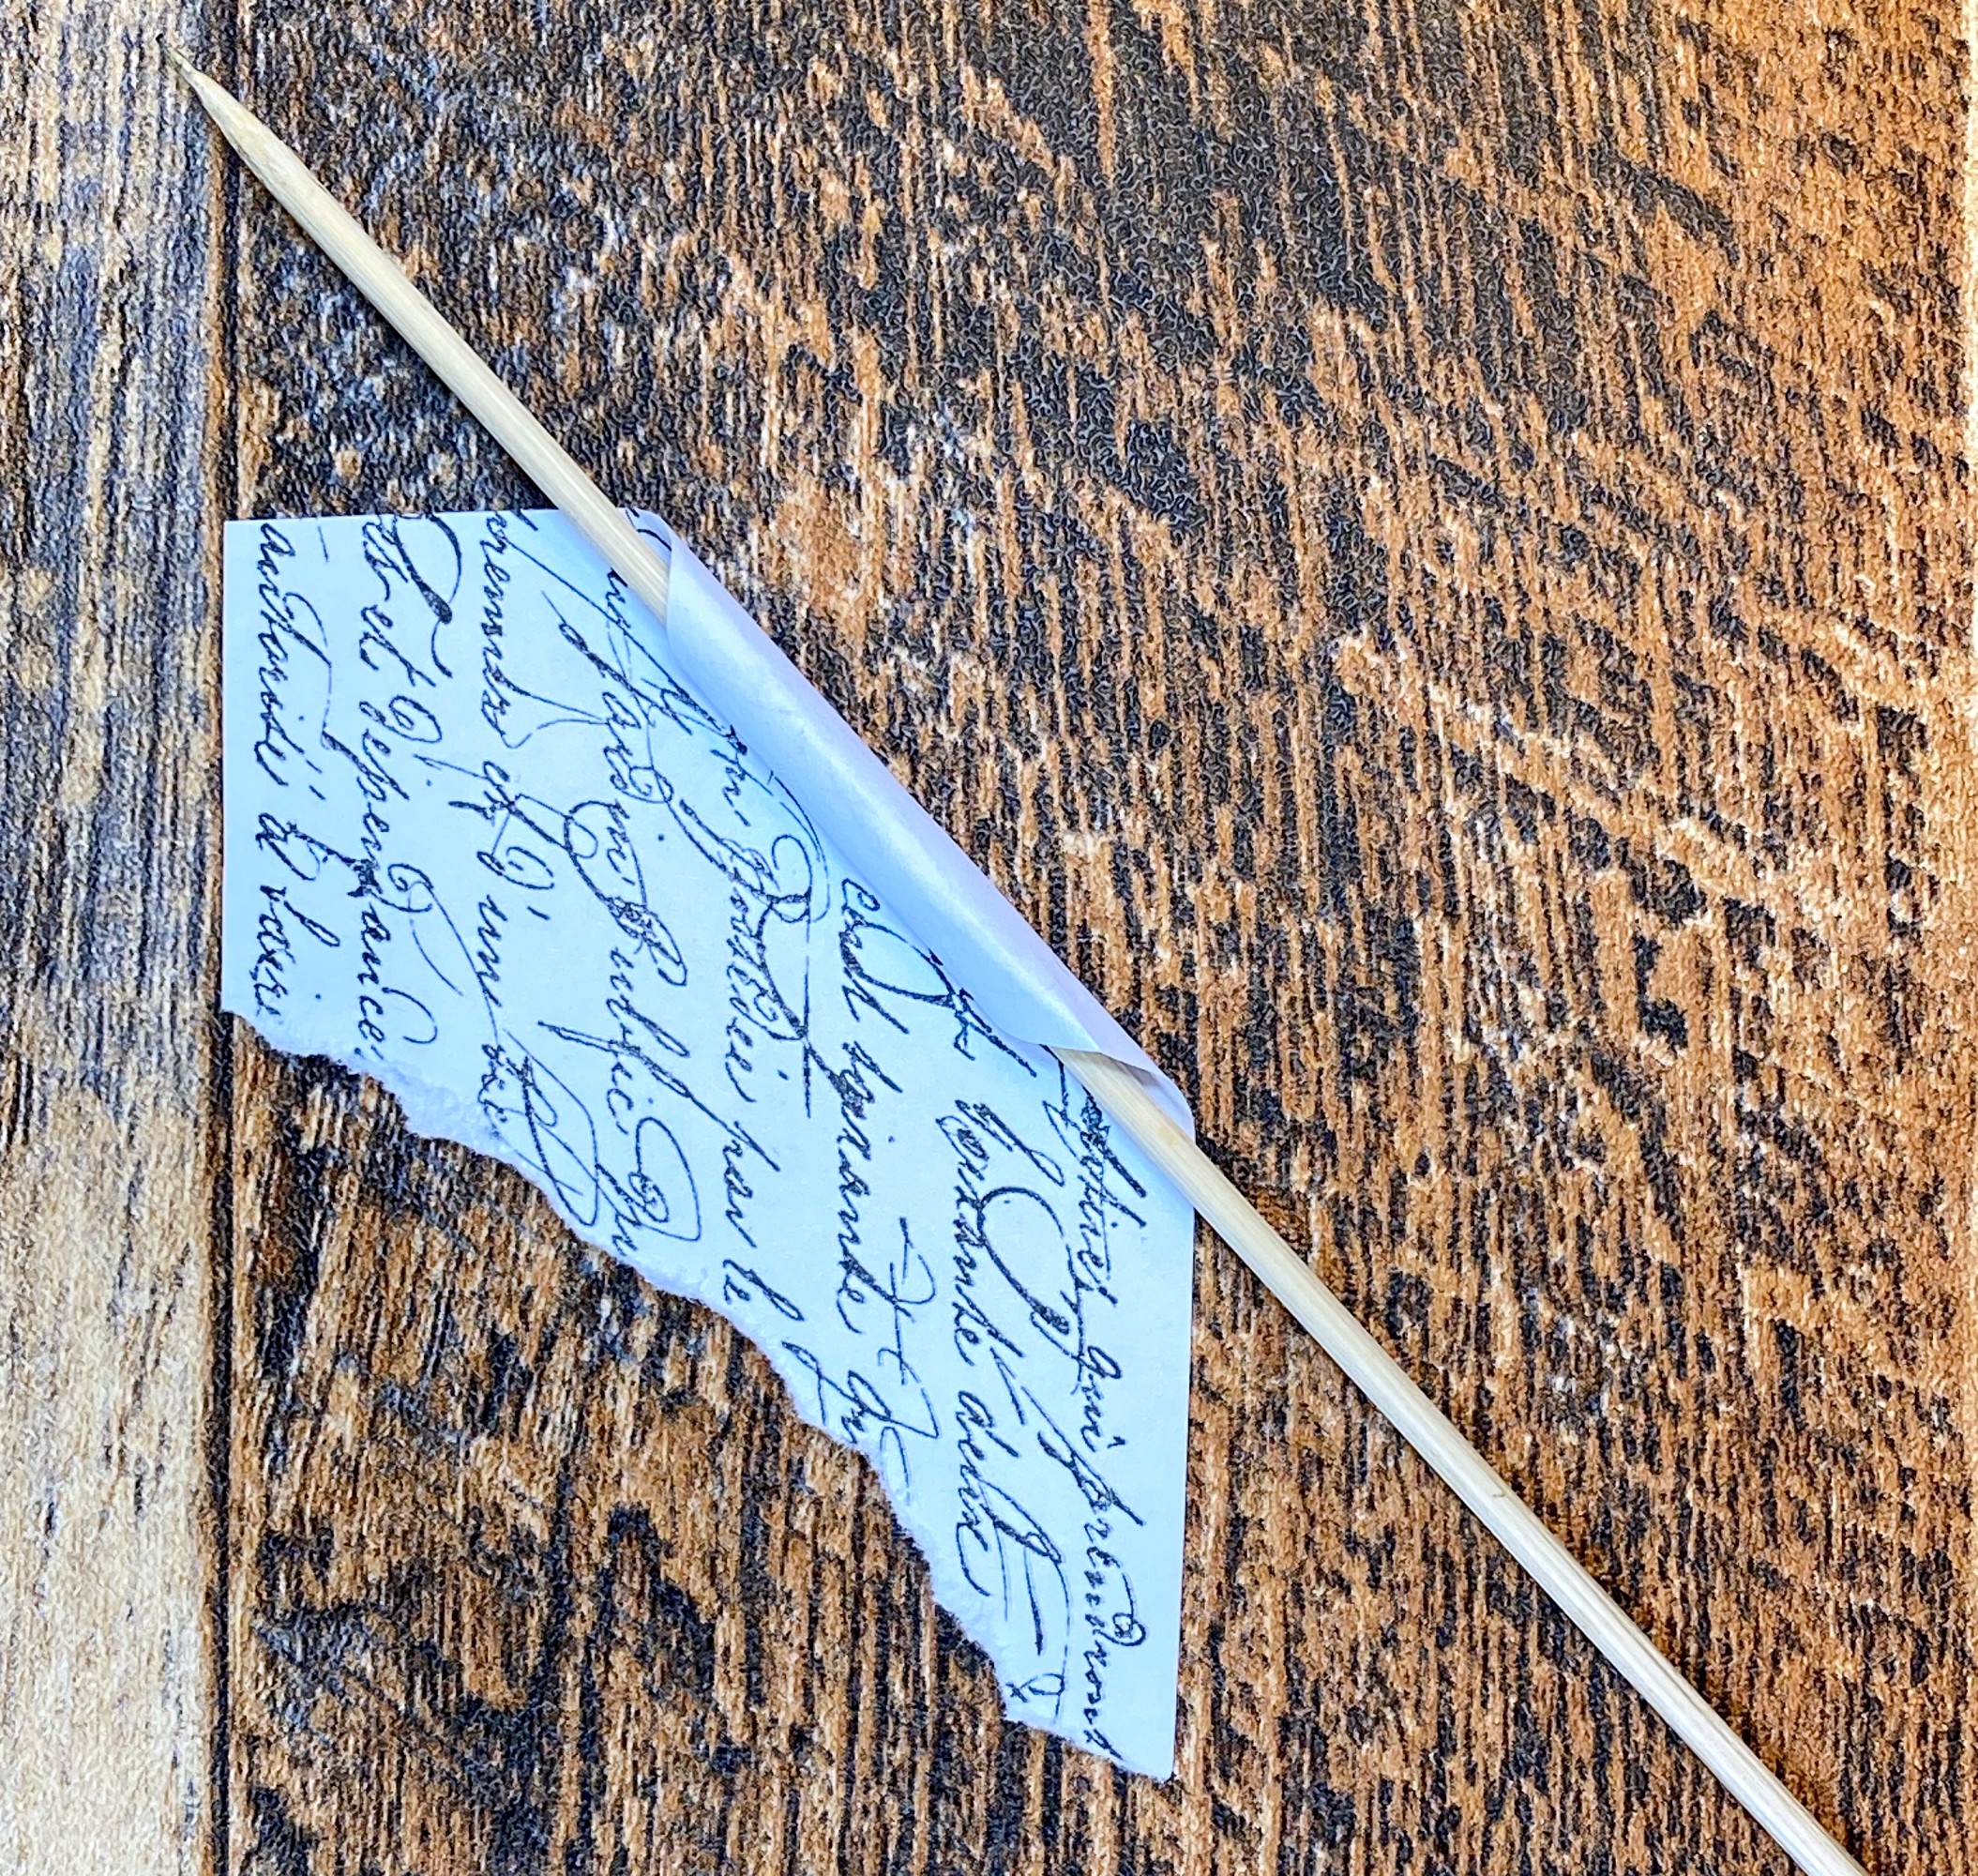
The top layer has our Handwriting Script Rubber Stamp in black ink and then torn by hand at an angle so it will flank the center. I cannot say enough good things about this stamp design. The script measures 4.2" x 2.2" and I have been using it on so many projects since it's release. It's one of those must-haves in your stamp collection.
Tip...
To roll the edges of the pieces, simply use a bamboo skewer because it is smaller in diameter and more uniform than a pencil or pen.
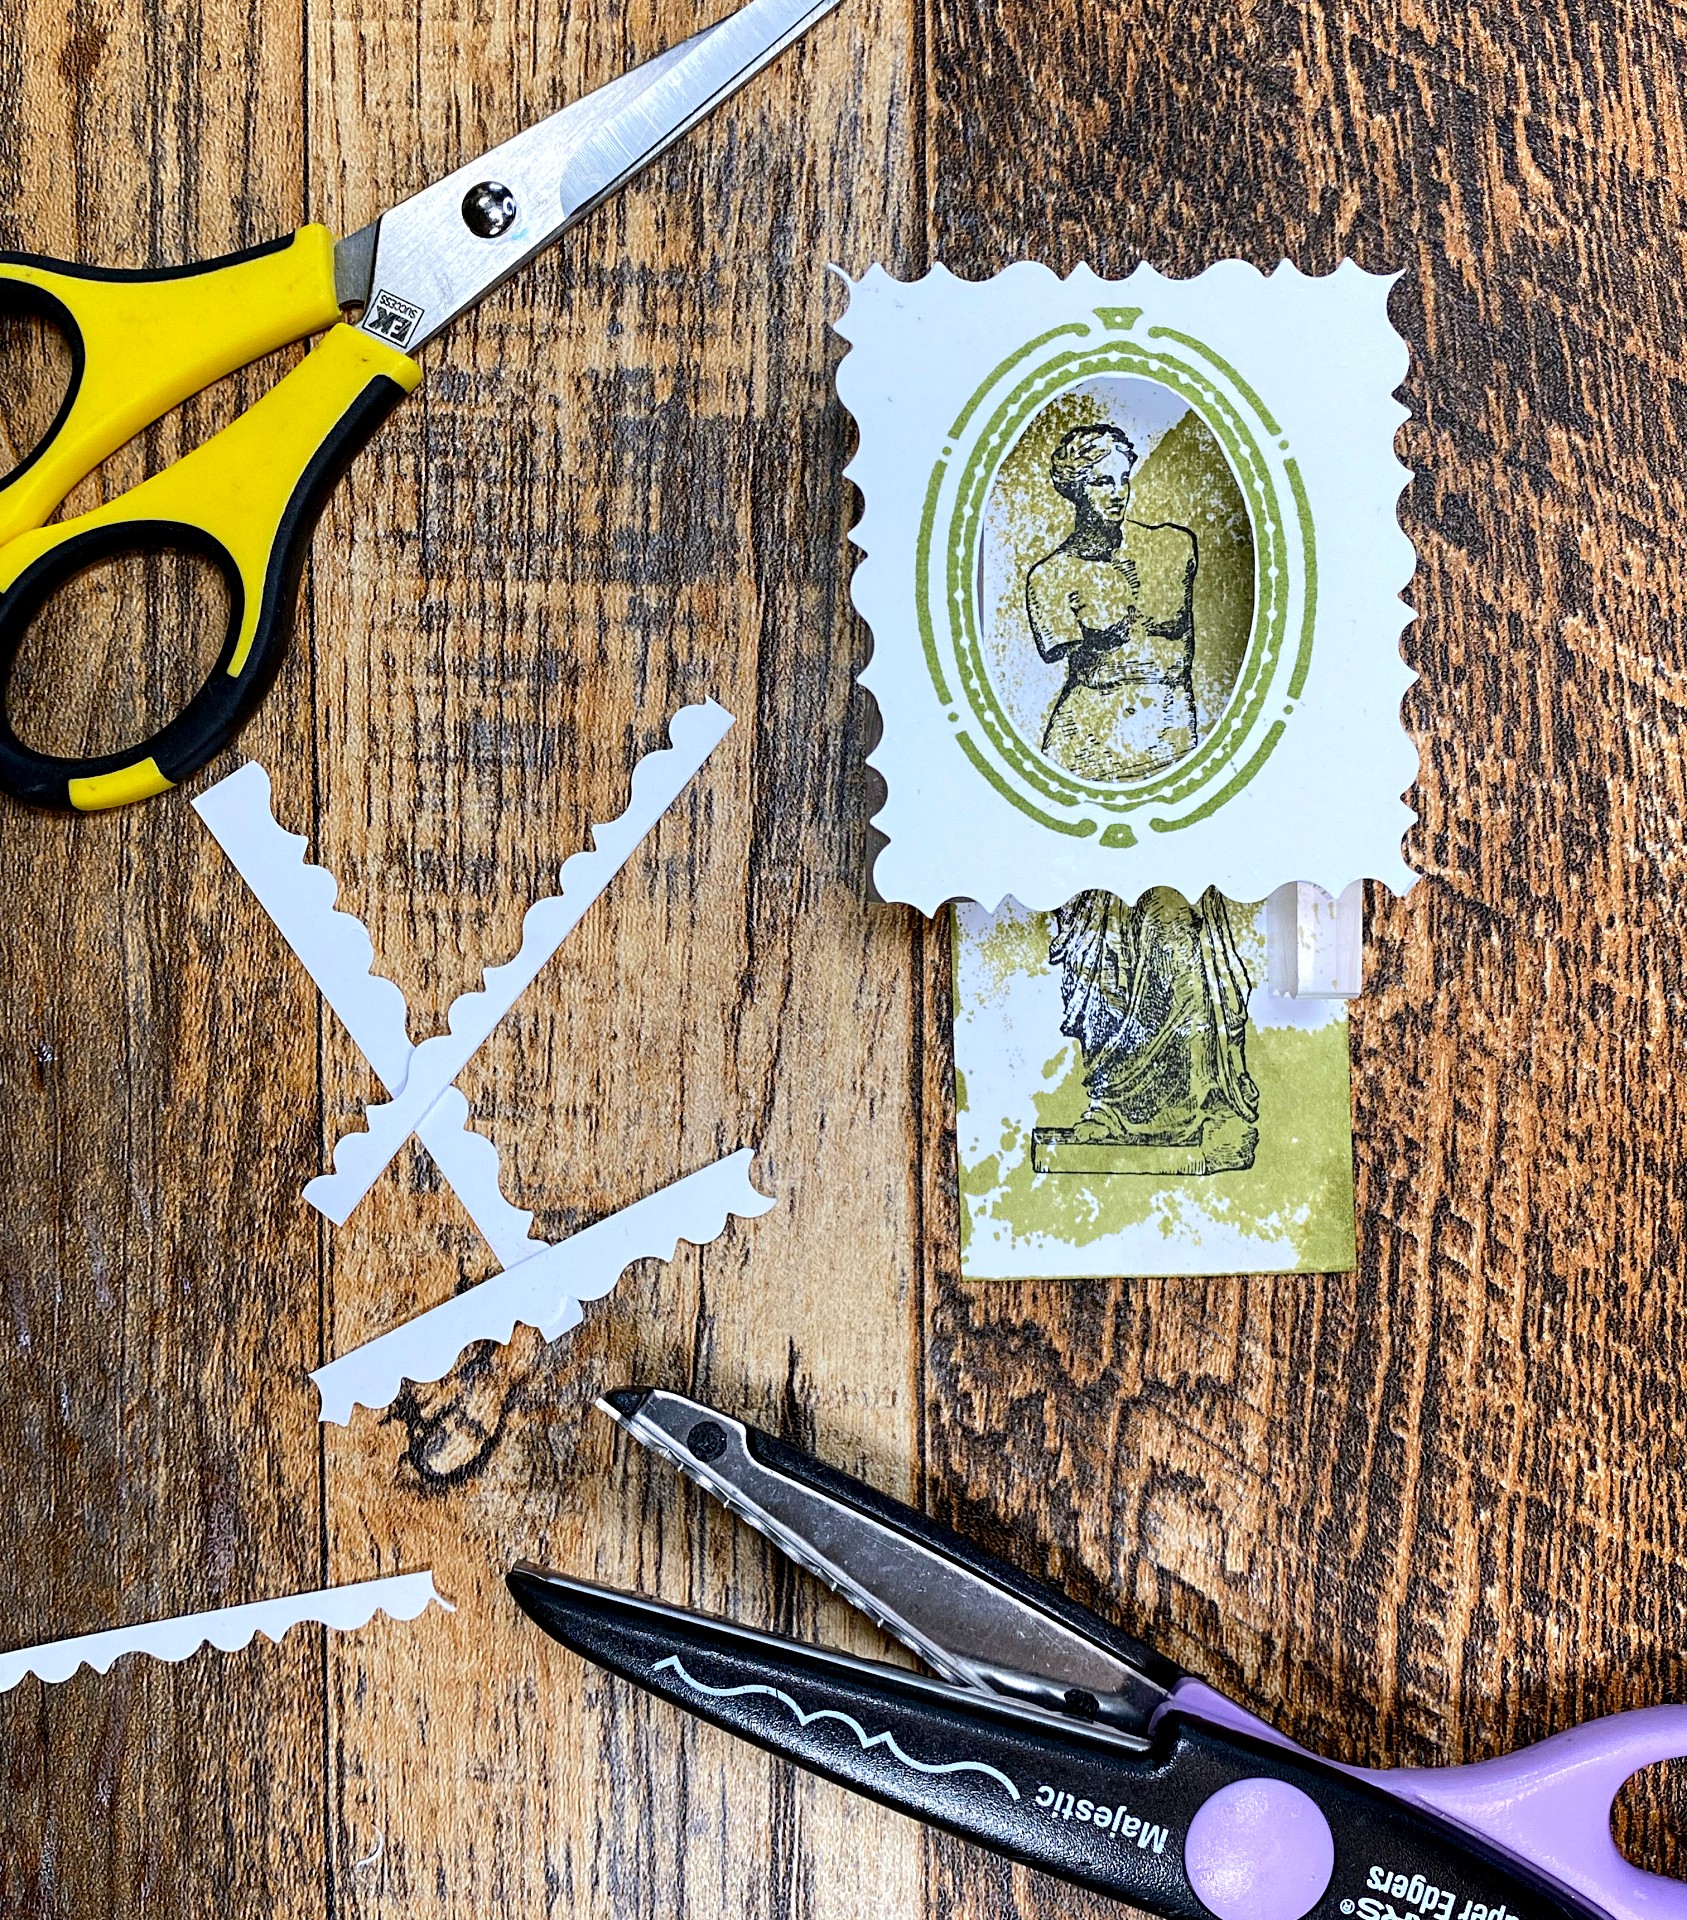
I used the oval frame to draw a circle onto the Venus so I know where to cut it apart.
Tip: How to neatly cut into a circle or oval without a die cut?
1. (Right photo) Using a hole puncher near the edge of the inside of the area you want to cut out.
2. (Left photo) Start the scissors in the punched hole and cut around the opening. Easy, fast and you don't have to crease the paper!
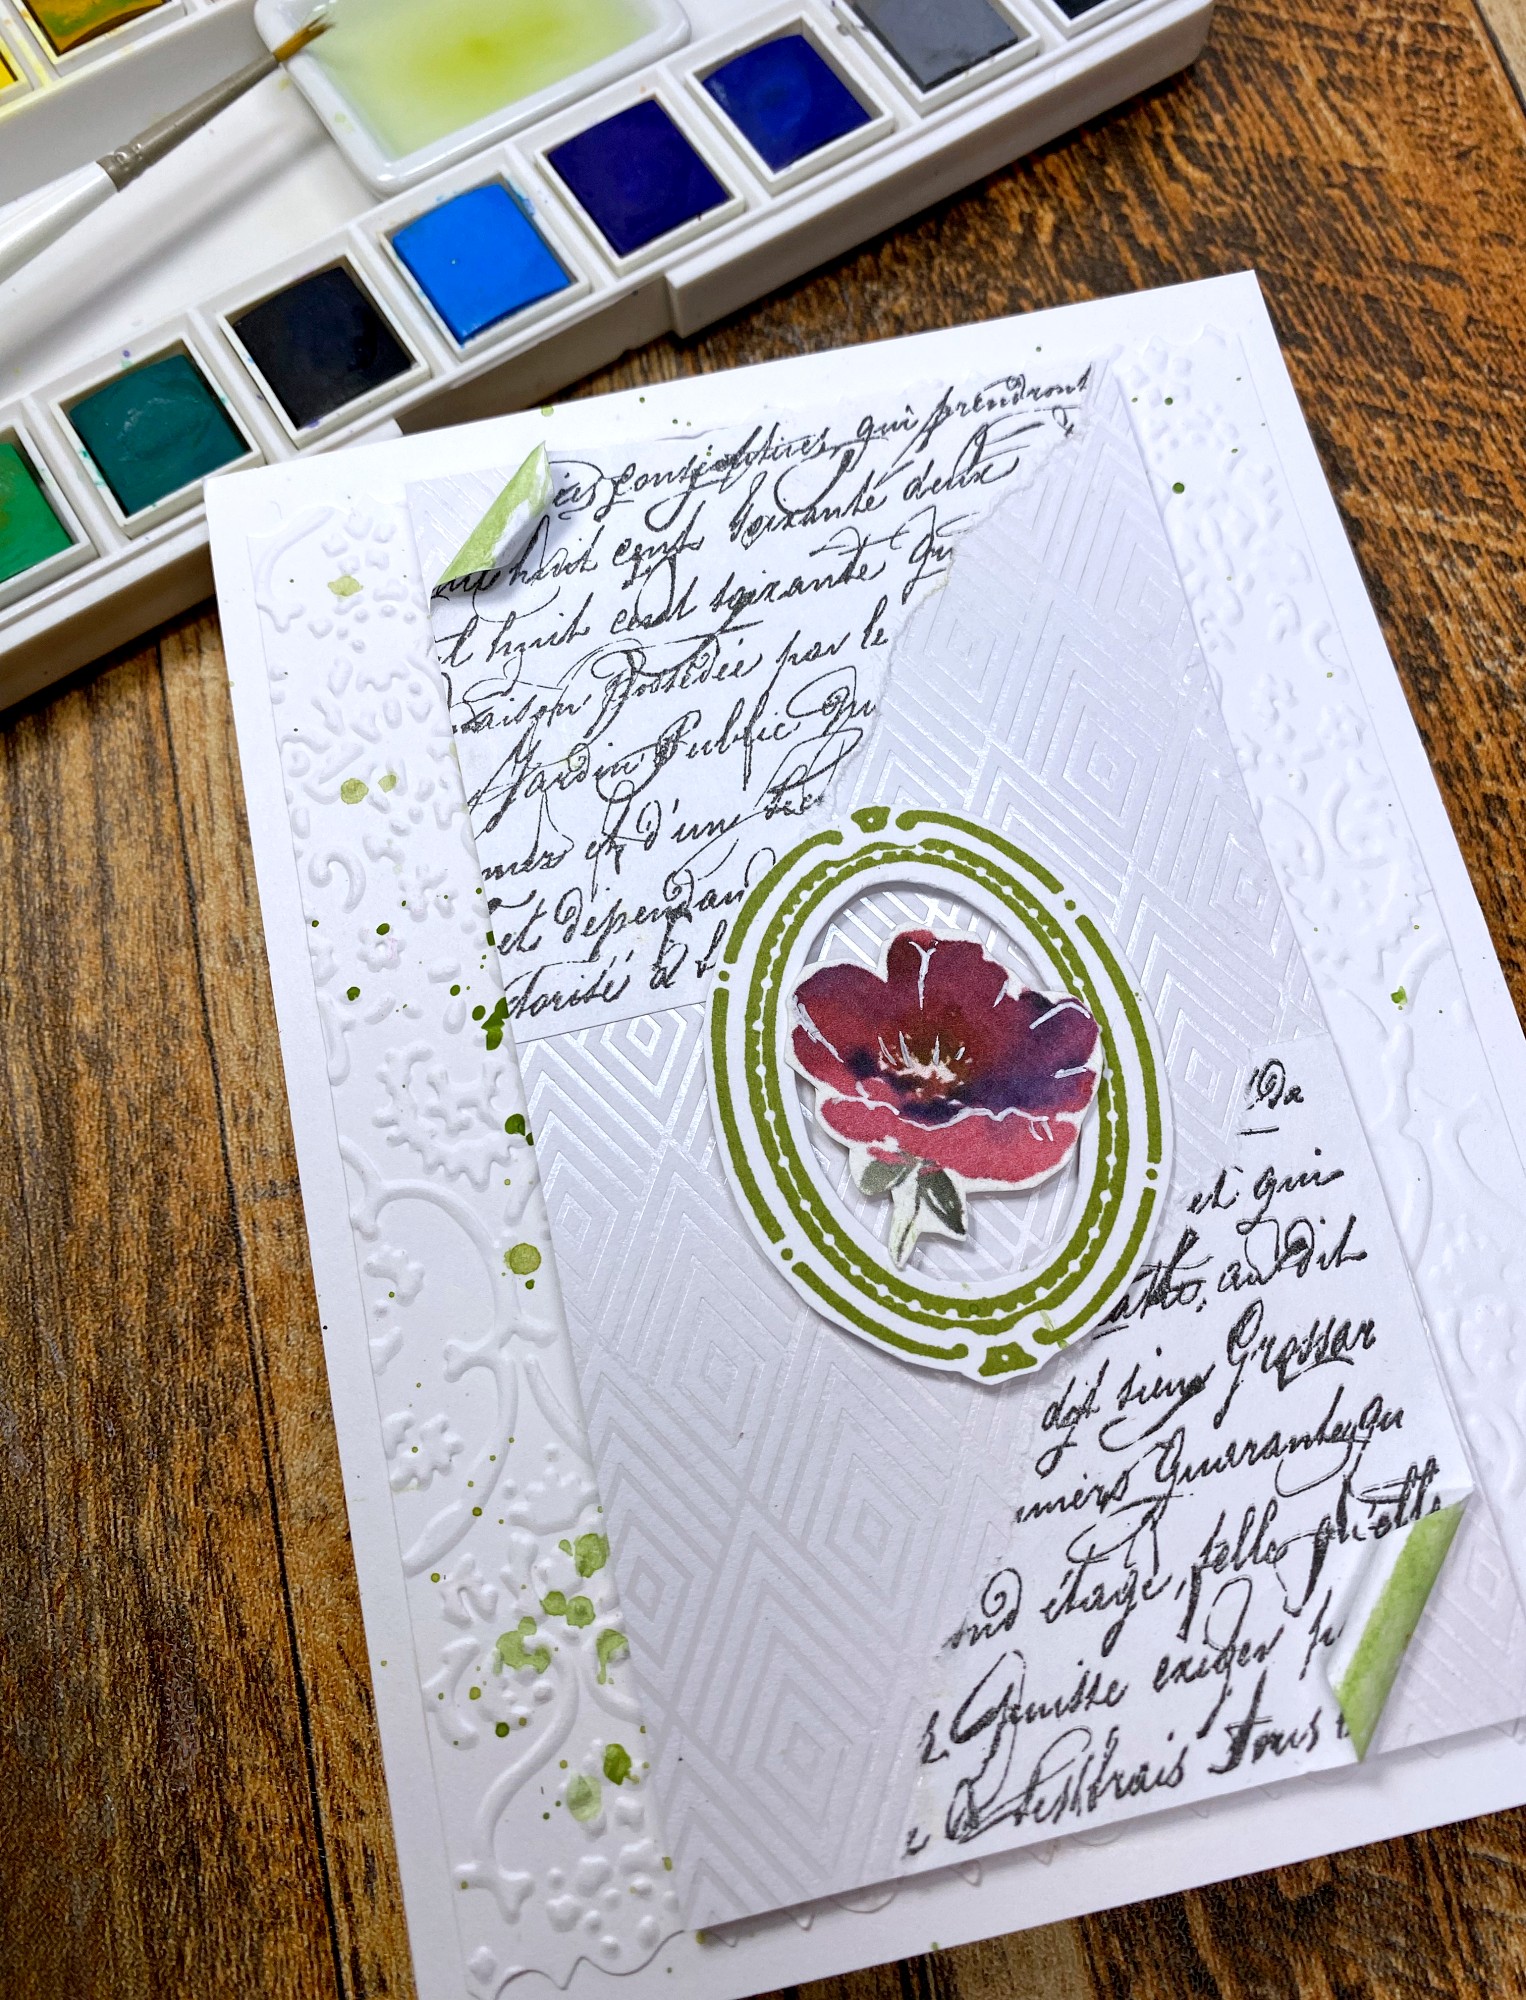
I splattered some green watercolor paint onto the embossed layer before placing the top layer on. I also painted the same green paint onto the rolled edges.
For some other options:
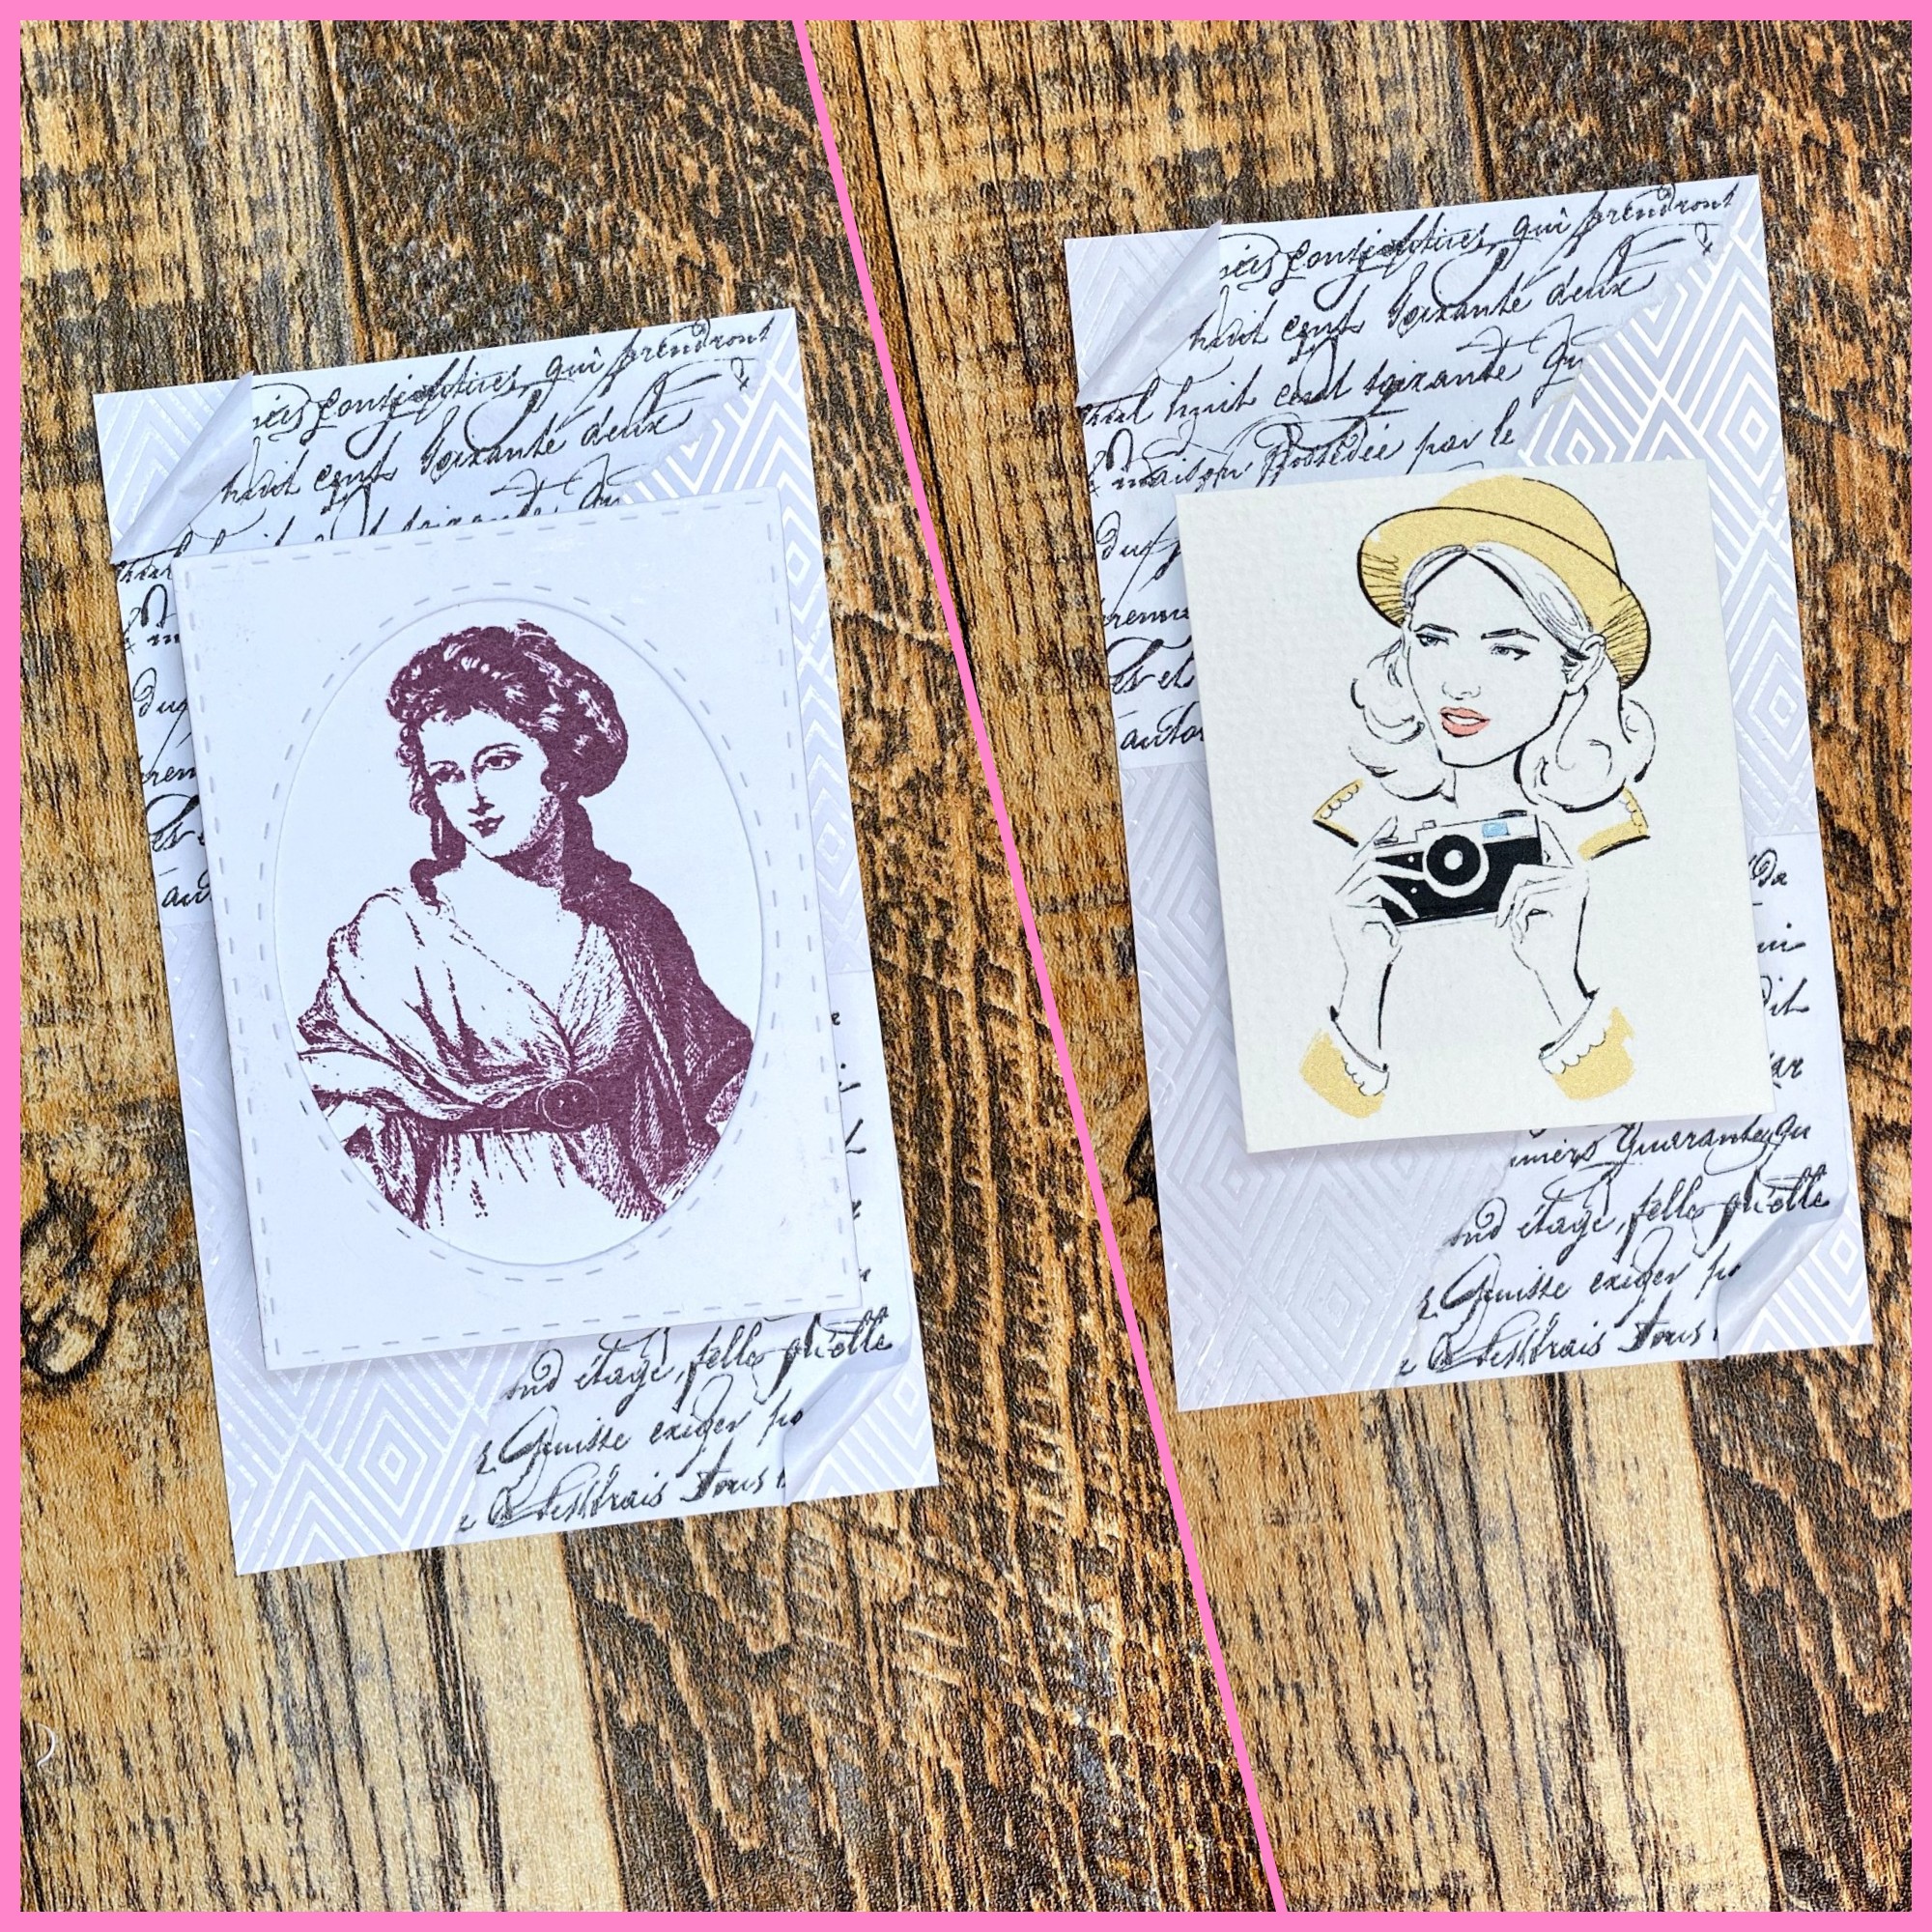
The top layer of the card which features the handwriting script stamp is so versatile that many different focal points can be used.
Examples above are (left) Renaissance Girl Rubber Stamp and (right) a sketch drawing (not a stamp).
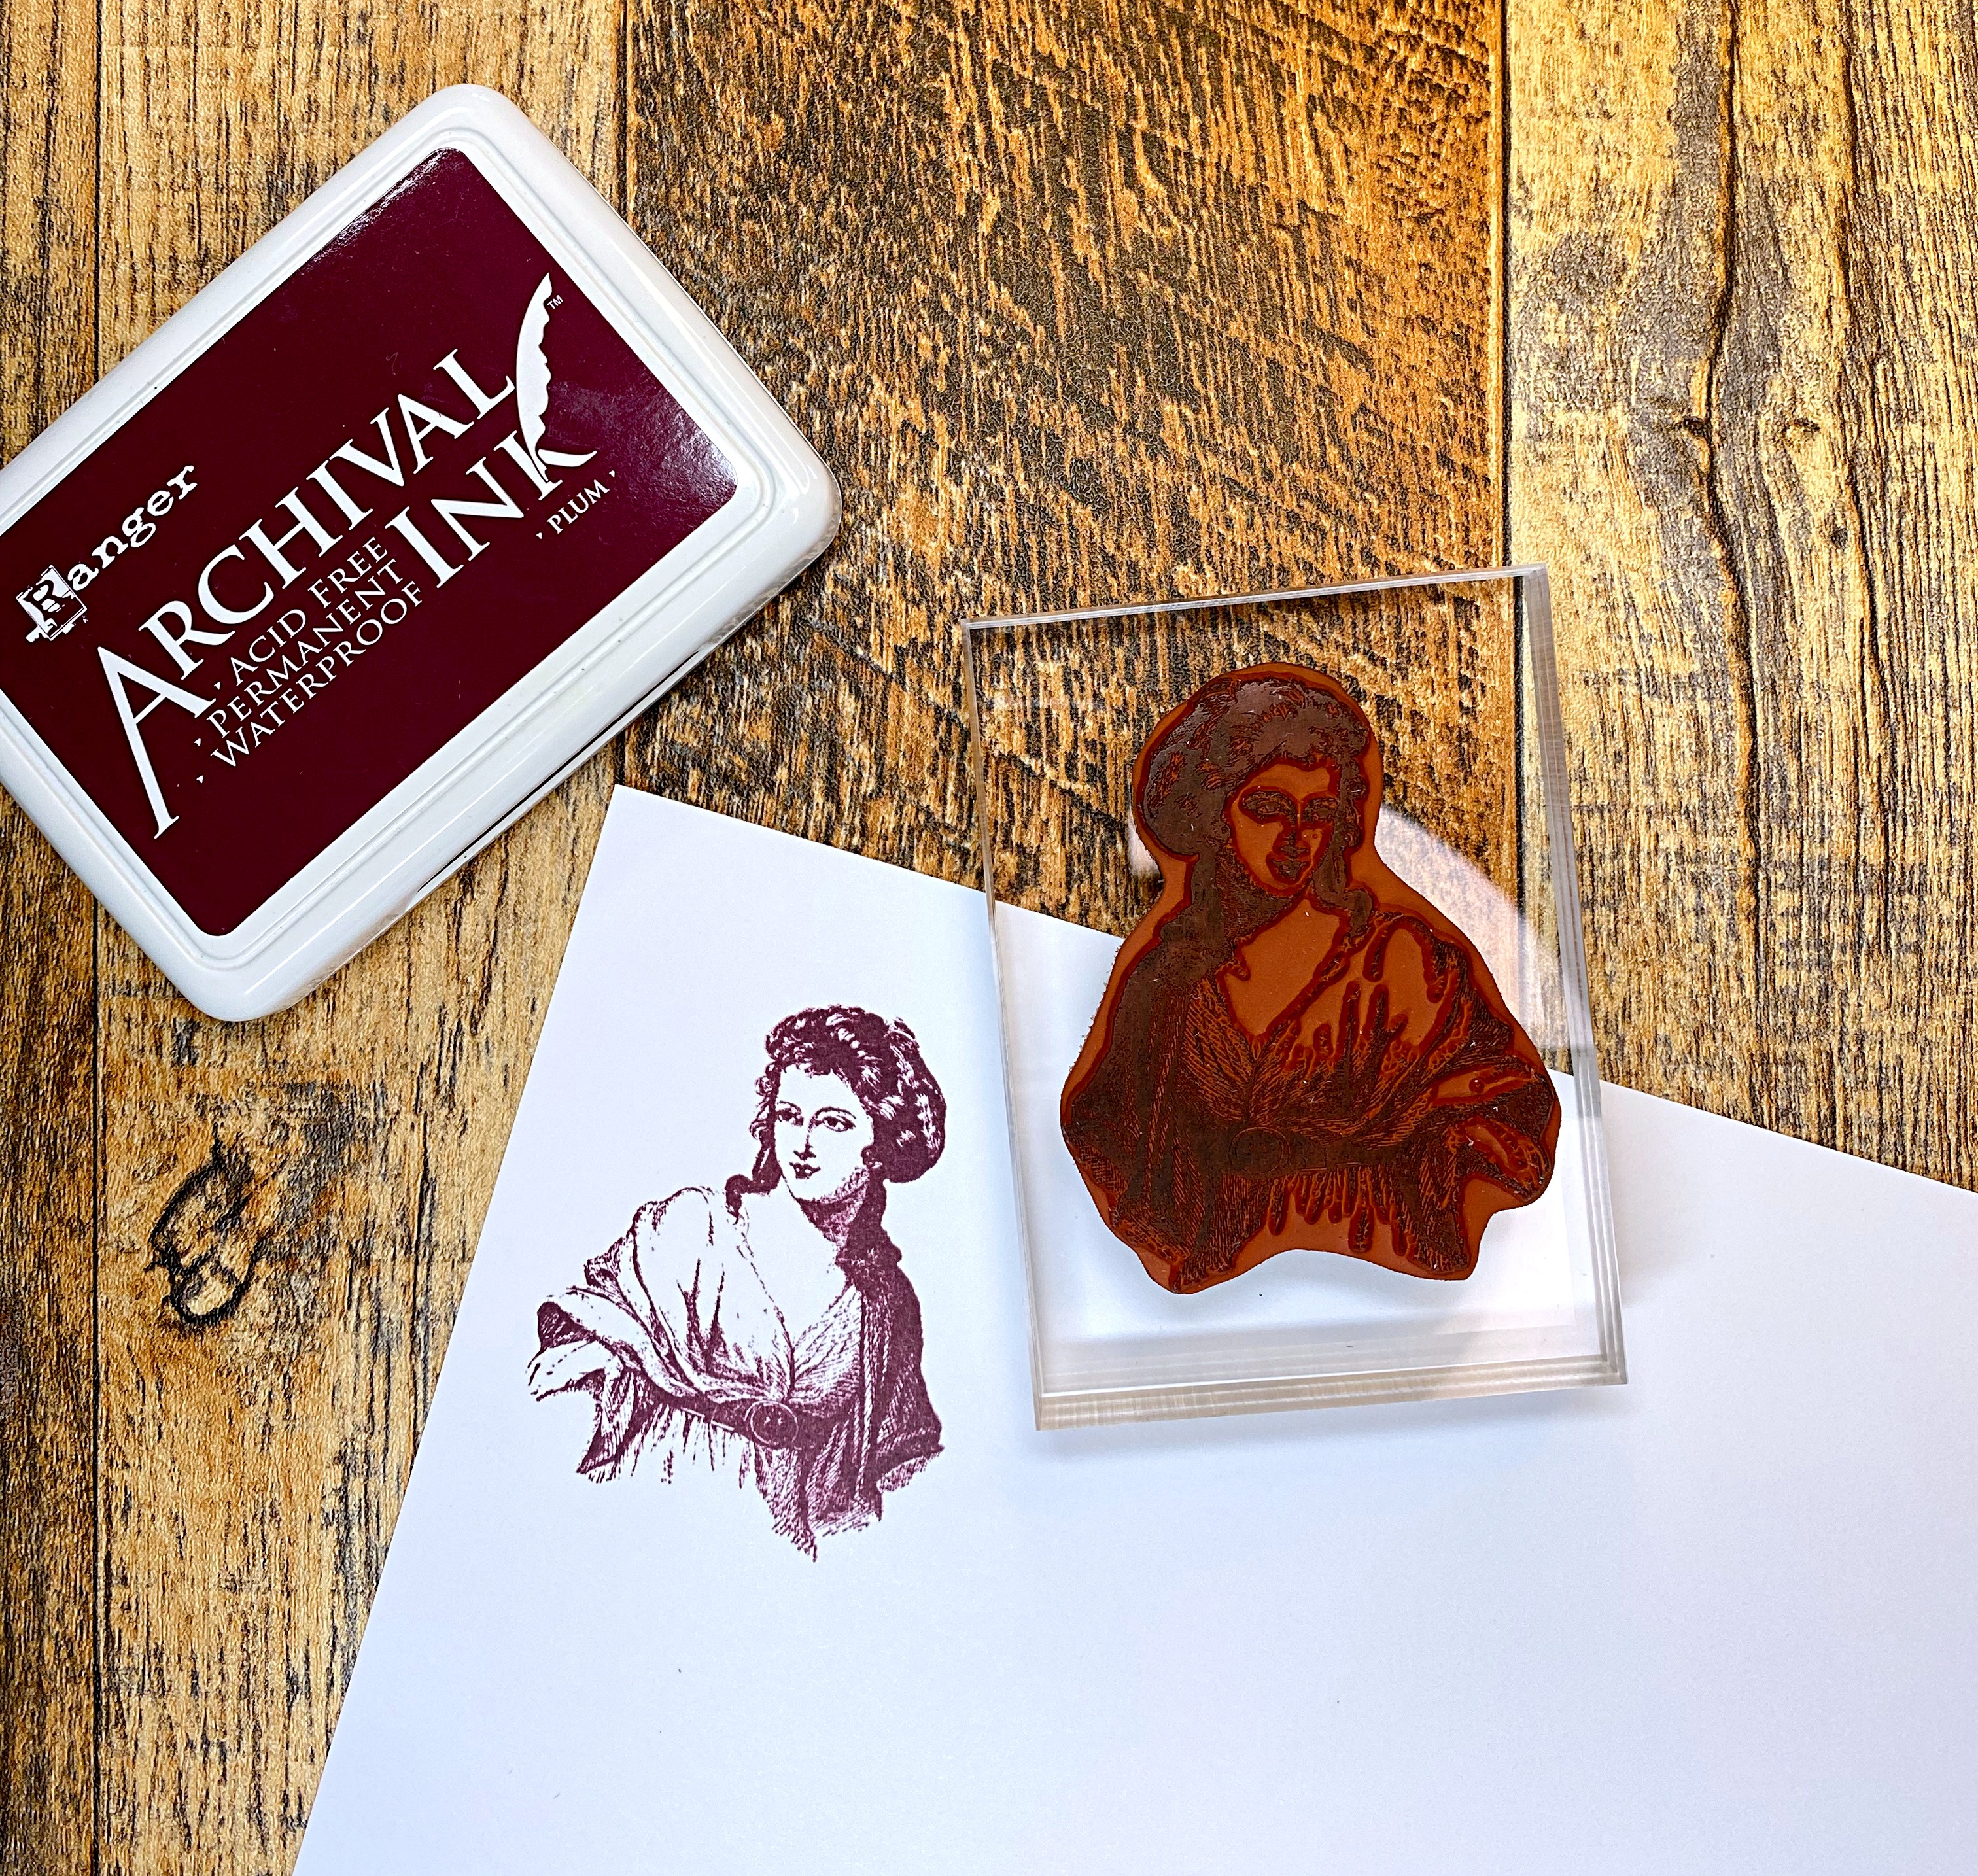
Above is a closeup of our Renaissance Girl Rubber Stamp in Plum Archival Ink onto white card stock (one of my favorite stamps because the detail in it is amazing!)
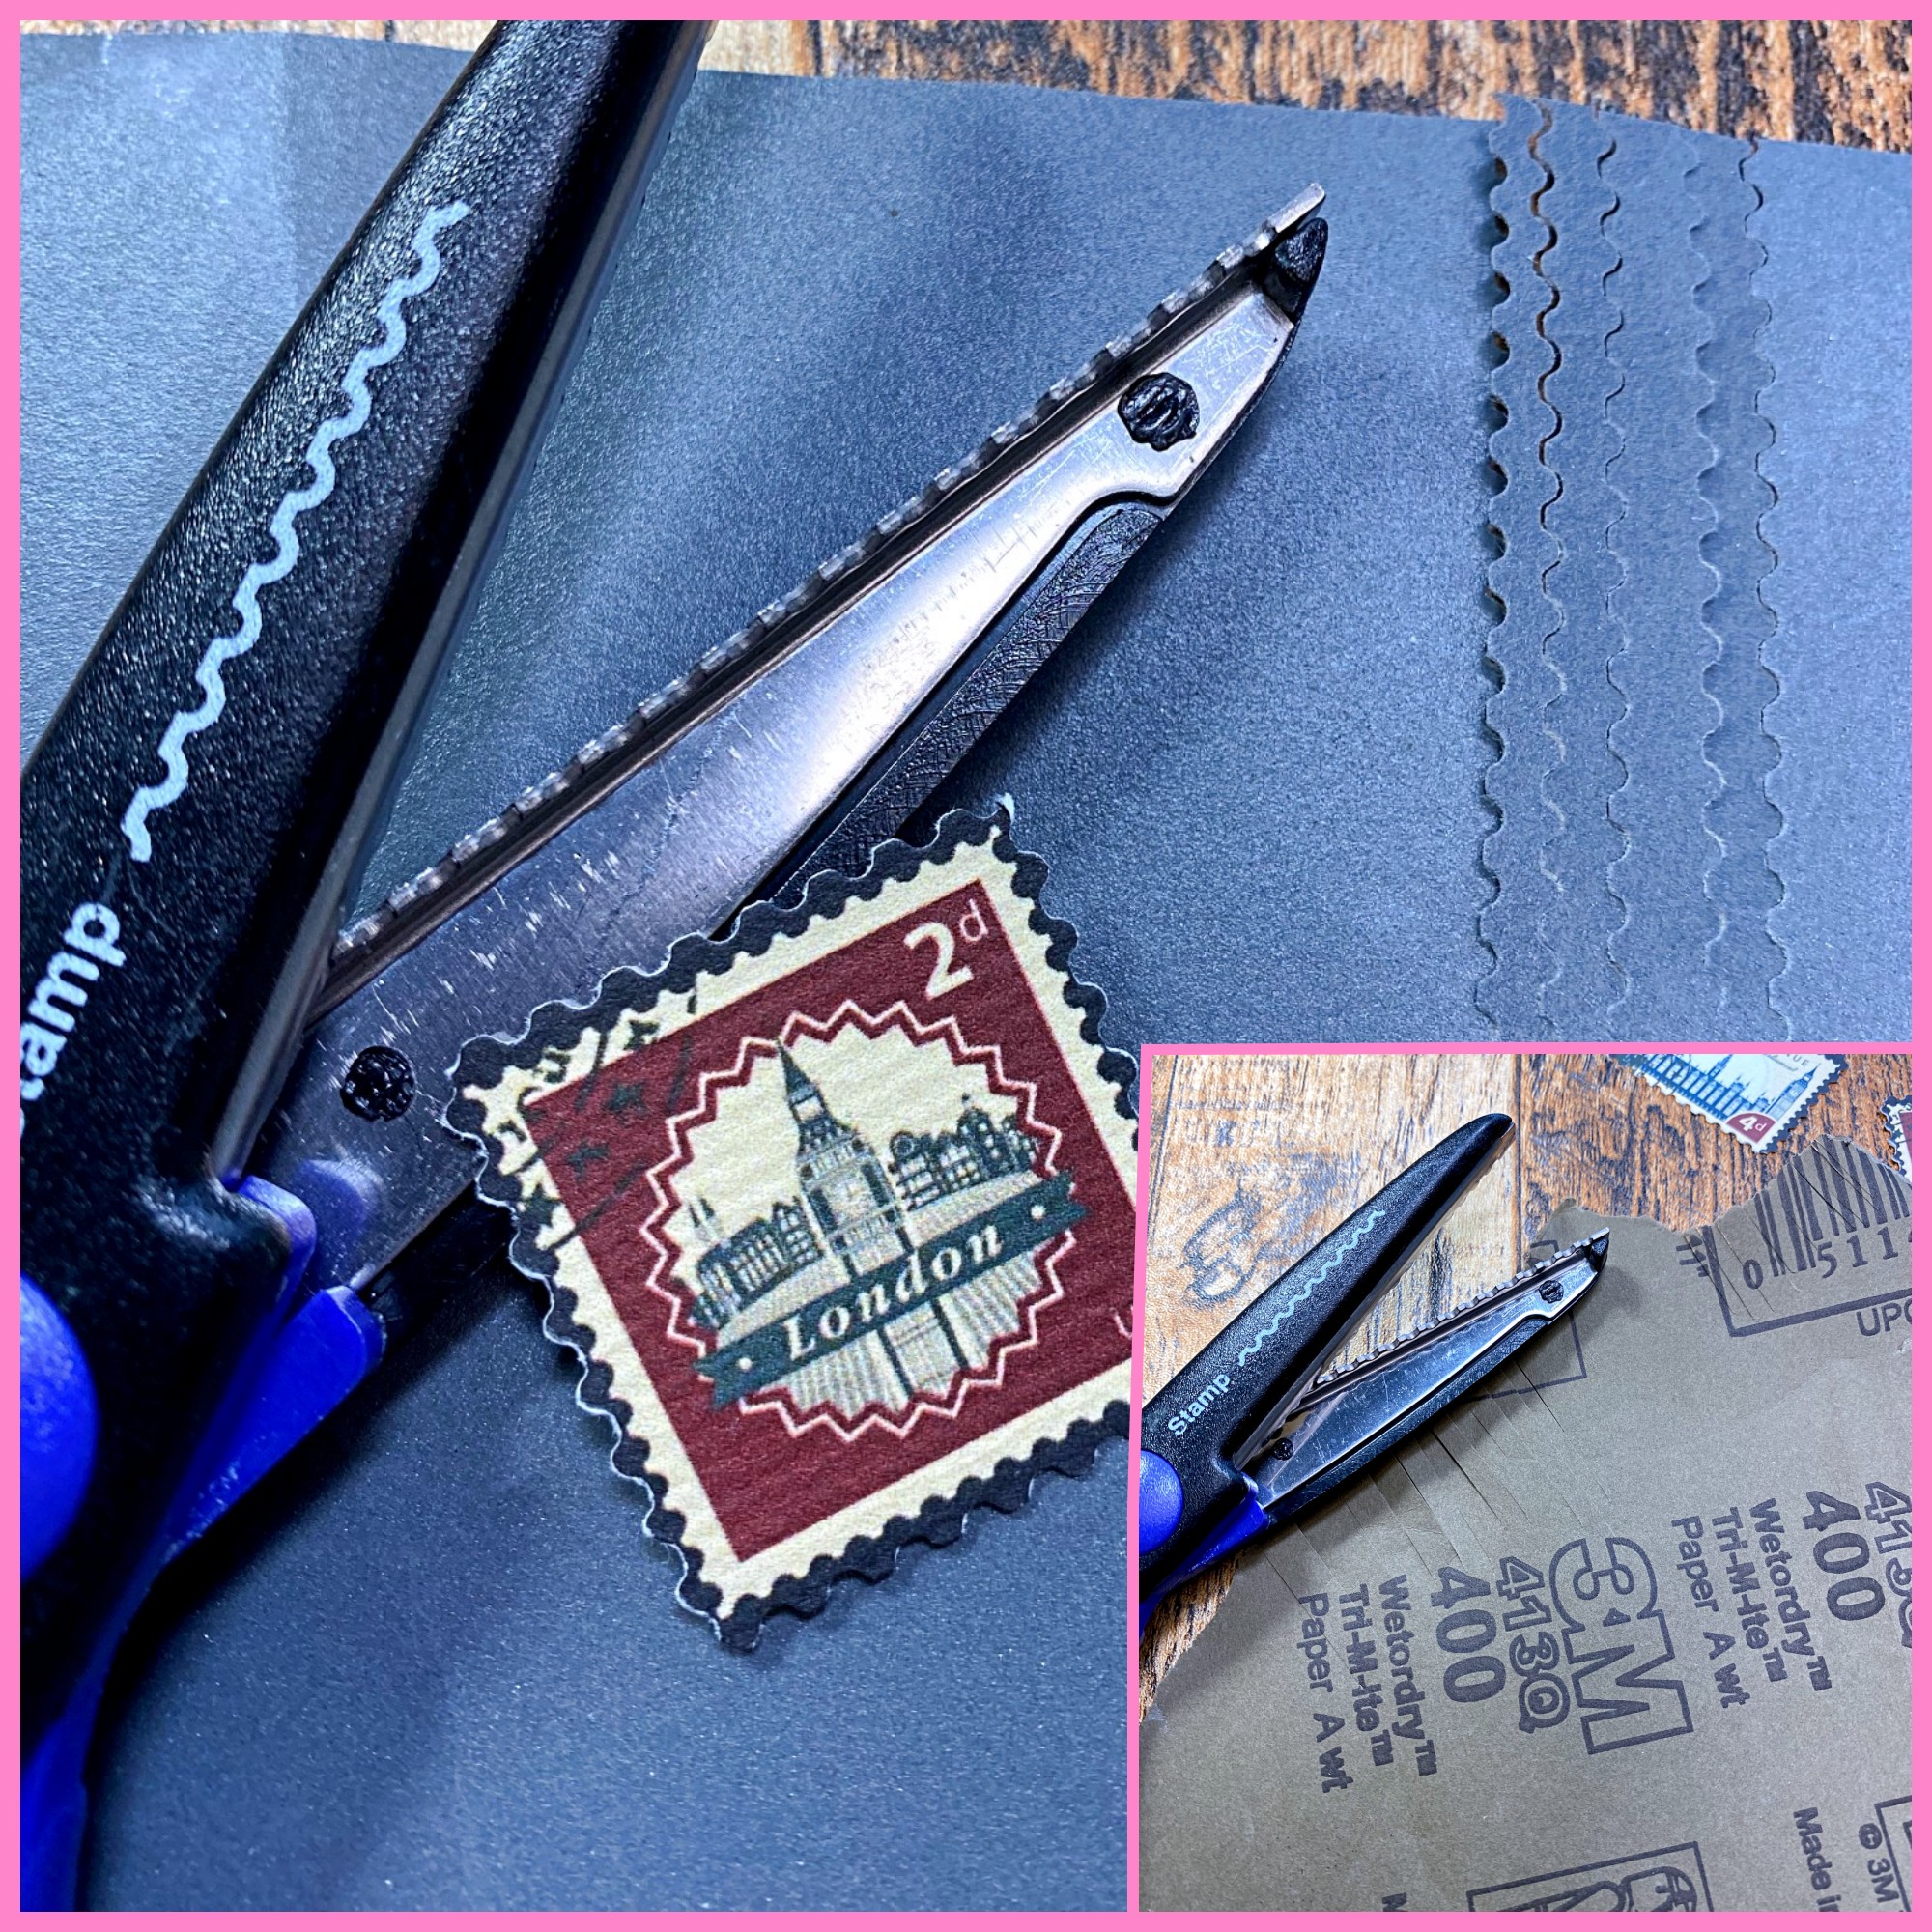
Another tip I wanted to share:
Keeping those specialty scissors sharp.
Since you can't sharpen them the way you would regular scissors, I sharpen them using a fine grit sandpaper. I simply cut into the sandpaper a few times.
Rubber Stamps used in this post are: