

Halloween Tag and Free Tag Templates
Posted by Susan J. Deep Red Stamps on Oct 24th 2020
While the year 2020 has been scarier than the average spooky story, we keep on crafting. There's something about Halloween which is the perfect holiday for making tags. Paper crafters already are familiar with the Number 8 sized tag and I have included a free template so that you can cut it out and make your tag base out of any material. Recycle chipboard and card stock from retail packaging like cereal boxes or clear plastic from items you order on Amazon. What's super fun is the corrugated waffle pattern found in light bulb packaging! Our free tag template can be found here: https://www.jpsdigital.com/deepredstamps/downloads...
As a bonus, also included on the printable template is the No. 7 sized tag and a No. 2 sized tag, which is perfect for Christmas presents!
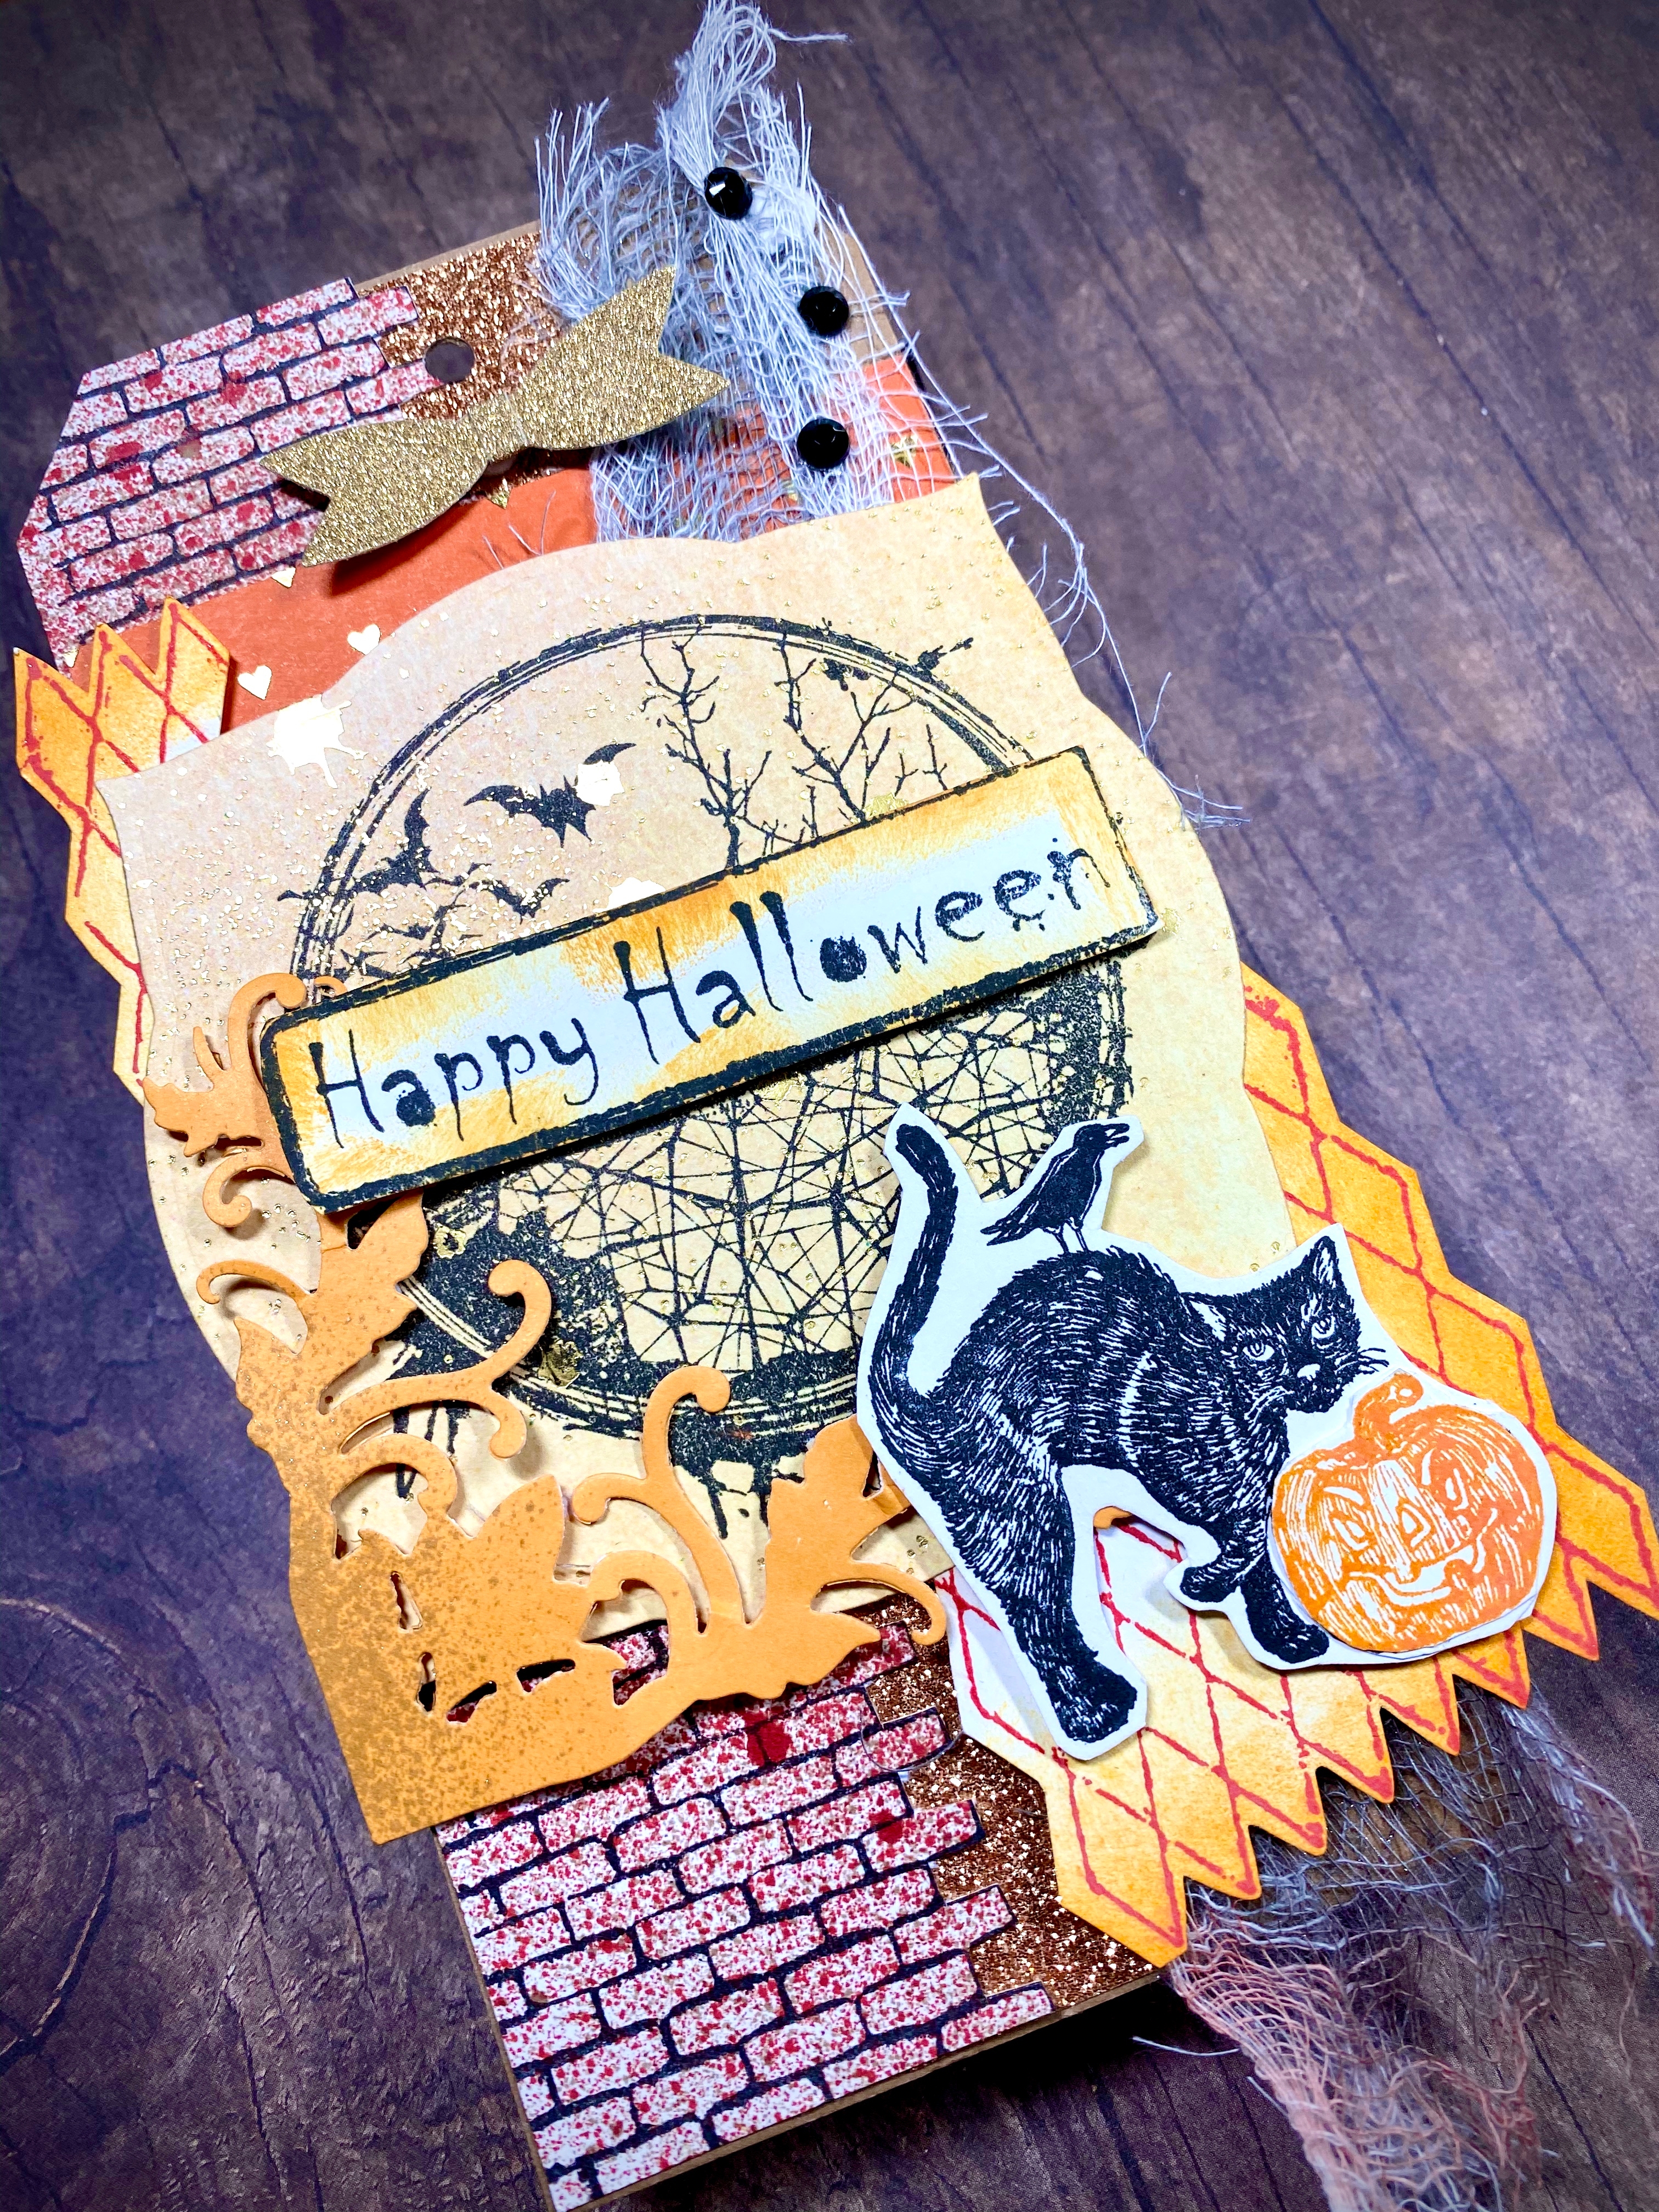
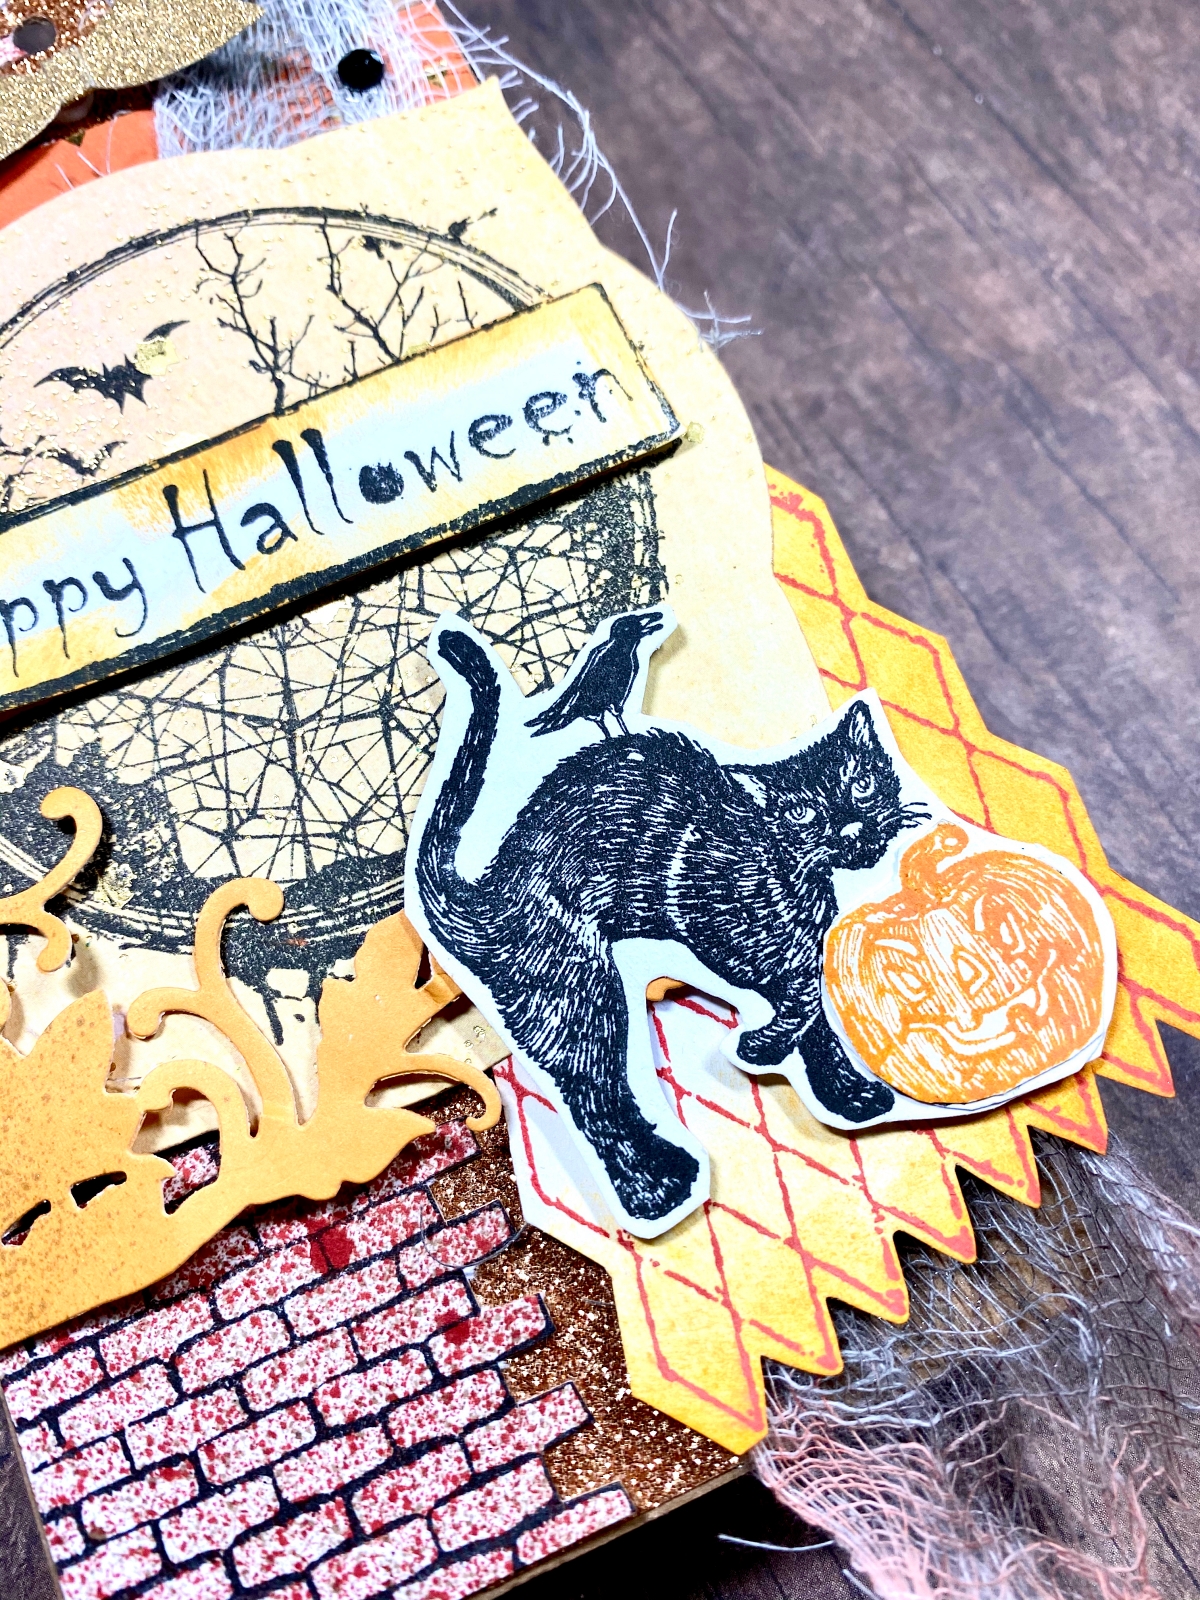
Below is a Halloween No. 8 tag created using some our spookiest stamps.
 It's fun to use gauze (or in my case I used cheesecloth) especially for Halloween projects. You can easily add alcohol inks or those spray inks to give it come color.
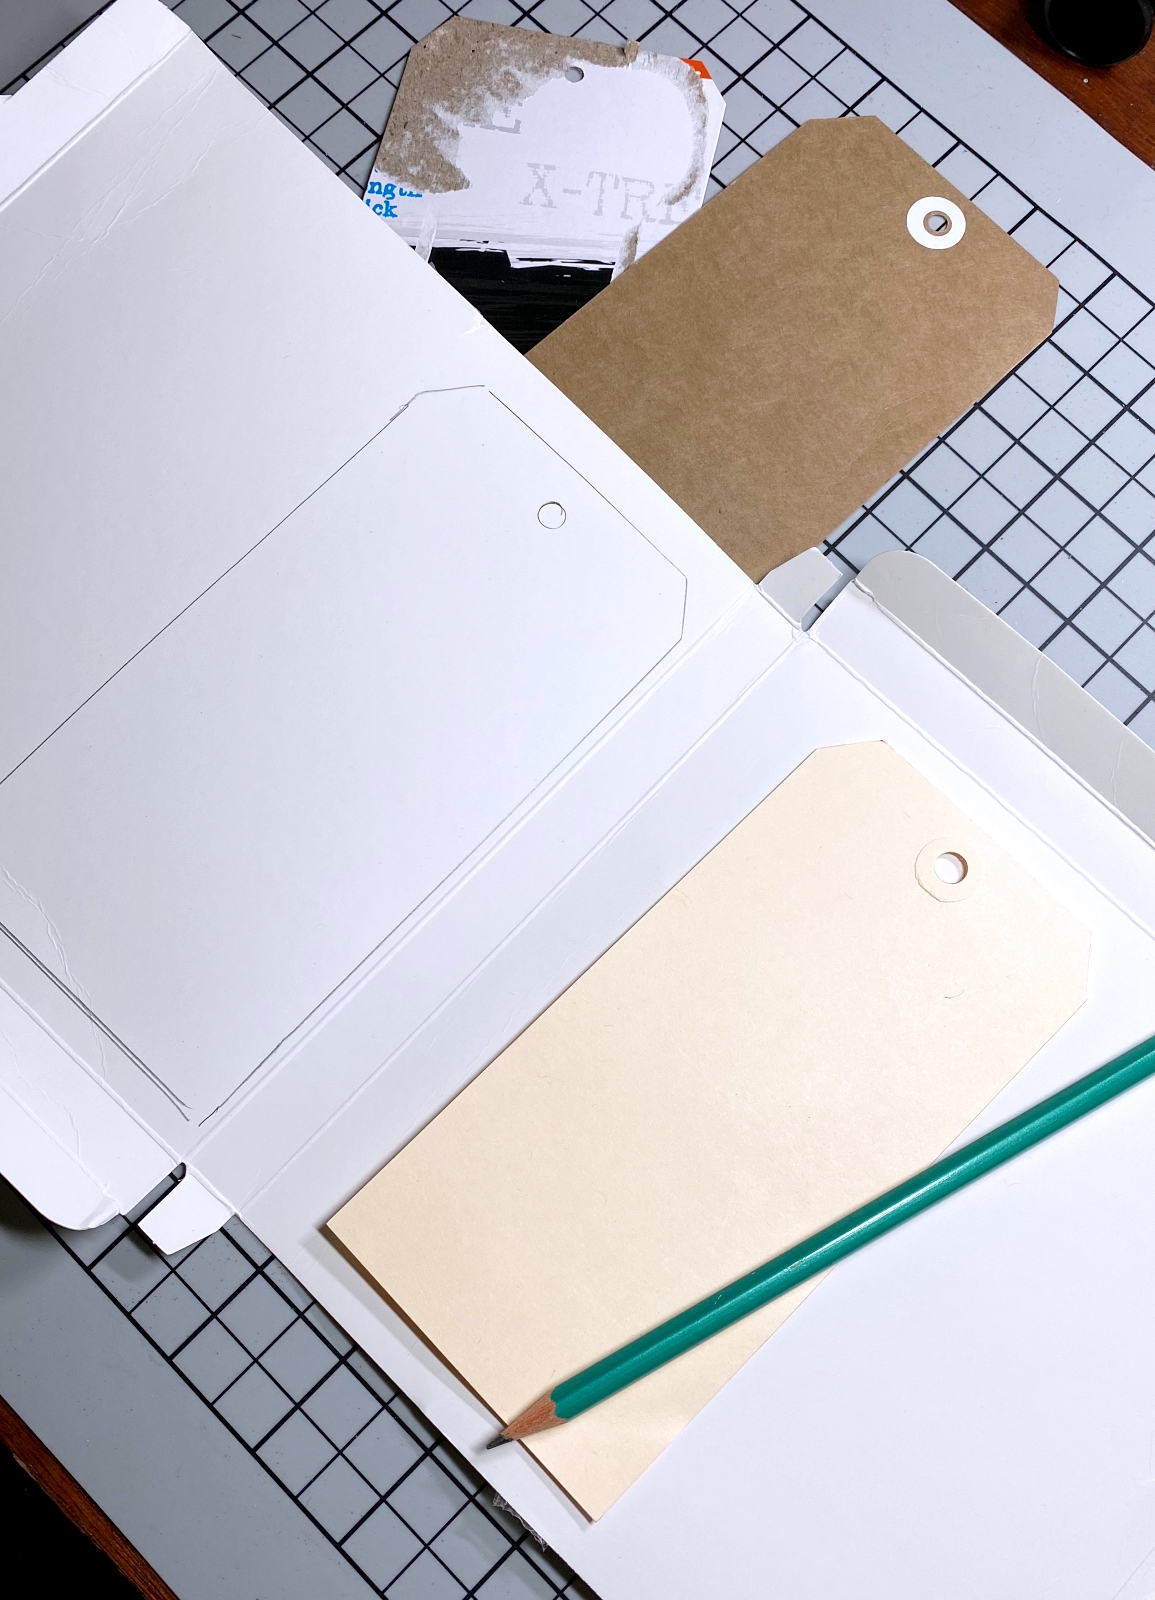
I traced around a tag as a template onto some white retail packaging I receiving from an Amazon order. This is my tag base.
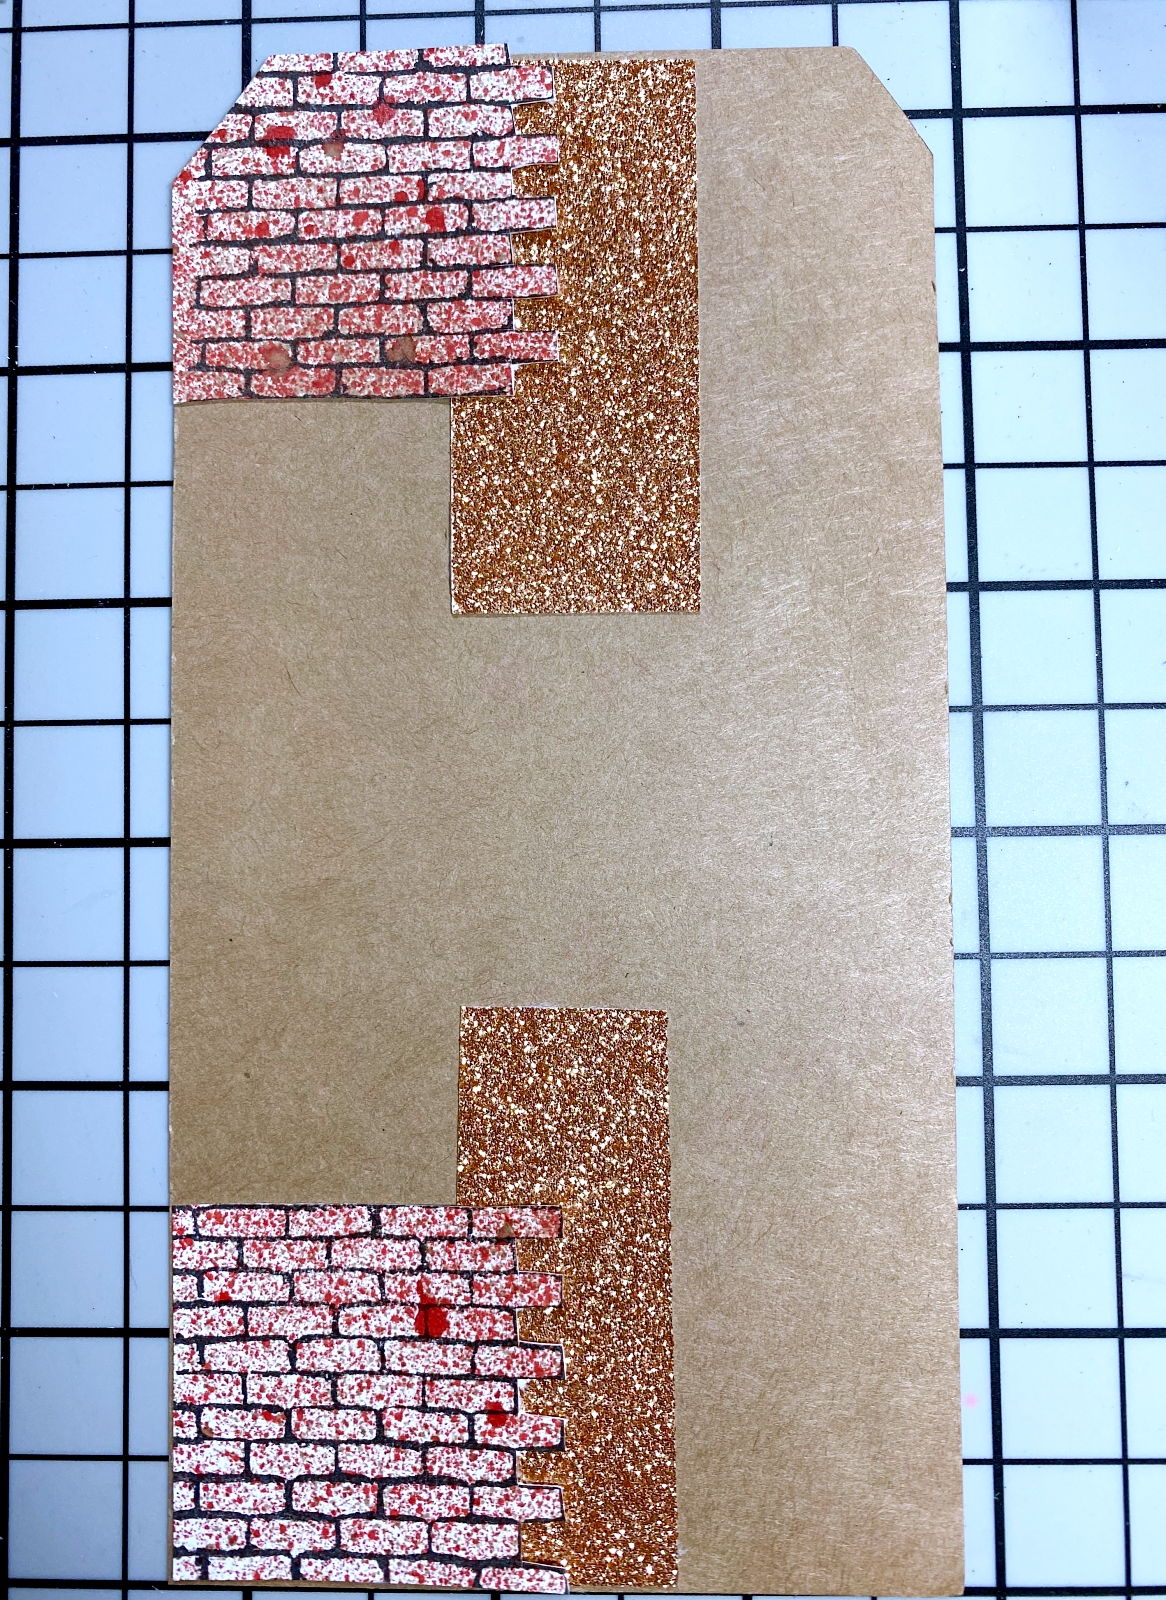
Starting on the first layer a brick wall pattern and glitter paper strip. The Brick Wall Rubber Stamp is stamped with black StazOn ink onto paper that already had red alcohol spray on it.
I cut out the brick wall pattern with an X-acto knife. Then used the sections of the wall on different places on the tag.
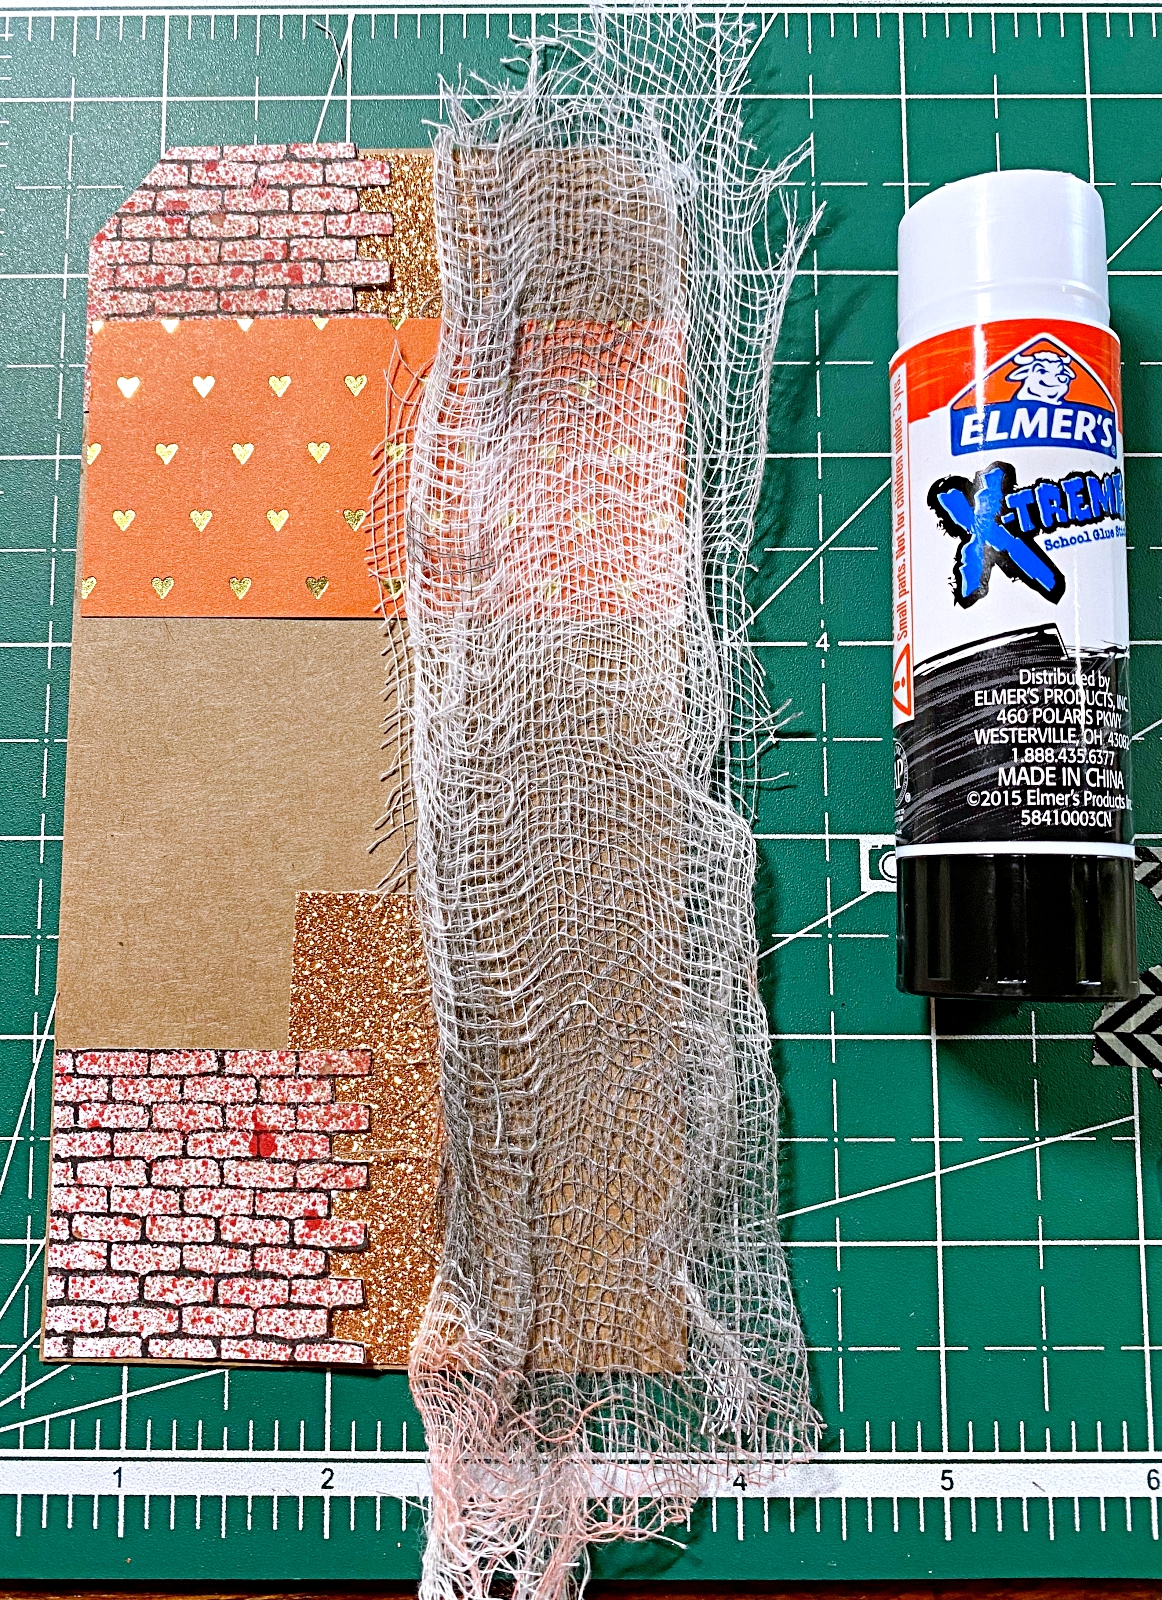
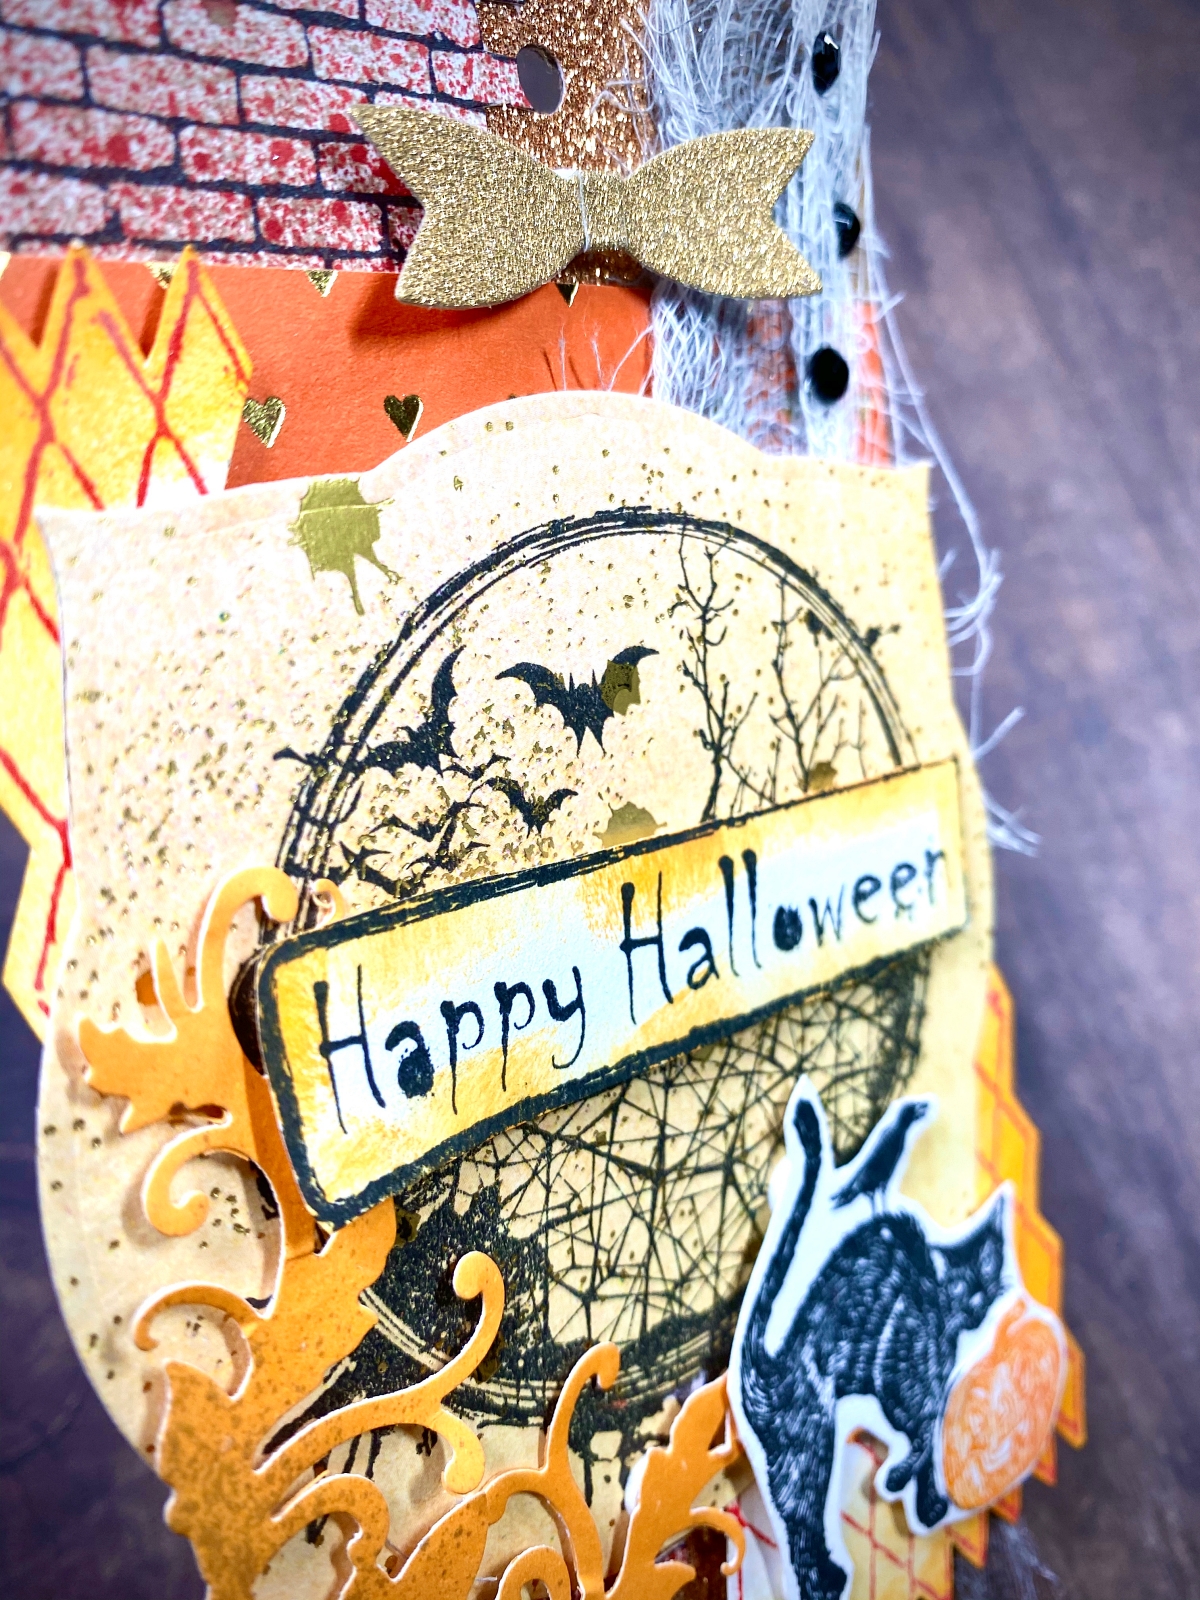
Next, I glued my cheesecloth down and let the frayed edges flow off the tag. I added some black rhinestones as well.
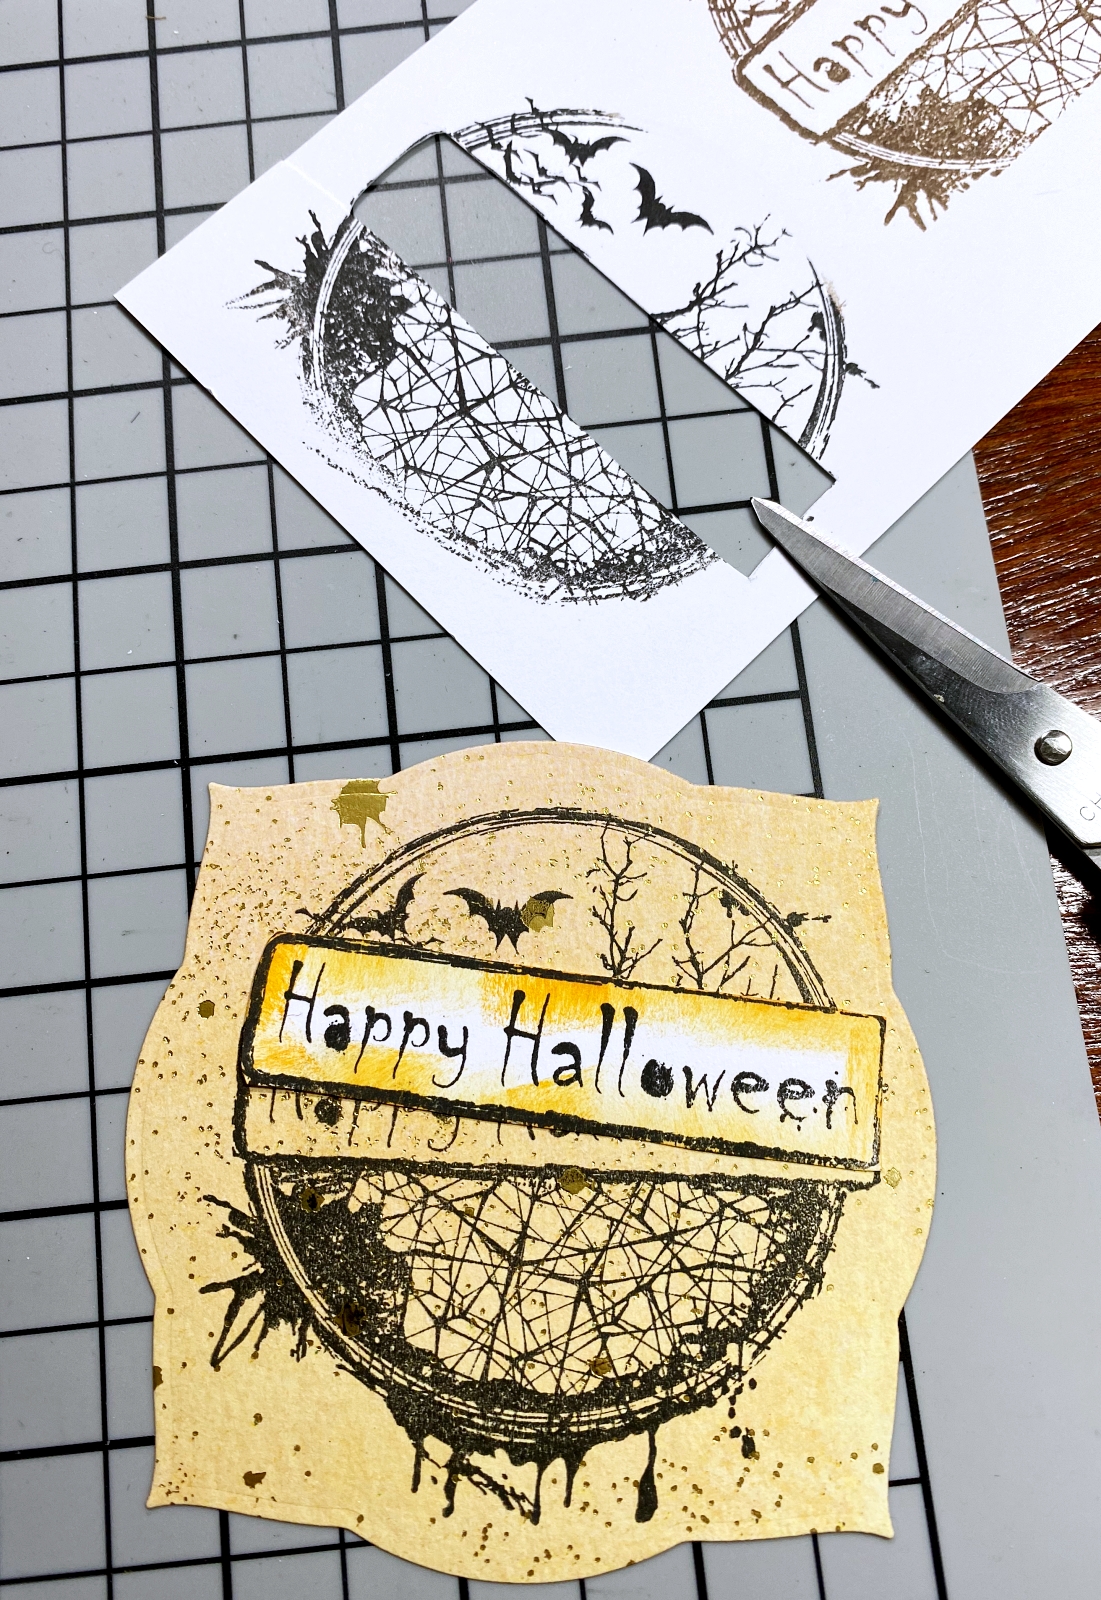
For the center piece, I stamped our Happy Halloween Rubber Stamp onto a yellow paper that already had a gold speck pattern in it. I again stamped the Happy Halloween part, this time onto white paper and embossed it in black.
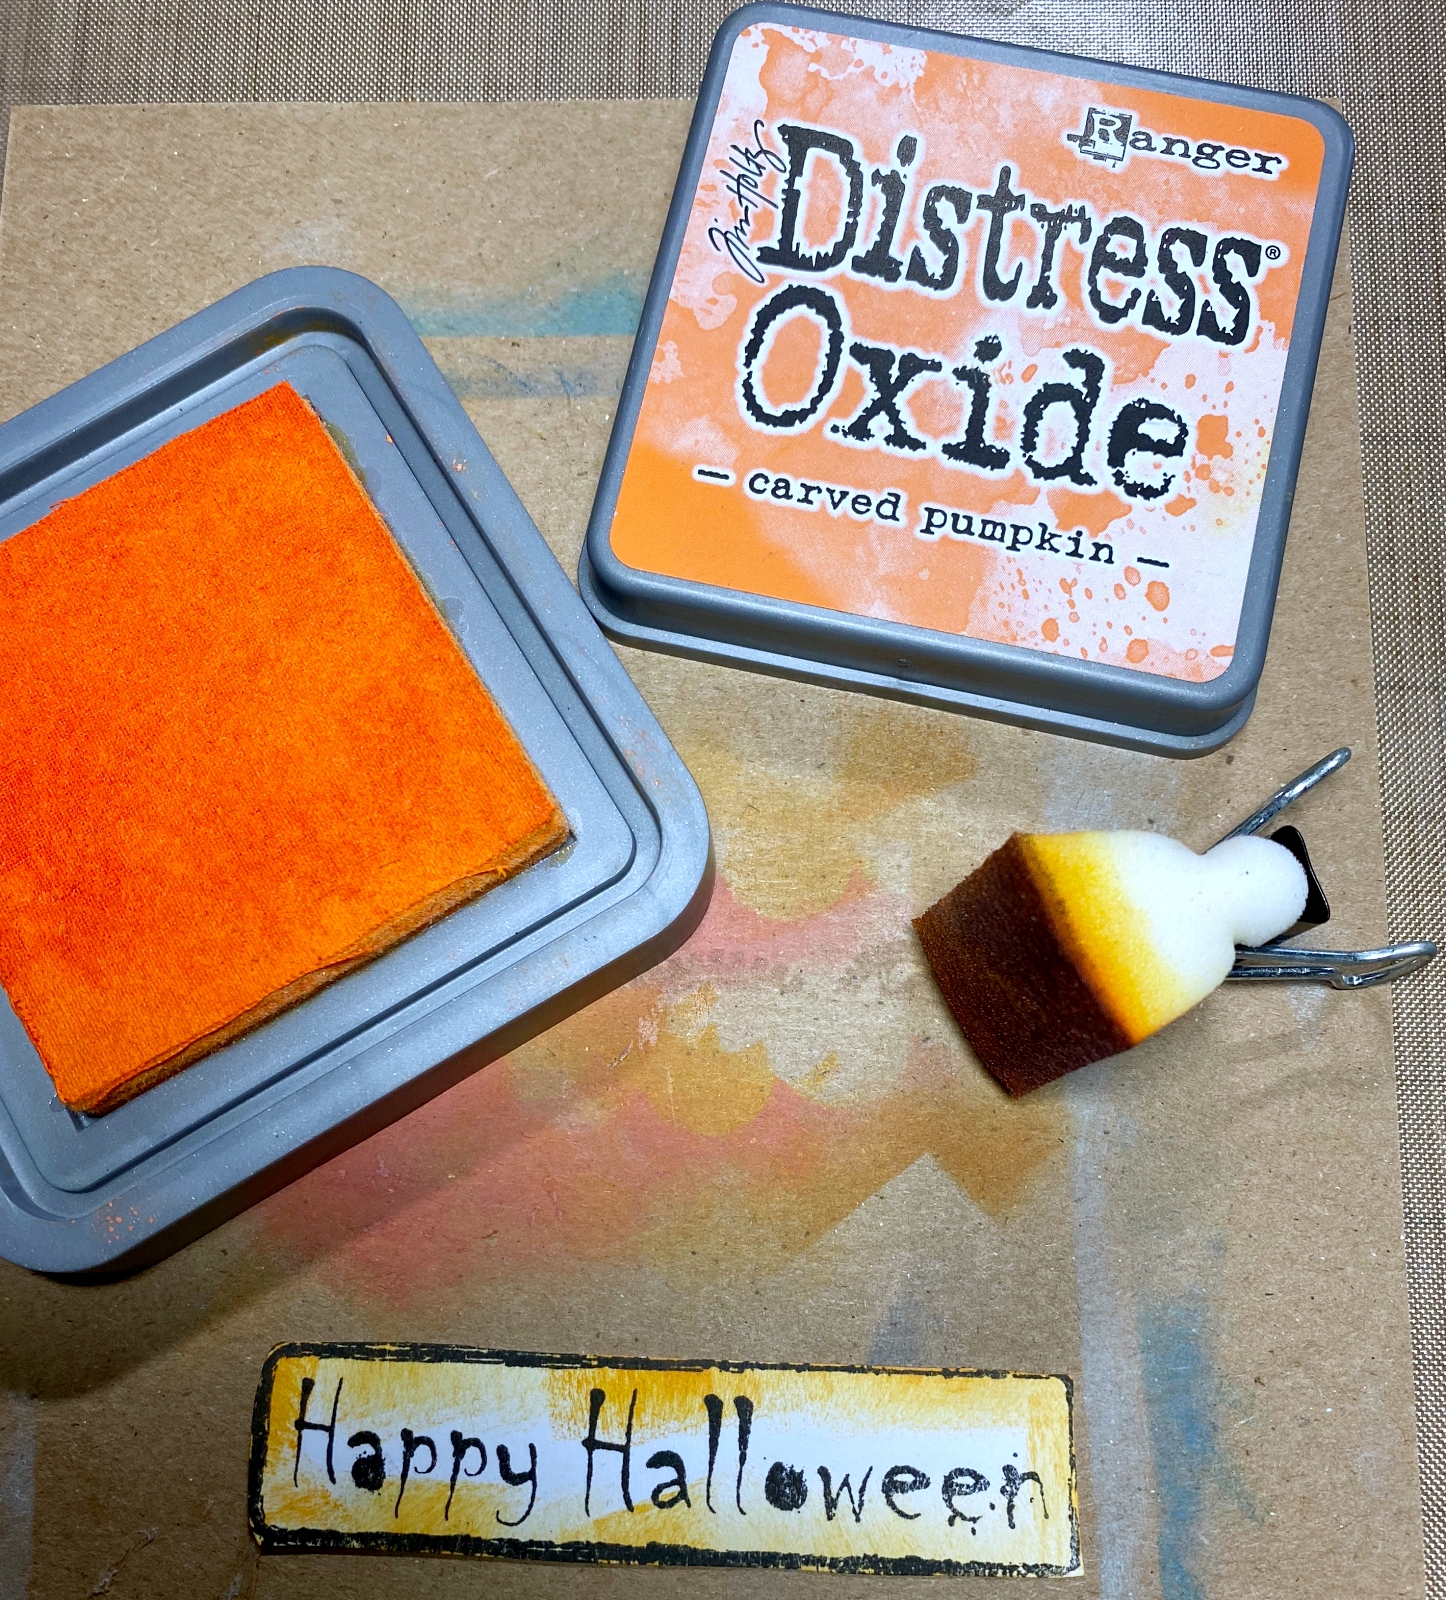
I added some Distress Oxide Carved Pumpkin color with a makeup sponge to the edges. Tip: I take makeup sponges and cut them in half. I then use an office clip to hold the sponge to prevent getting ink onto my fingertips. Less waste and less storage space than daubers. I can wash and re-use the sponges or store them by color to use again.
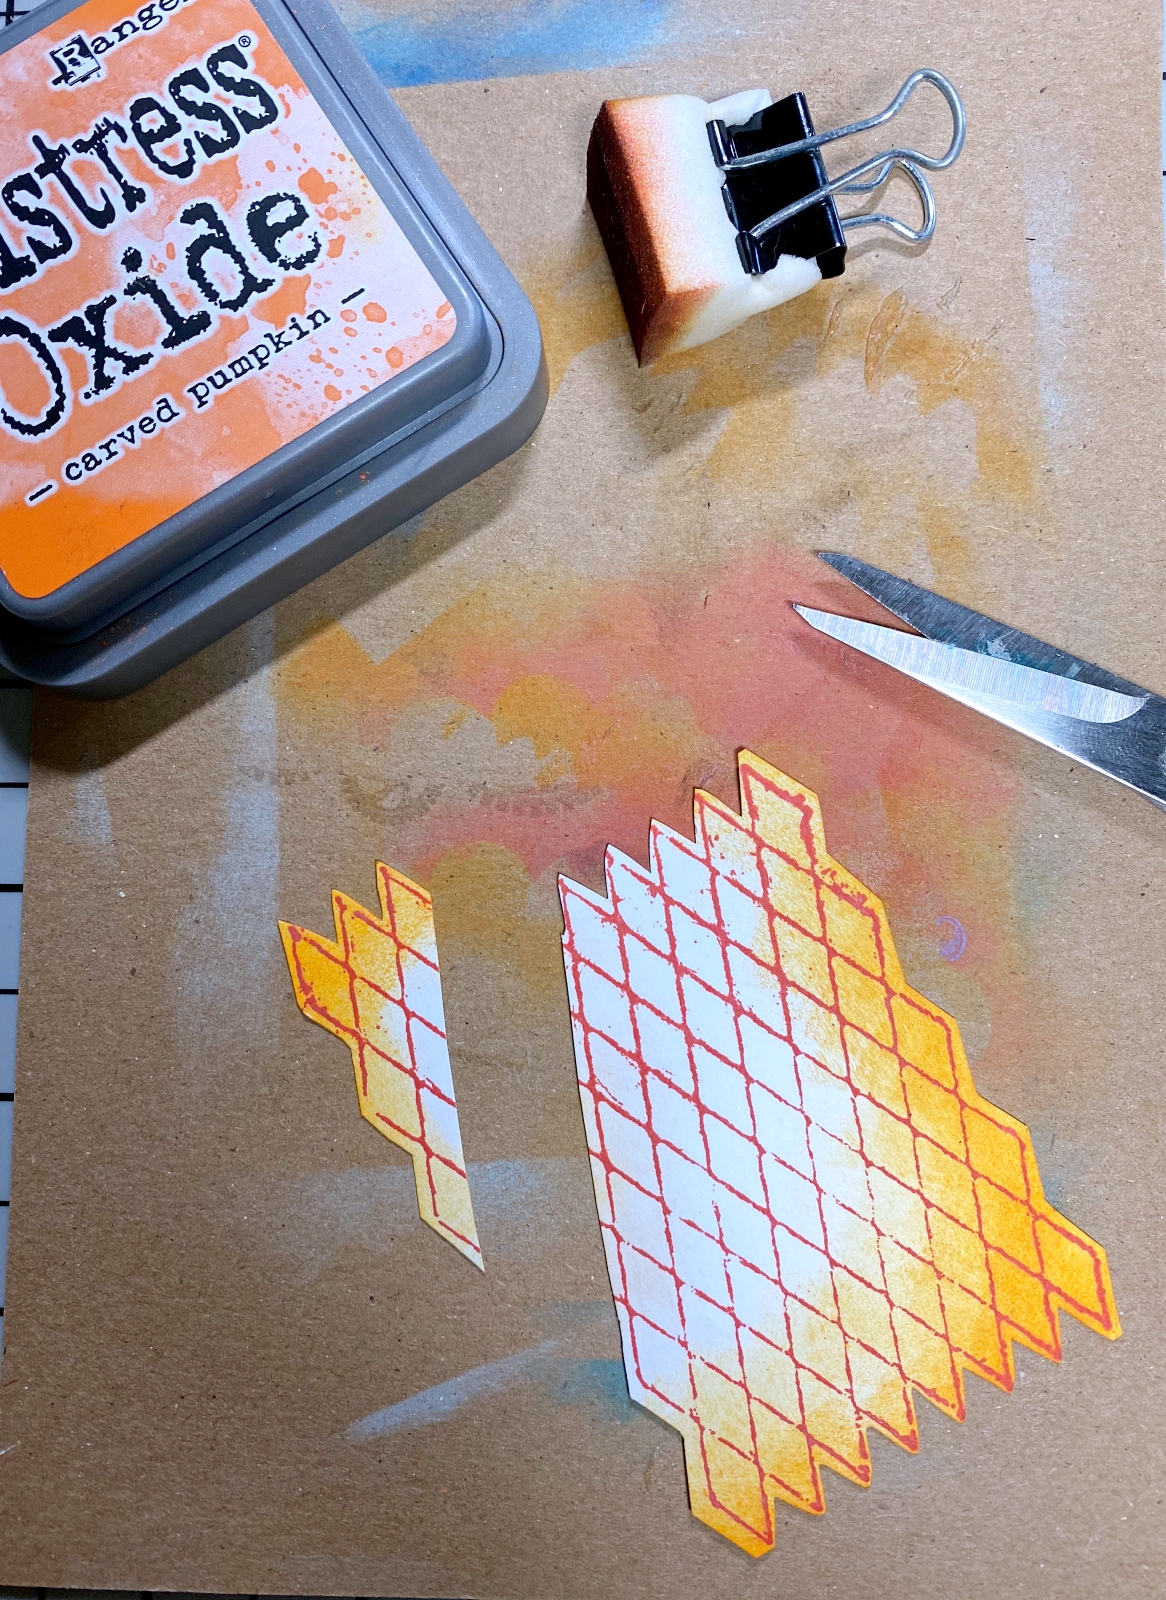
I stamp our Diamond Wire Rubber Stamp with Distress Oxide (red color) and again use the Carved Pumpkin Distress Oxide for the background shade. I cut this stamped image in two and use it around the centerpiece.
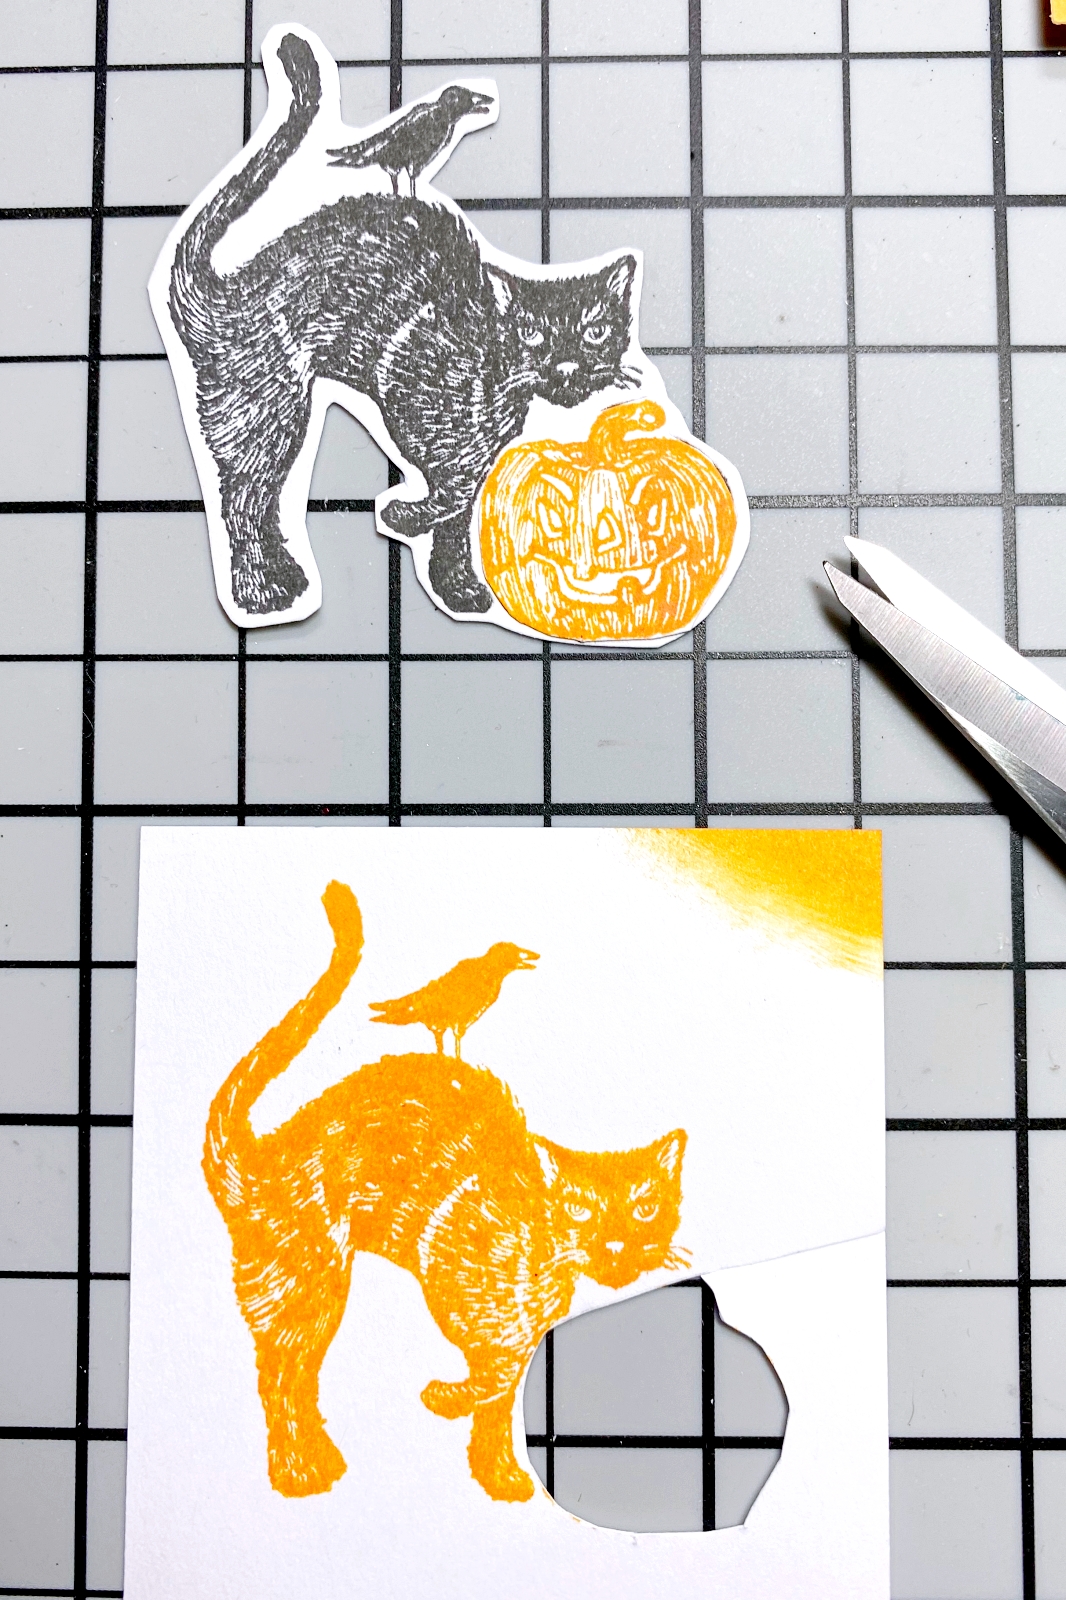
For the bottom corner, I stamp our Spooky Cat Rubber Stamp, once in black and once with the same orange Distress Oxide ink. I cut out the orange pumpkin and glue it onto the black one to have a stamped design with 2 colors.
When creating layers on a tag, or any paper project, you can sometimes cut a background stamped image into sections and use part or all of the design to border something, like the Diamond Wire Stamp or Brick Wall examples above.
When it comes to making tags, the more layers, the better!

Rubber Stamps featured in this post:
Happy Halloween Rubber Cling Stamp
Brick Wall Background Rubber Cling Stamp
Diamond Wire Rubber Cling Stamp
I hope you find the free tag template fun to use. Enjoy making some Halloween tags and share your creations with us on Instagram, Facebook or an email to me! Happy Halloween everyone!