

3 Circle Bookmark and Coloring Tips
Posted by Susan J. Deep Red Stamps on Aug 4th 2021
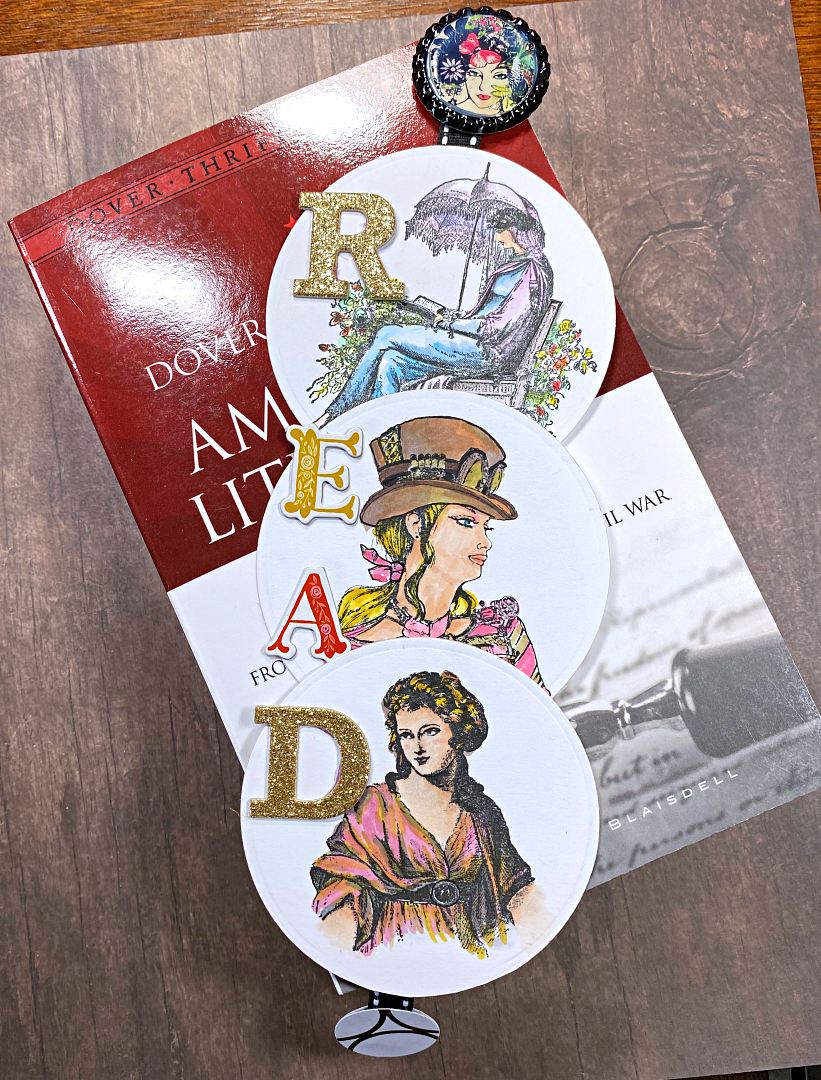
Bookmarks are always a blast to make especially when you have some awesome rubber stamps! For this project, we use 3 circles, either die cut or cut out by hand. When you attach them to a ribbon, you get a bookmark that bends and flows. This project is also flexible in what you use to combine everything so let's get started.
You will need:
Rubber Stamps (3 to 5)
Card stock
Tape
Ribbon
Take 3 rubber stamps and stamp them onto card stock. If you plan to color them in, use a light colored smooth card stock. If not coloring and going for the line art look, use any color card stock and your favorite ink.
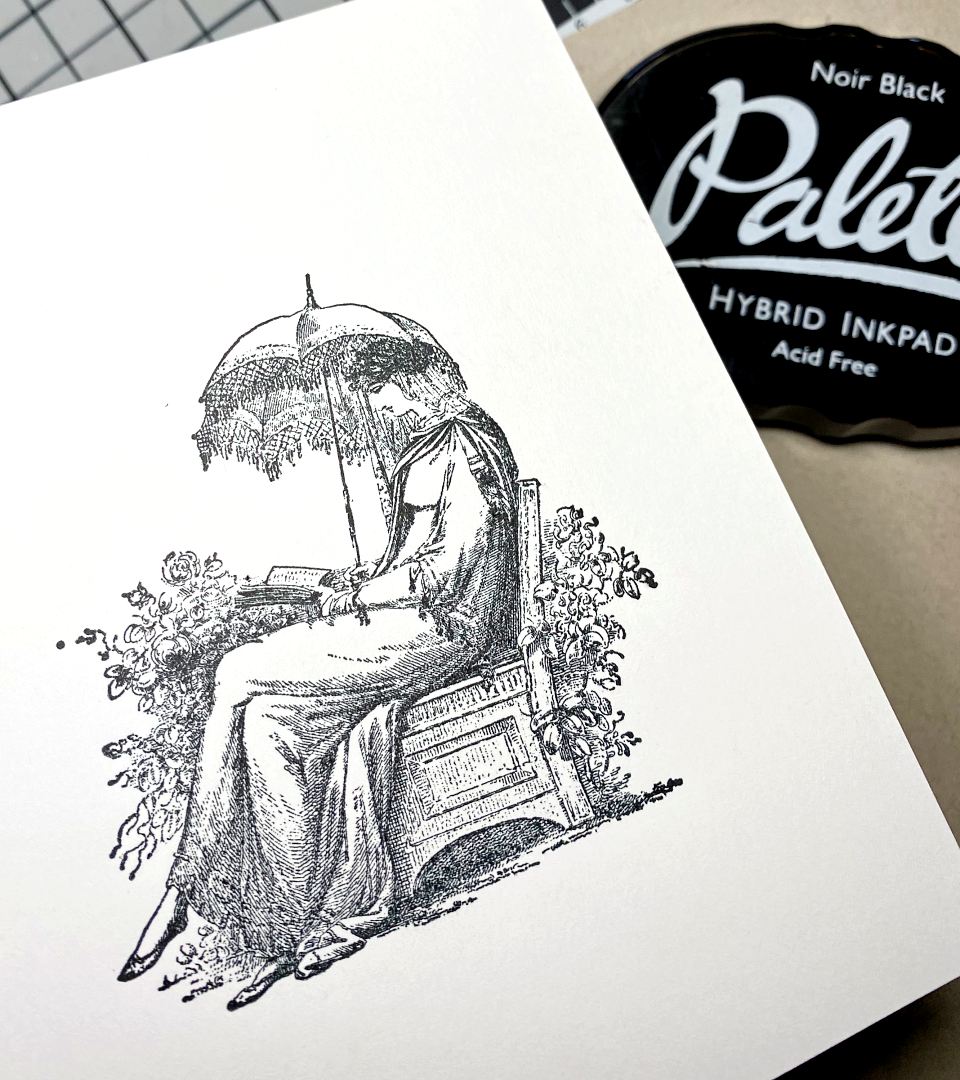
The first stamp I am using is Reading Garden stamped with Palette Hybrid black ink.
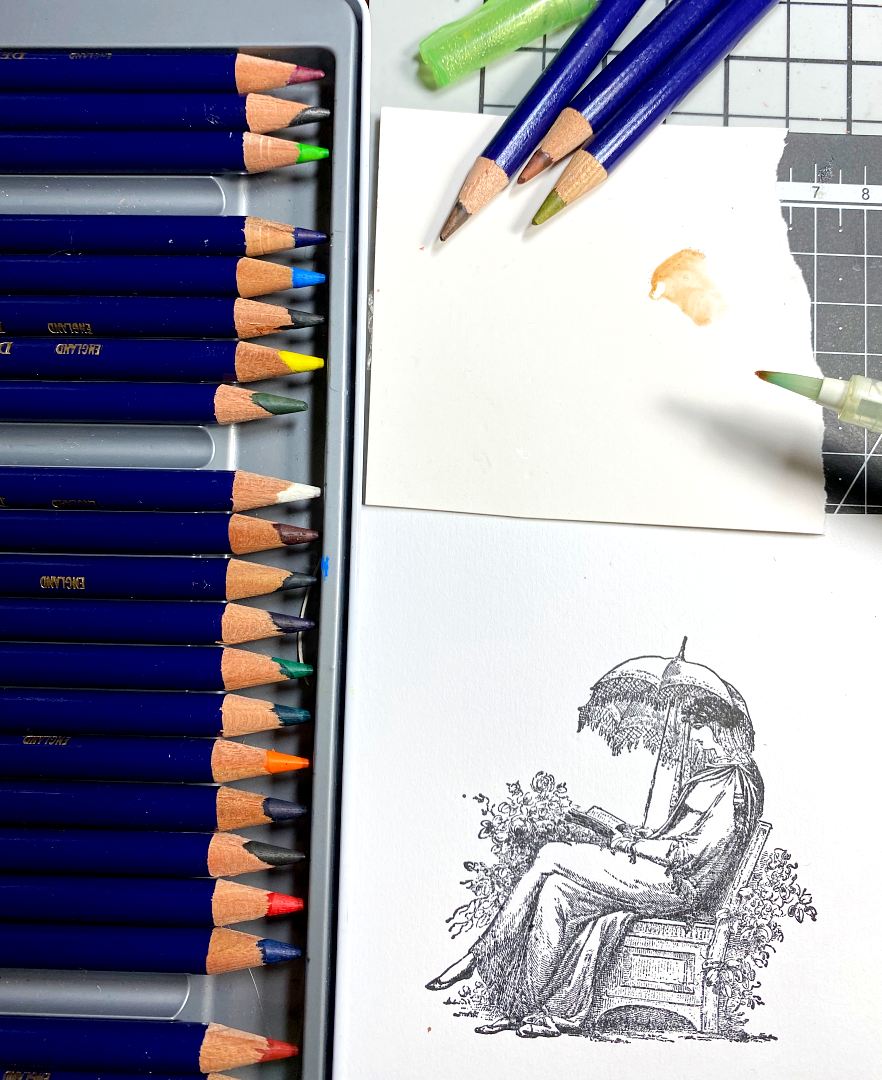
I colored the design using watercolor pencils (Derwent Inktense).
Tip: when using watercolor pencils and a water brush, it is always best take the pencil and color on a scrap paper then pick up the ink from the scratch paper with the brush. This way, you know what color you are getting and there are no surprises.
Tip #2: Dab brush onto paper towel to remove excess water before coloring your design.
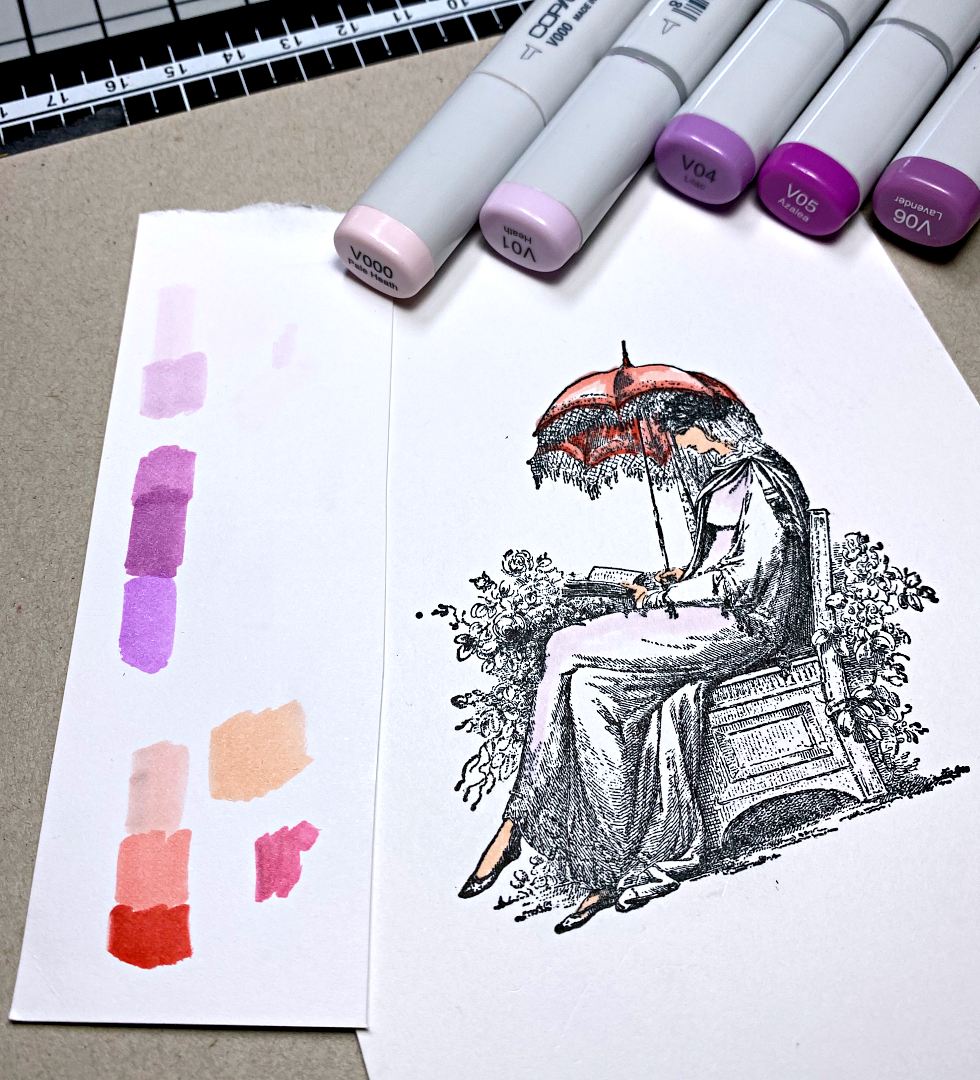
Tip: When using markers of any kind, I always test the color on a scrap paper also to see what I'll be getting. The scrap paper should be cut from the paper you have stamped on to get accurate results. You can also test how they blend on the scrap piece.
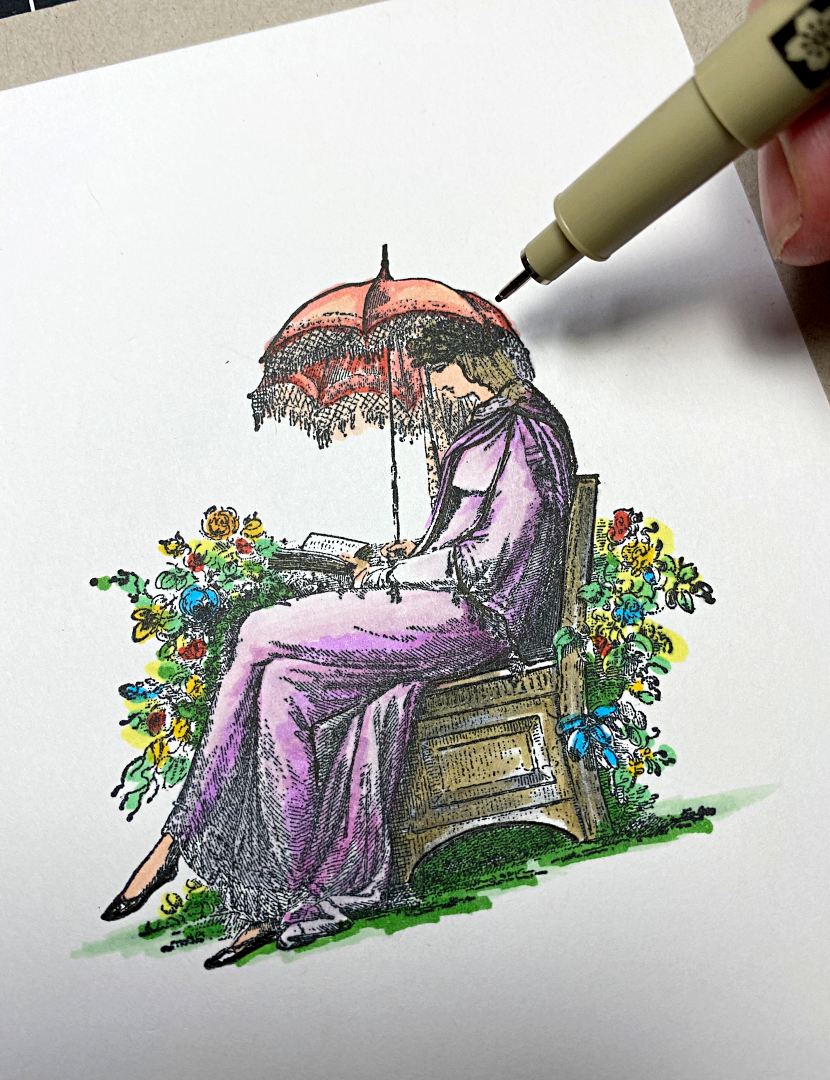
Another tip: Don't be afraid to outline some (not all) of the design to make certain areas stand out after you finish coloring. I also like to use a white gel pen for highlights!

After you stamp your 3 designs, cut them out as circles. You can use any size circle for this. I used a 3 inch for my project since out Reading Garden stamp measures about 3 inches x 3 inches. If using a smaller stamp like 2 inch to make a smaller bookmark use 4 circles. The overlapping with be the same and the bookmark would be just as cute, just not as wide. Now you see how versatile this project is, LOL!
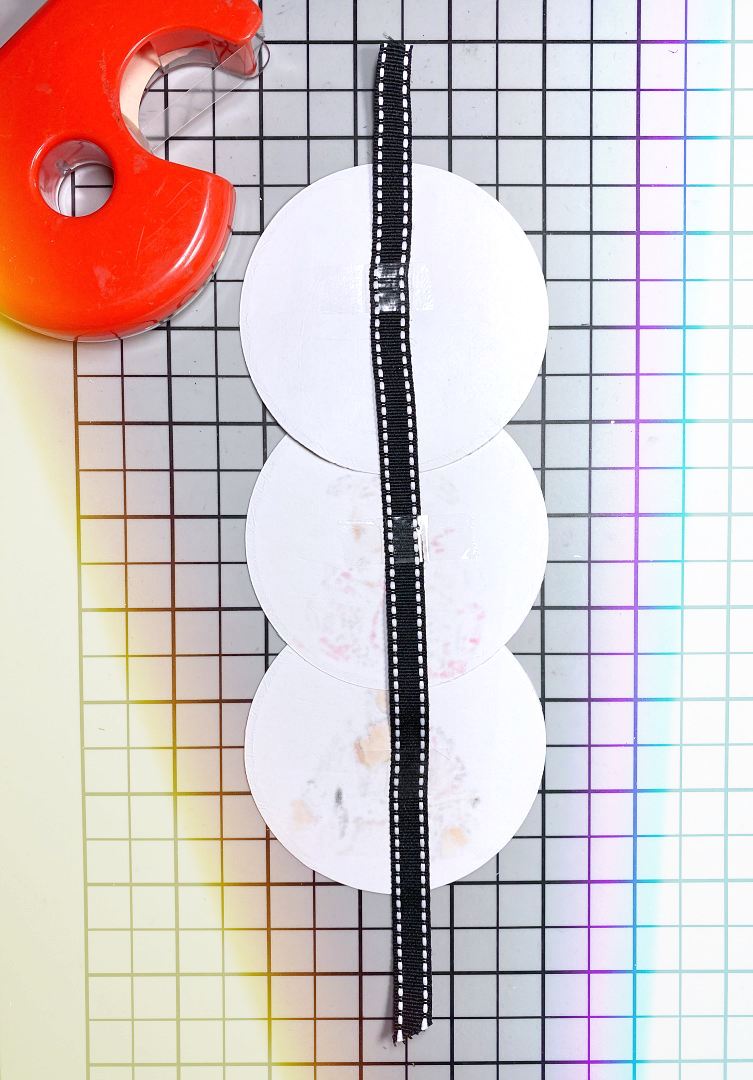
Cut a ribbon about 8 inches. Overlap your circles and tape the ribbon in the middle of each circle with a small swatch of tape.
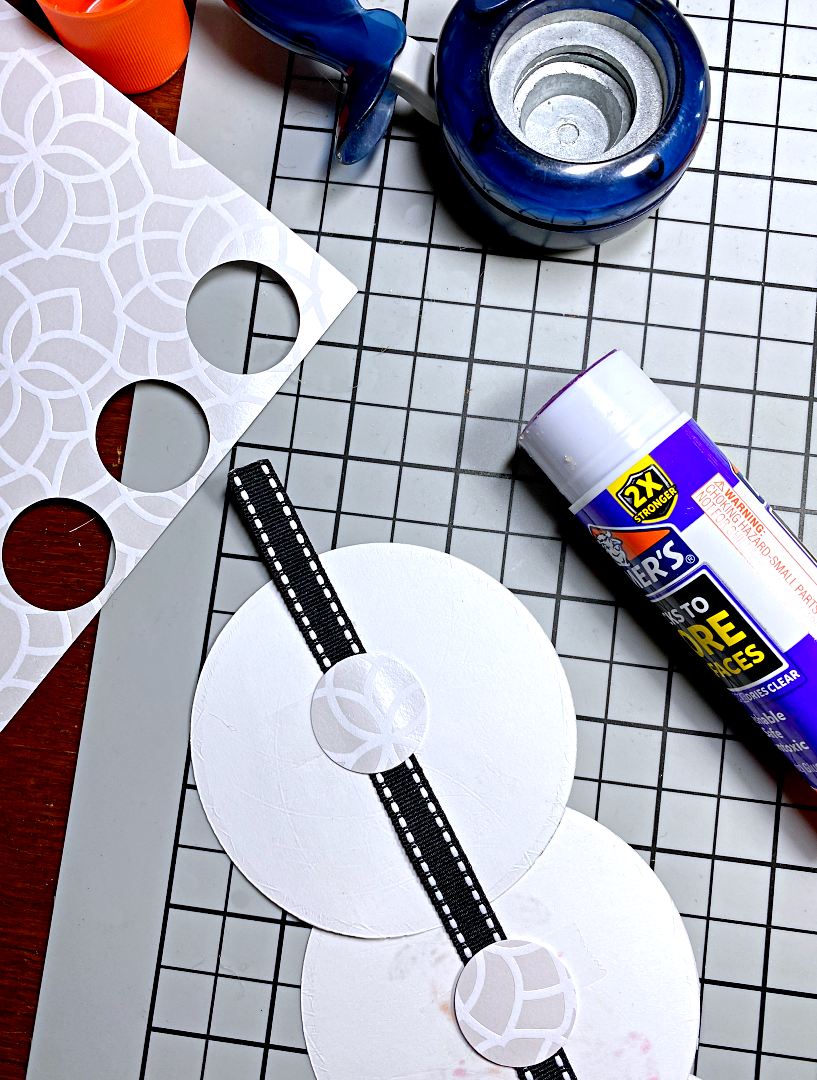
Using a circle punch, cut out some pieces to cover the tape on the back of each circle. Also, punch out some circles to cover the ribbon end at the bottom.
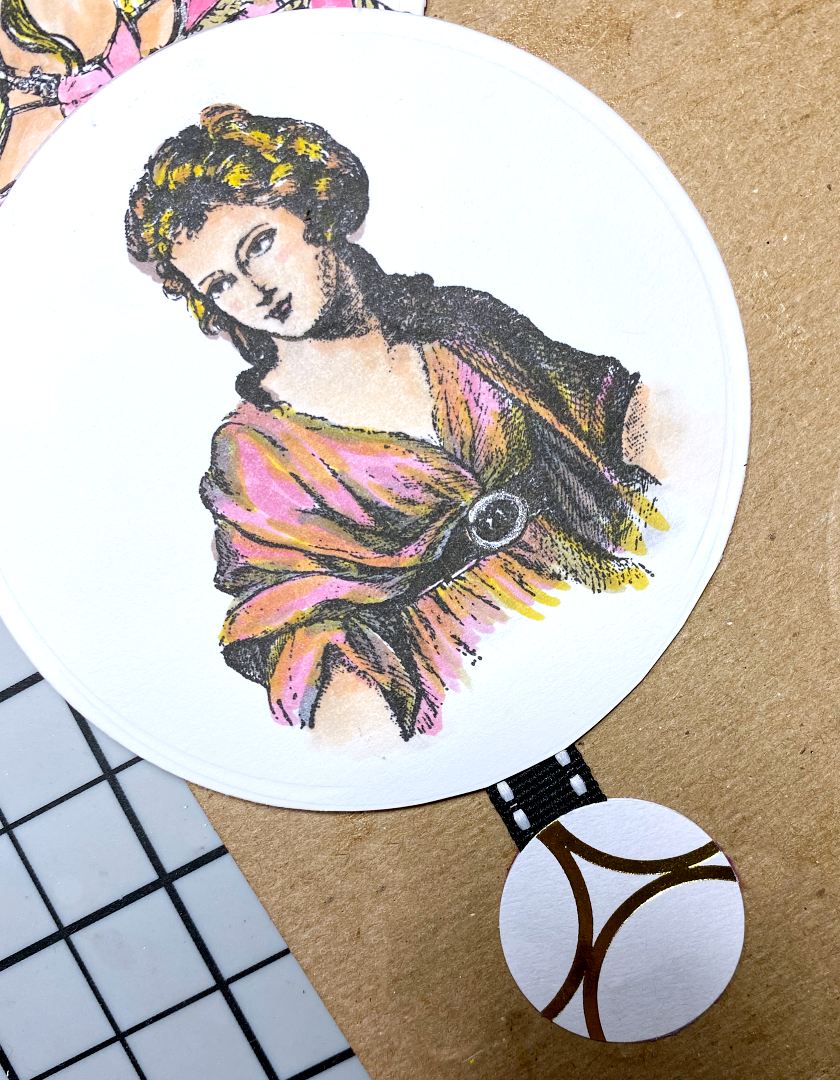
At the ribbon ends, you can also get creative and use anything cute. Other ideas: glue a button, jewel or wood embelishment. Above is Renaissance Girl Rubber Stamp.
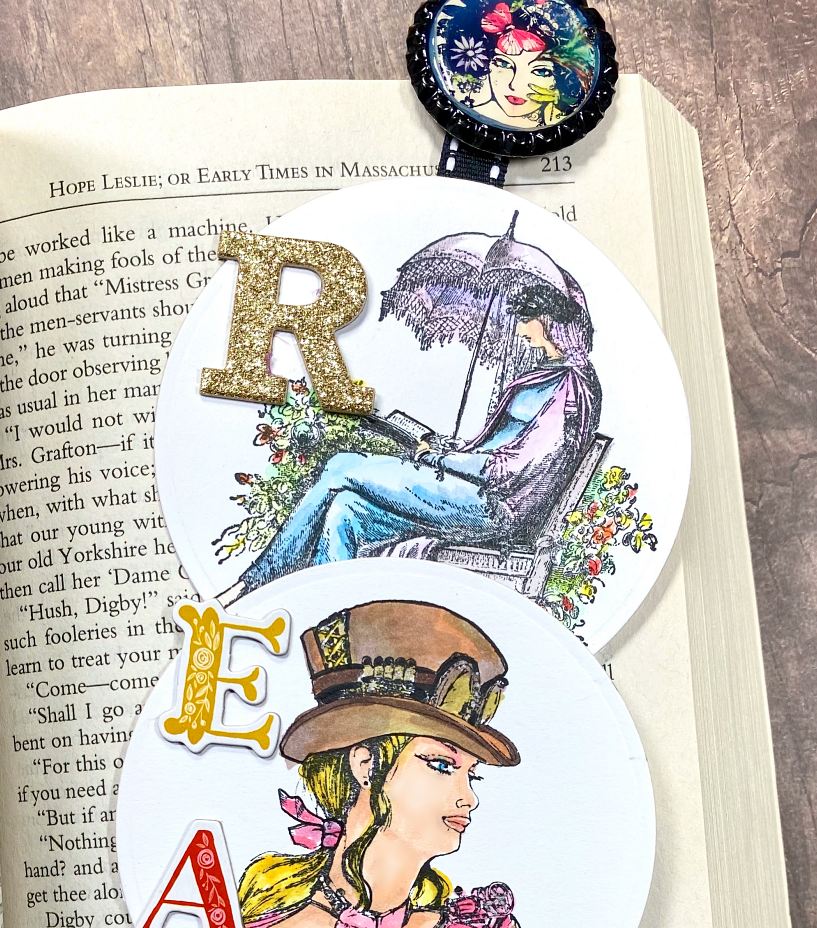
The middle circle features our Steampunk Warrior Rubber Stamp. At the top of the ribbon, I glued a bottle cap that has a shrink plastic glued in with Dimensional Magic. The stamp in the bottle cap is our Madam Dragonfly Rubber Stamp. I also added some letters to spell out "Read". A great project to make as a gift for someone who loves books!
Rubber stamp featured in this post: